Implementation Approach
The basic approach one should follow while implementing the Spinner widget using Kivy is as follows:
Step 1: import libraries, classes, widgets and layouts required (in this case, kivy, kivyApp, Label, Spinner, Floatlayout)
Step 2: create the required class (in this case, App class)
Step 3: create a spinner in the class; attach labels and a callback to it
Step 4: return the layout/widget/class (in this case, layout)
Step 5: run the instance of the class (in this case, SpinnerWidget())
Implementation Code
Given below is the code showing the implementation of the Spinner Widget.
# Simple Spinner Widget Implementation
from kivy.config import Config

# 0 being off 1 being on as in true or false
# you can use 0 or 1 OR True or False
Config.set('graphics', 'resizable', True)

import kivy
from kivy.app import App

# restrict the kivy version(optional)
kivy.require('1.9.0')

from kivy.uix.label import Label
from kivy.uix.spinner import Spinner
from kivy.uix.floatlayout import FloatLayout

# Make an App by deriving it from the App class
class SpinnerWidget(App):

	# defining build
	def build(self):

		# creating floatlayout layout
		layout = FloatLayout()

		# creation of the spinner
		# configuration of spinner object and addition to layout
		self.spinnerObject = Spinner(text ="Widgets in Kivy",
		values =("Label", "Button", "CheckBox", "Image", "Slider", "Switch", "Progress Bar", "Text Input", "Toggle Button"),
		background_color =(0.787, 0.445, 0.212, 1))

		self.spinnerObject.size_hint = (0.4, 0.2)

		self.spinnerObject.pos_hint ={'x': .40, 'y':.80}

		layout.add_widget(self.spinnerObject)

		return layout


# Run the app
if __name__ == '__main__':
	SpinnerWidget().run()
Code Explanation
In the above code, we first import the required libraries, classes, widgets and layouts. After that, we create the SpinnerWidget() class. In this case, we first create an instance of Float Layout and then go on to create the spinner widget. We configure the spinner widget and define the various texts in the drop-down list. We add the callback and layout in the spinner and then return the layout. Lastly, we run an instance of the SpinnerWidget() class.
When we click on any item in the list, the chosen item will send a callback, which will be displayed at the top of the Spinner object.
Output
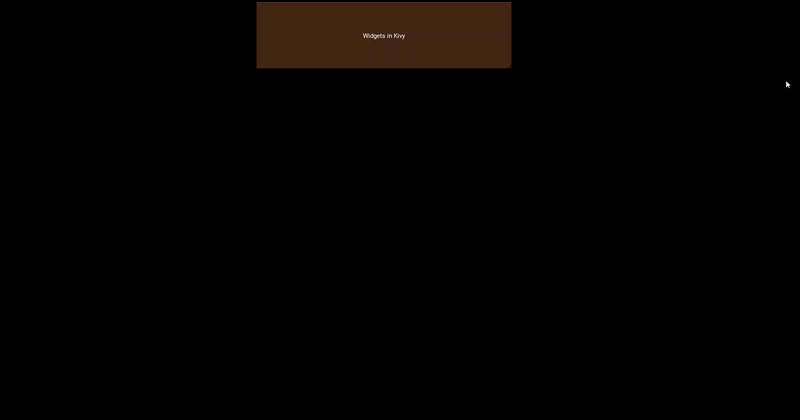
Output Image 1
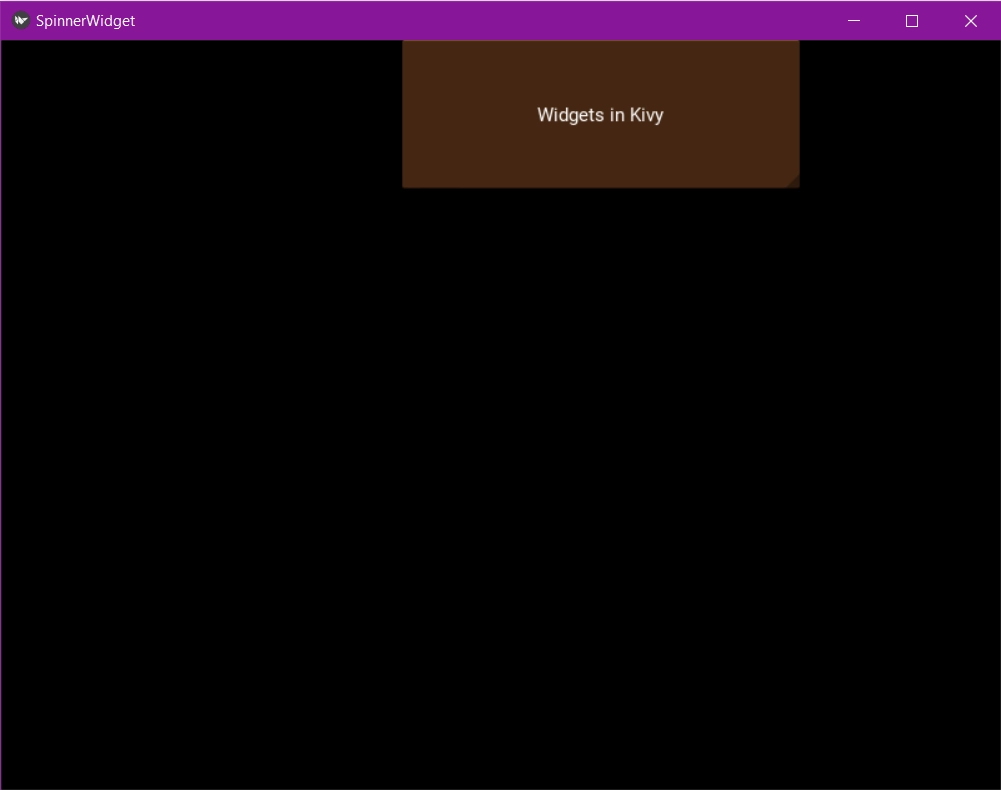
Output Image 2

Output Image 3

Frequently Asked Questions
What is a widget?
Kivy Widgets are used to create graphical user interfaces in Kivy. Labels, Canvas, drop-down menus, and many more widgets are available in Kivy.
What is a Label?
The Label widget is used to display text. It can handle both ASCII and Unicode strings.
What are the different types of Layouts?
The various types of Layouts available in Kivy are as follows:
→ Grid Layout
→ Box Layout
→ Float Layout
→ Anchor Layout
→ Stack Layout
What is the extension of Kivy files?
The extension used with Kivy files is .kv.
Conclusion
In this article, we learned about the spinner widget in Kivy. We saw the various steps required to implement it. We repeated these steps and used them to make a Python Spinner widget.
We hope this blog has helped you enhance your knowledge. If you want to learn more, check out our articles on Introduction to Kivy - Coding Ninjas Coding Ninjas Studio, Kivy Float Layout in Python - Coding Ninjas Coding Ninjas Studio, Multiple Layout - Coding Ninjas Coding Ninjas Studio and Shaping The Button - Coding Ninjas Coding Ninjas Studio. Do upvote our blog to help other ninjas grow.
Head over to our practice platform Coding Ninjas Studio to practice top problems, follow guided paths, attempt mock tests, read interview experiences, interview bundle, solve problems, participate in contests and much more!
Happy Reading!


 8+ registered

