Creating A Spring Boot Project Using Spring Tool Suite
Let’s understand how to create a spring boot project using STS IDE.
We have divided the whole project creation process into two Parts. The first part will cover the Installation of the STS IDE, and the second part will cover the project creation steps.
Installing Spring Tool Suite (STS)
Step 1:
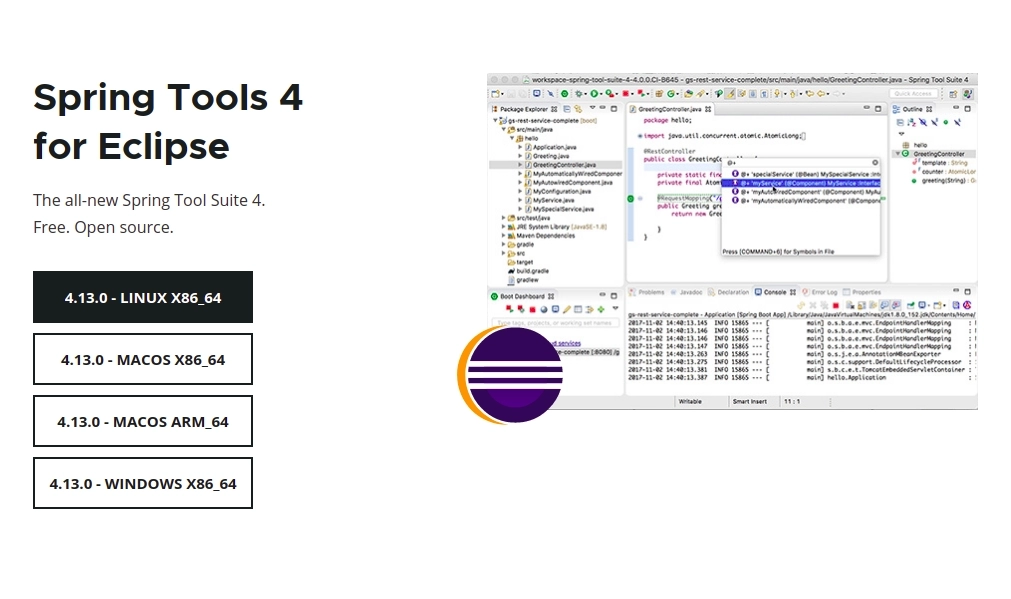
First, we must install STS IDE in our local environment. You can install the STS for different OS and text editors using the link below.
Visit: https://spring.io/tools.
This tutorial will use STS for eclipse and Linux Operating Systems. The process will be the same for Windows and Mac users as well.
Step 2:
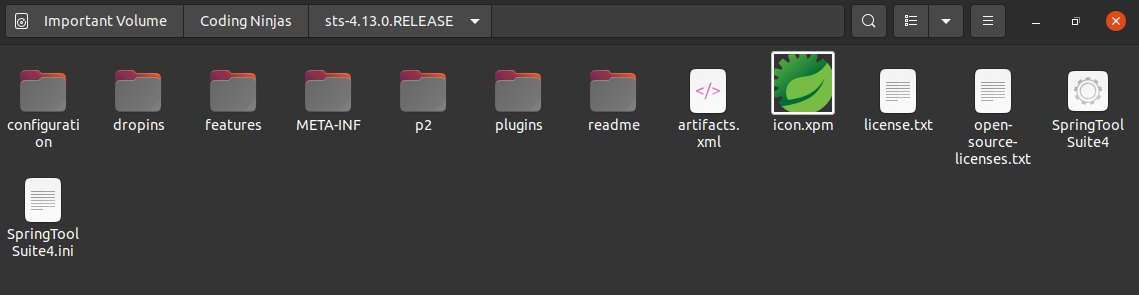
After downloading the file for your respective OS. You need to extract that file from one of the folders.
After extracting the file, you can see a new folder containing different files, like below.
Step 3:
To start creating your project, open the executable file SpringToolSuite4 or SpringToolSuite4.exe.
This will open a new interface asking you about the workspace, like the one below.

You need to press the Launch button to open the workspace.
Step 4:
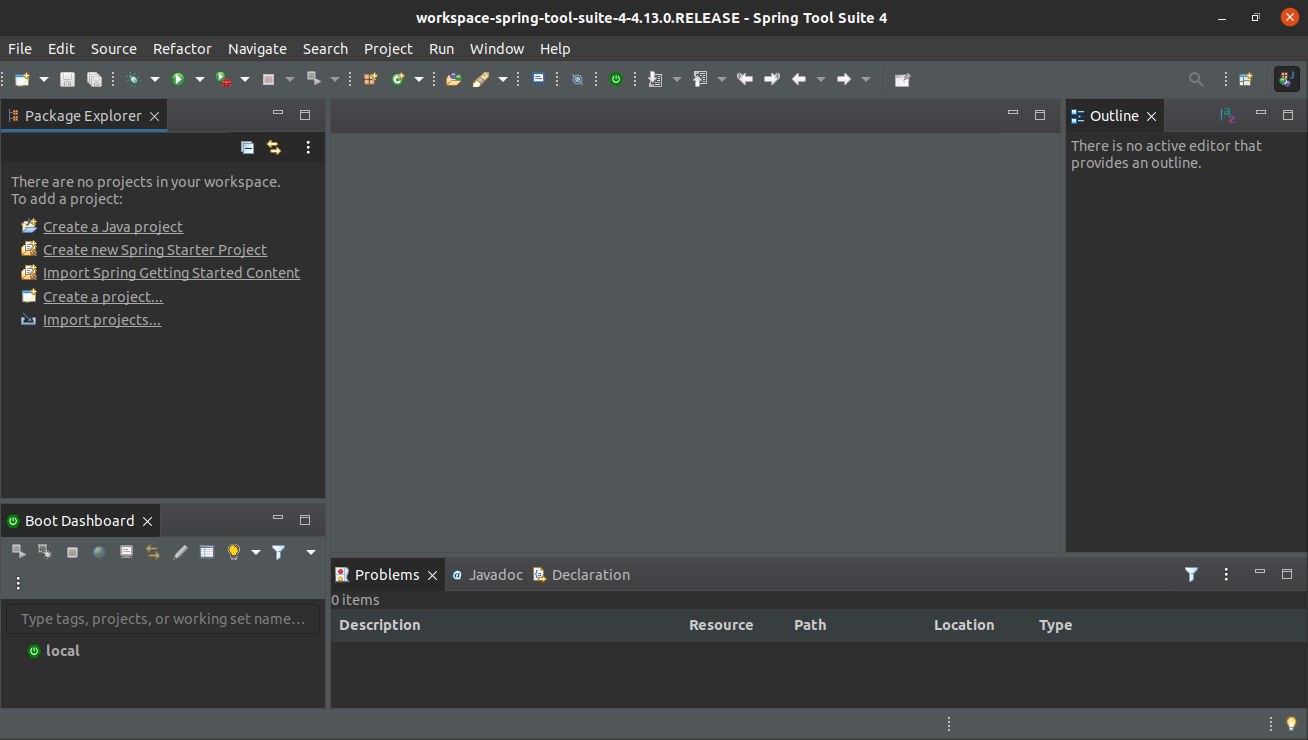
After launching the workspace, you will see a workspace will open which looks exactly similar to the Eclipse workspace.
Now, we have successfully installed the STS IDE and created a workspace. Let’s move on to the Project Creation Phase, i.e., Part 2.
Project Creation Steps
Step 1:
Open the STS IDE.
Step 2:
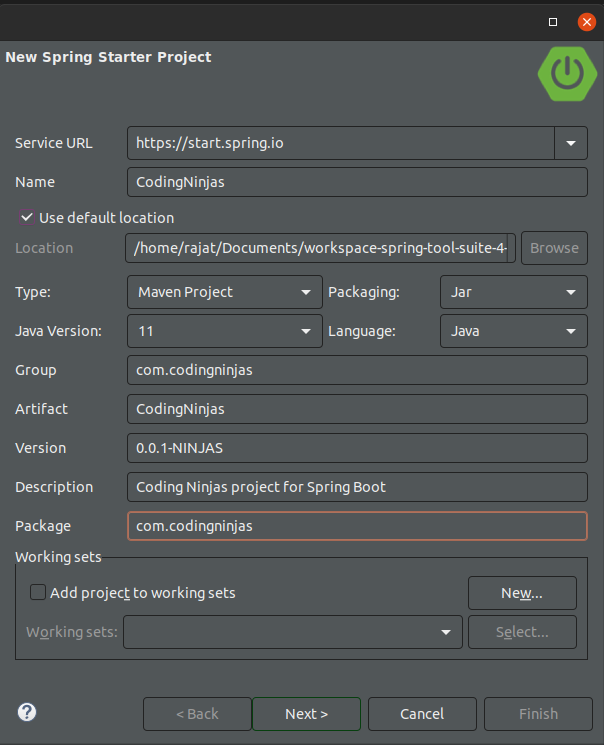
Click the File menu->New->Spring Starter Project. You will see a new interface, like the one below.
 There is some information you need to fill in to create the project:
- Name: In this field, you have to specify the name of your project.
- Type: It defines the kind of project. In the dropdown, you will be given two choices to choose the project management tool you want. We can create either Maven Project or Gradle.
- Language: It provides the choice among three languages Java, Kotlin, and Groovy. Java is, by default, selected.
- Group: Group denotes the package name. By default is “com.example.demo”. We can change the group id to something else.
- Artifact: Artifact denotes the Application name. It is filled by default while filling the Name field.
- Version: Mention the version of your application.
- Description: Put the description of the project here.
- Package: It is the same as the Group name.
We have filled all the required fields, like below.
Step 3:
After filling in all the fields, you can now click on the Next button. You will see an interface like below, asking you to choose the dependencies you want to inject into your project.
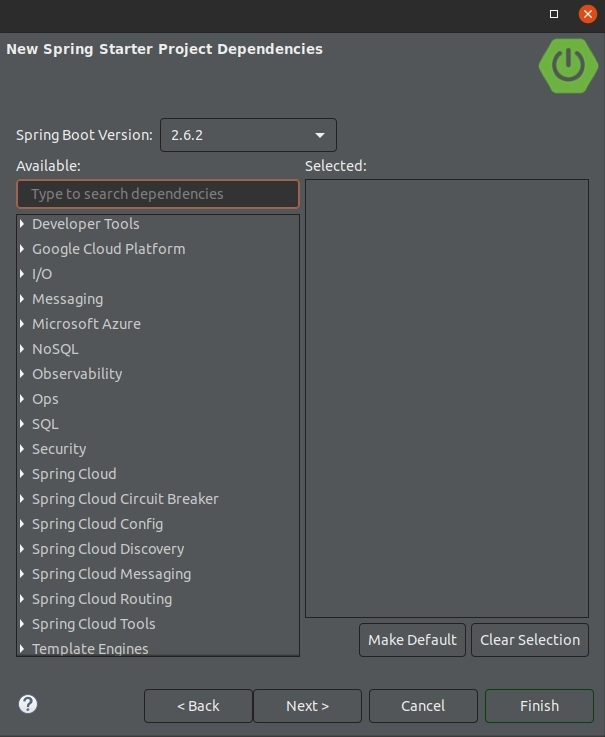
You can choose different dependencies which you want to inject into your project. For example, if you build a web application, you can choose the Spring Web dependency. We have injected the Spring Web dependency into our project.
Step 4.
After choosing the dependencies, click on the Next button. You will see an interface asking you for the base and full URLs. You can leave it as a default value and click the Finish button.
Step 5.
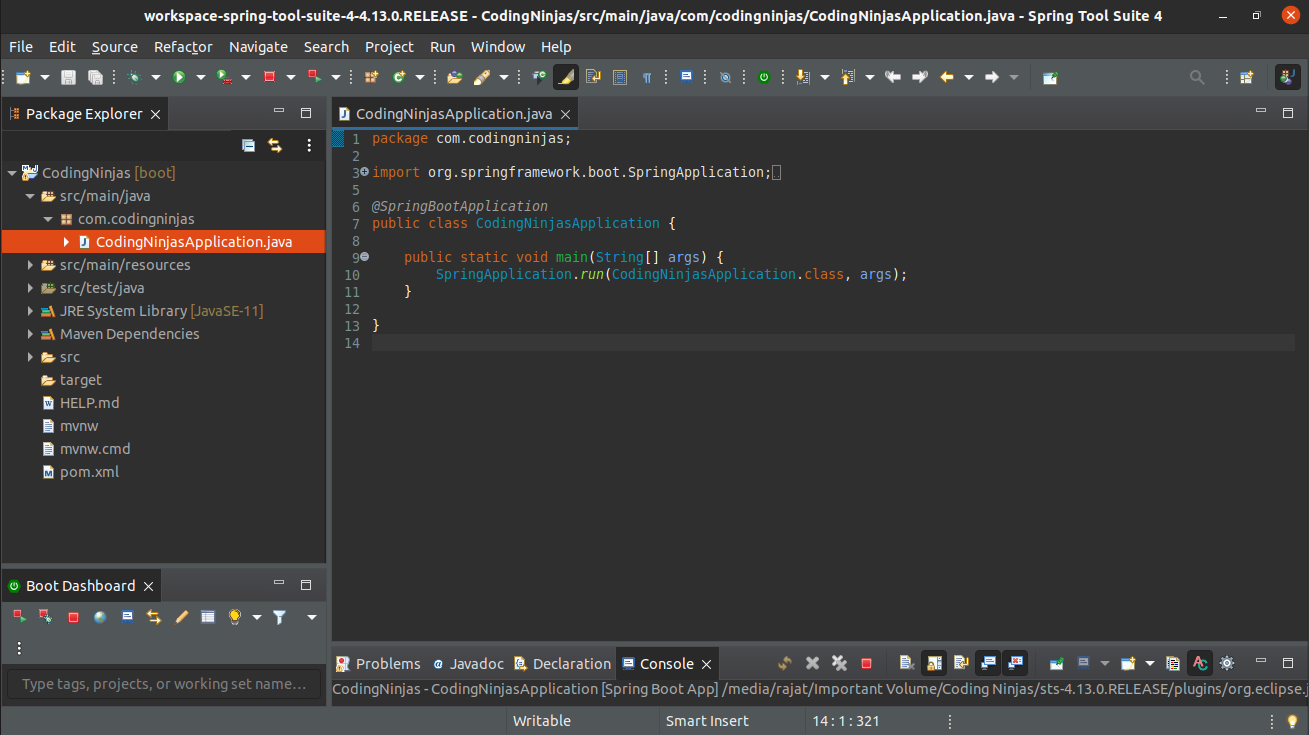
After that, a new project is created, which you can see on the left side of your workspace, like below.

The main project folder (CodingNinjas here) contains many folders and files. Some Important Files and Folders are
- pom.xml: This file contains the information about our project & all the dependencies which we have currently injected.
- applications.properties: This file resides inside the src/main/resources folder and is used to specify various project properties. For example, We can specify the port number on which our application runs.
Step 6:
To run your application, you can go into the src/main/java->com.packagename->App.java
In our case, it is:
src/main/java->com.codingninjas->CodingNinjasApplication.java
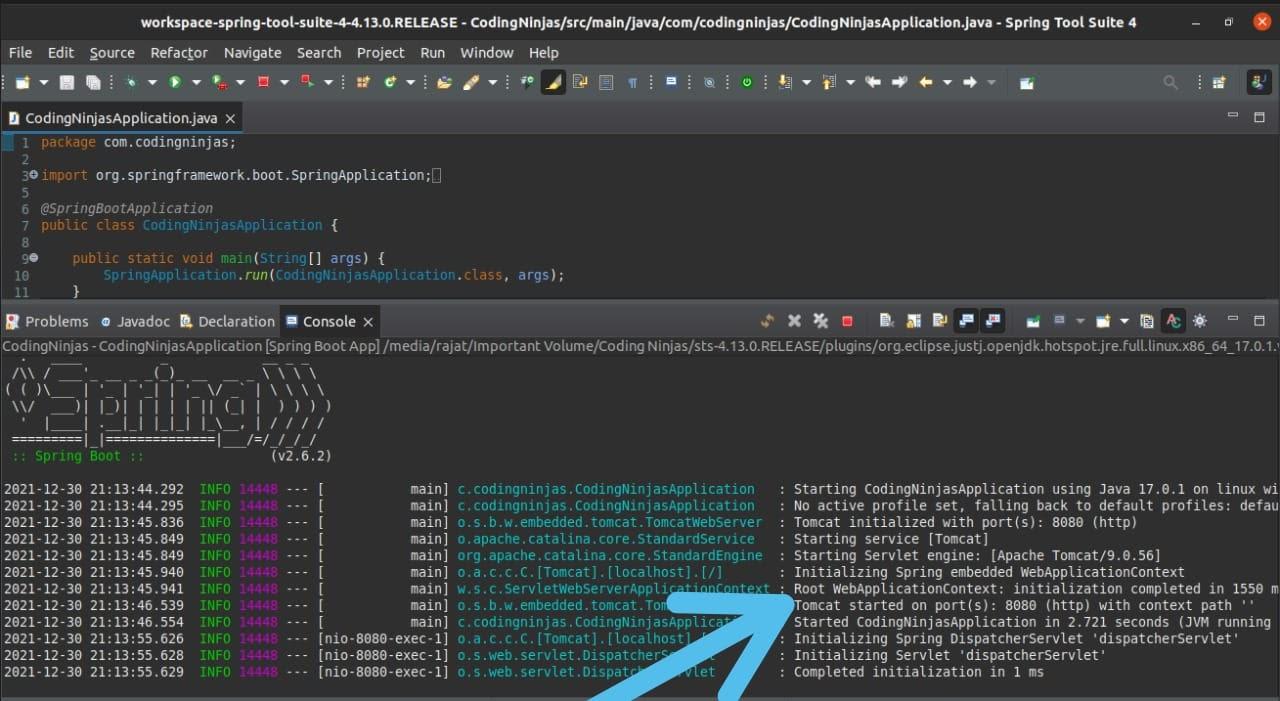
Step 7:
Right-click on App.java (CodingNinjasApplication.java here) and Run as Spring Boot App. You can see your application is running on default port 8080, like below.
Now, we have successfully created our Spring Boot project using STS.
Spring Tool Suite Features
There are many features present in the Spring Tool Suit. Let us discuss them in brief.
-
The Spring tool suite is one of the best IDEs users can ever use to create spring boot apps. Spring Boot projects can be readily uploaded using the Boot dashboard functionality to any cloud foundry.
-
For increased efficiency and simplicity of development, the Eclipse Market Place offers attractive plugins and tools. The STS marketplace makes it possible to add theme plugins.
- Built-in browser support, heap status monitoring, code commit and push to GIT, use start.spring.io site to interact with and download a starter project, integration with sonarlint. This ensures code quality, multiline comments on a project, and multiline edits.
See also, spring mvc vs spring boot
Frequently Asked Questions
What is difference between Spring Tool Suite and Eclipse?
Spring Tool Suite (STS) is a customized distribution of Eclipse IDE tailored for Spring framework development. While Eclipse is a versatile IDE supporting multiple languages and frameworks, STS comes pre-configured with Spring-specific tools, templates, and features to streamline Spring application development.
What are the benefits of using Spring Tool Suite?
The benefits of using STS are that it is pre-configured for Spring, it enhances productivity, and seamless integration.
What is the difference between Spring Tool Suite and Spring Boot?
No, Spring Boot and Spring Tool Suite are not the same. Spring Boot is a framework for building standalone applications, while Spring Tool Suite is an IDE for developing Spring-based applications. Spring Boot provides a set of pre-configured components and settings that make it easy to build Spring applications quickly. In contrast, Spring Tool Suite provides an environment for developers to write, test, and deploy Spring applications.
What is latest version of STS?
The latest version of Spring Tool Suite is 4.15.1. STS 4.15.1 refers to the Spring Tool Suite version 4.15.1, an integrated development environment (IDE) based on the Eclipse platform designed for developing Spring applications.
Conclusion
This article discusses the topic of Spring Tool Suite. In detail, we have seen the definition of Spring Tool Suite. Along with this, we have seen how to create a Spring Boot project. We hope this blog has helped you enhance your knowledge of Spring Tool Suite. If you want to learn more, then check out our articles. And many more on our platform Code360.
Happy Learning!


 9+ registered

