


Introduction
In this blog, we will look into the Styles and Themes in Android. Style specifies the format and appearance of a user interface. It can be applied to a single Activity or the entire application. We will discuss how you can create your own custom style and theme in android.
In this article, we will be using the Android Studio application, so in case you haven't yet set up the application on your system, you can check out this article.
Styles in Android
Styles are defined in an XML file located in your project's res/values/themes directory and contain the root node <resources>, which is required for the style file. The file will be present under the name themes.xml. If you are using an older version of Android Studio, then the file will be present under the name style.xml in the res/values directory.
The style element is used to declare a style in the file. You can declare multiple styles under the same resource node, but each style should have a unique name. Inside a style node, you can define different properties by item nodes corresponding to each property. For example,
<resources xmlns:tools="http://schemas.android.com/tools">
    <!-- Base application theme. -->
    <style name="Theme.StylesAndThemes" parent="Theme.MaterialComponents.DayNight.DarkActionBar">
        <!-- Primary brand color. -->
        <item name="colorPrimary">@color/purple_500</item>
        <item name="colorPrimaryVariant">@color/purple_700</item>
        <item name="colorOnPrimary">@color/white</item>
        <!-- Secondary brand color. -->
        <item name="colorSecondary">@color/teal_200</item>
        <item name="colorSecondaryVariant">@color/teal_700</item>
        <item name="colorOnSecondary">@color/black</item>
        <!-- Status bar color. -->
        <item name="android:statusBarColor" tools:targetApi="l">?attr/colorPrimaryVariant</item>
        <!-- Customize your theme here. -->
    </style>

</resources>
Custom Style
Now that we have discussed what a style is, let's see how we can design a custom style and use it in our program.
First, create a custom style in the themes.xml file.
themes.xml
<resources xmlns:tools="http://schemas.android.com/tools">
    <!-- Base application theme. -->
    <style name="Theme.StylesAndThemes" parent="Theme.MaterialComponents.DayNight.DarkActionBar">
        <!-- Primary brand color. -->
        <item name="colorPrimary">@color/purple_500</item>
        <item name="colorPrimaryVariant">@color/purple_700</item>
        <item name="colorOnPrimary">@color/white</item>
        <!-- Secondary brand color. -->
        <item name="colorSecondary">@color/teal_200</item>
        <item name="colorSecondaryVariant">@color/teal_700</item>
        <item name="colorOnSecondary">@color/black</item>
        <!-- Status bar color. -->
        <item name="android:statusBarColor" tools:targetApi="l">?attr/colorPrimaryVariant</item>
        <!-- Customize your theme here. -->
    </style>

    <style name= "MyCustomStyle">
        <item name="android:textSize">18pt</item>
        <item name="android:textColor">#00FF00</item>/>
    </style>
</resources>
We built a custom style called "MyCustomStyle" in the above file, which has two items: android:textSize and android:textColor.
Now, to use the custom style in the program, add it to the activity_main.xml file.
activity_main.xml
<?xml version="1.0" encoding="utf-8"?>
<androidx.constraintlayout.widget.ConstraintLayout xmlns:android="http://schemas.android.com/apk/res/android"
xmlns:app="http://schemas.android.com/apk/res-auto"
xmlns:tools="http://schemas.android.com/tools"
android:layout_width="match_parent"
android:layout_height="match_parent"
tools:context=".MainActivity">
<TextView
style = "@style/MyCustomStyle"
android:layout_width="wrap_content"
android:layout_height="wrap_content"
android:text="Hello Ninjas!"
app:layout_constraintBottom_toBottomOf="parent"
app:layout_constraintLeft_toLeftOf="parent"
app:layout_constraintRight_toRightOf="parent"
app:layout_constraintTop_toTopOf="parent" />
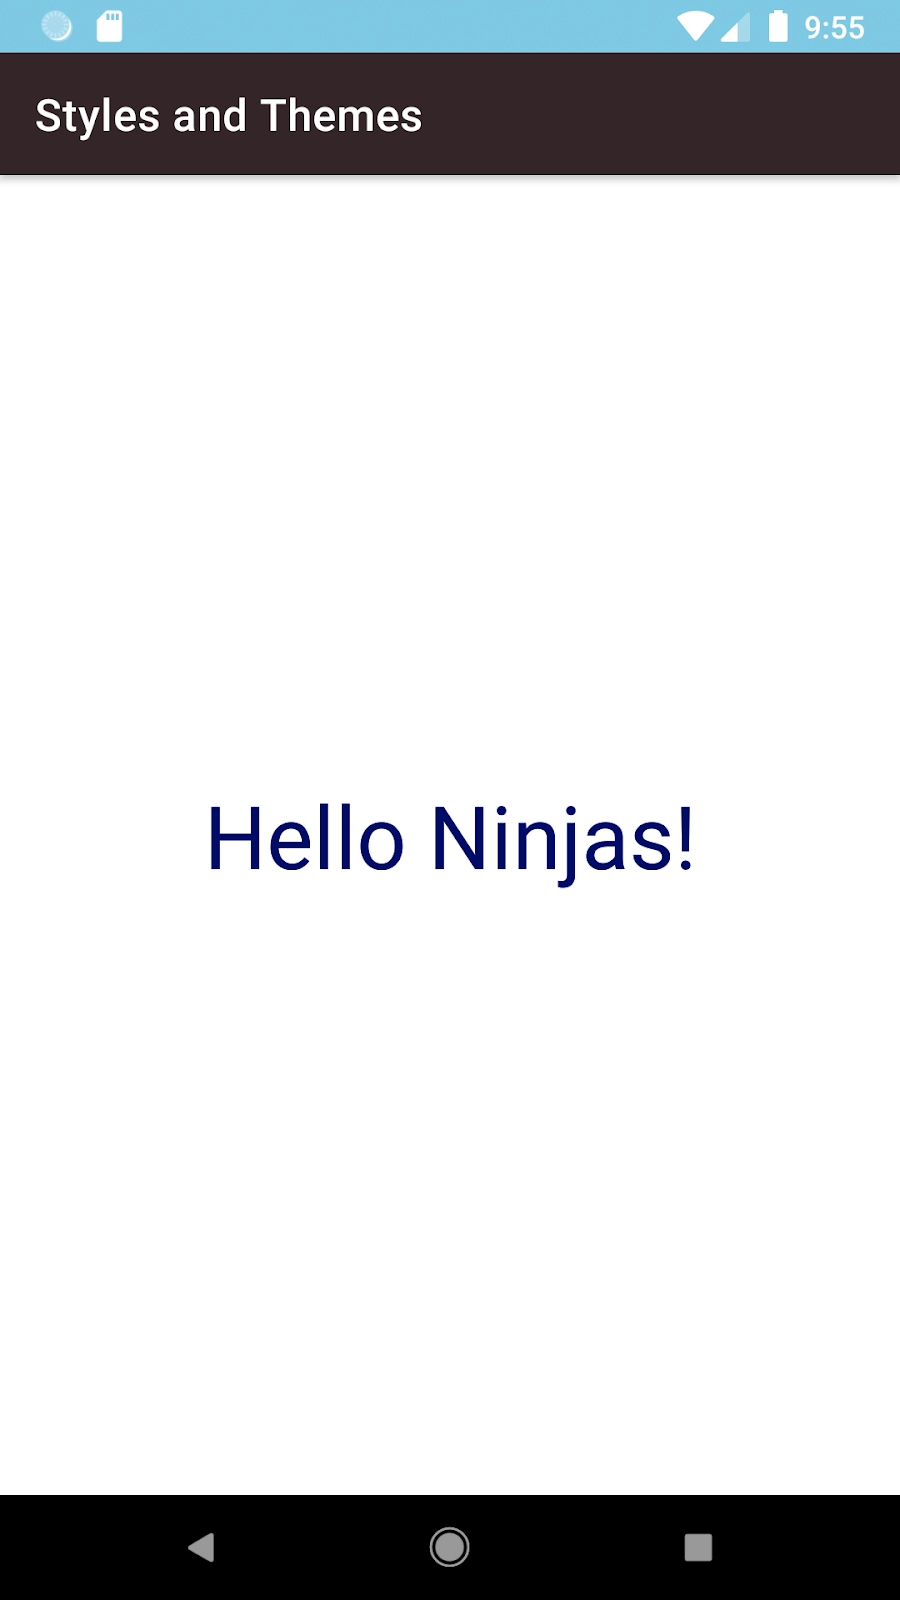
</androidx.constraintlayout.widget.ConstraintLayout>In the above file, we have applied our customstyle to the textview.
Output:
As you can see from the output, the color of the text has been set to red and its font size to 18pt, as we defined in the style MyCustomStyle.


 9+ registered

