Do you think IIT Guwahati certified course can help you in your career?
Introduction👨✈
When dealing with APIs in "ReadyAPI", one might wonder how to use a request in tests while configuring requests and how to validate the requests and responses. The answer is you need to create a test step based on the request, and you validate requests and responses in the request editor. Cool! Are you wondering how to do it? Fine! Are you ready to learn to use a request and validate it❓
So let us learn about the test and validate the requests in ReadyAPI.💫
Test and Validate the Requests in ReadyAPI✅
Let us first learn how to use a request in a test. Then in the second part, we will learn about validating requests and responses.
Add Request to Test Case📋
To use a request in the tests, you must create a test step based on the request.
REST Request⚙️
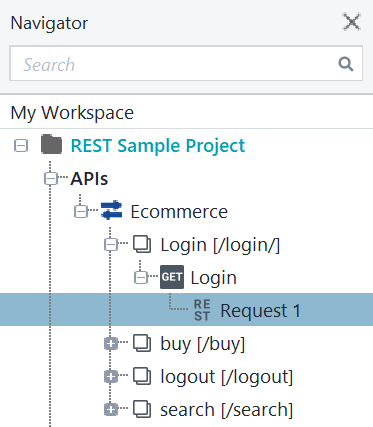
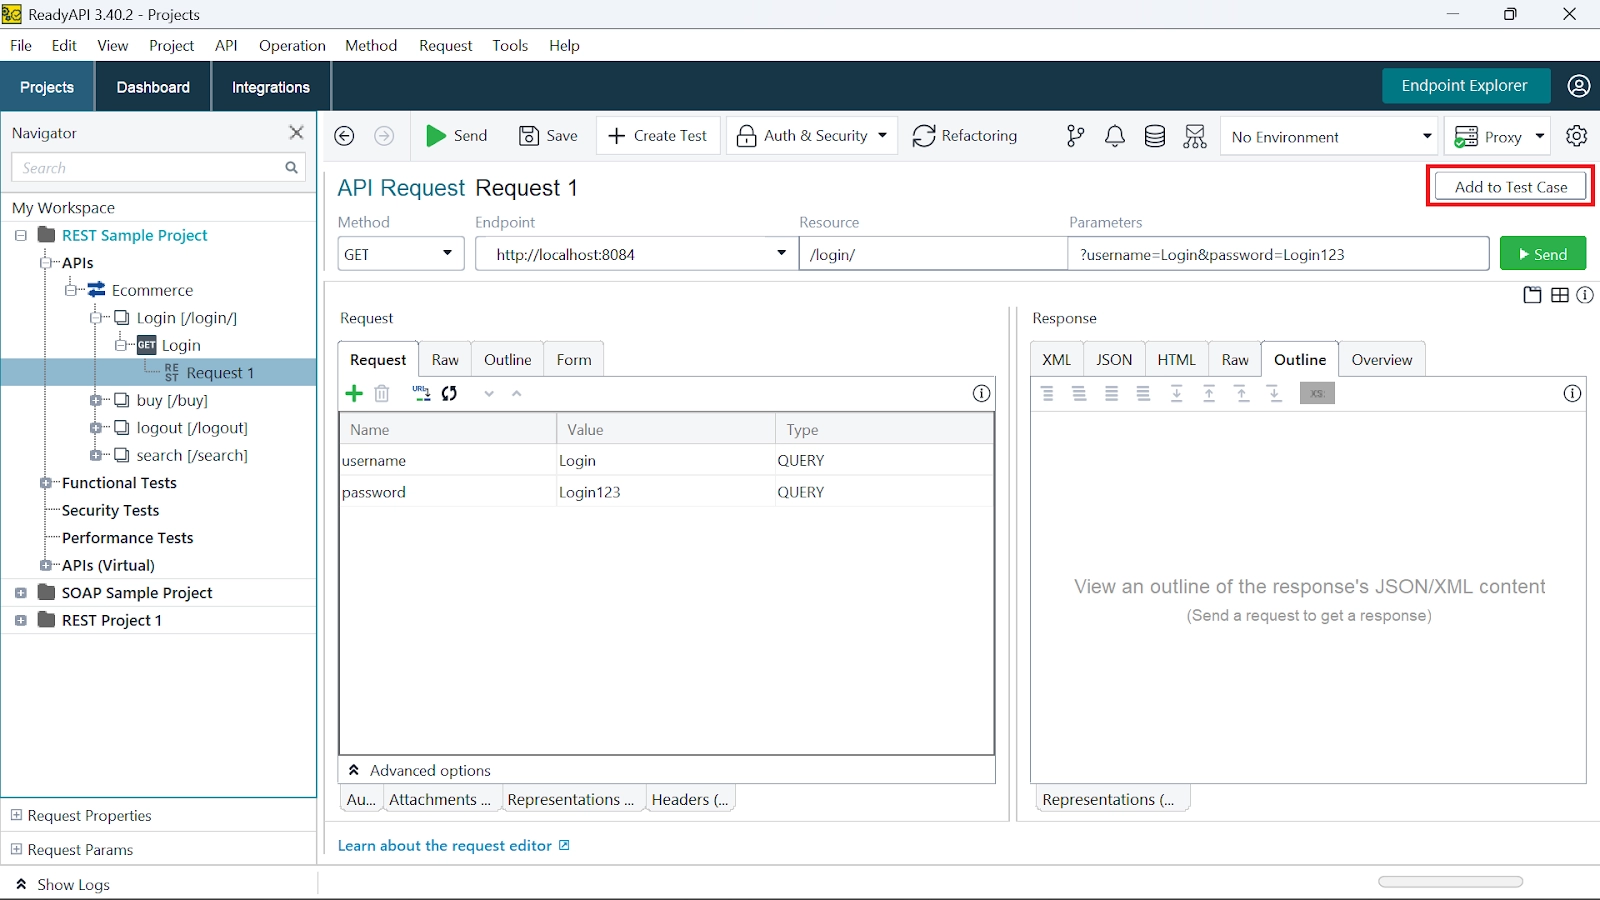
In the navigator, click on a "REST Request" and follow the below steps.
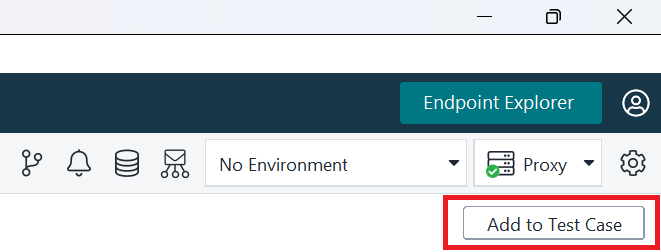
1️⃣Click on "Add to Test Case" in the top-right corner.➡️
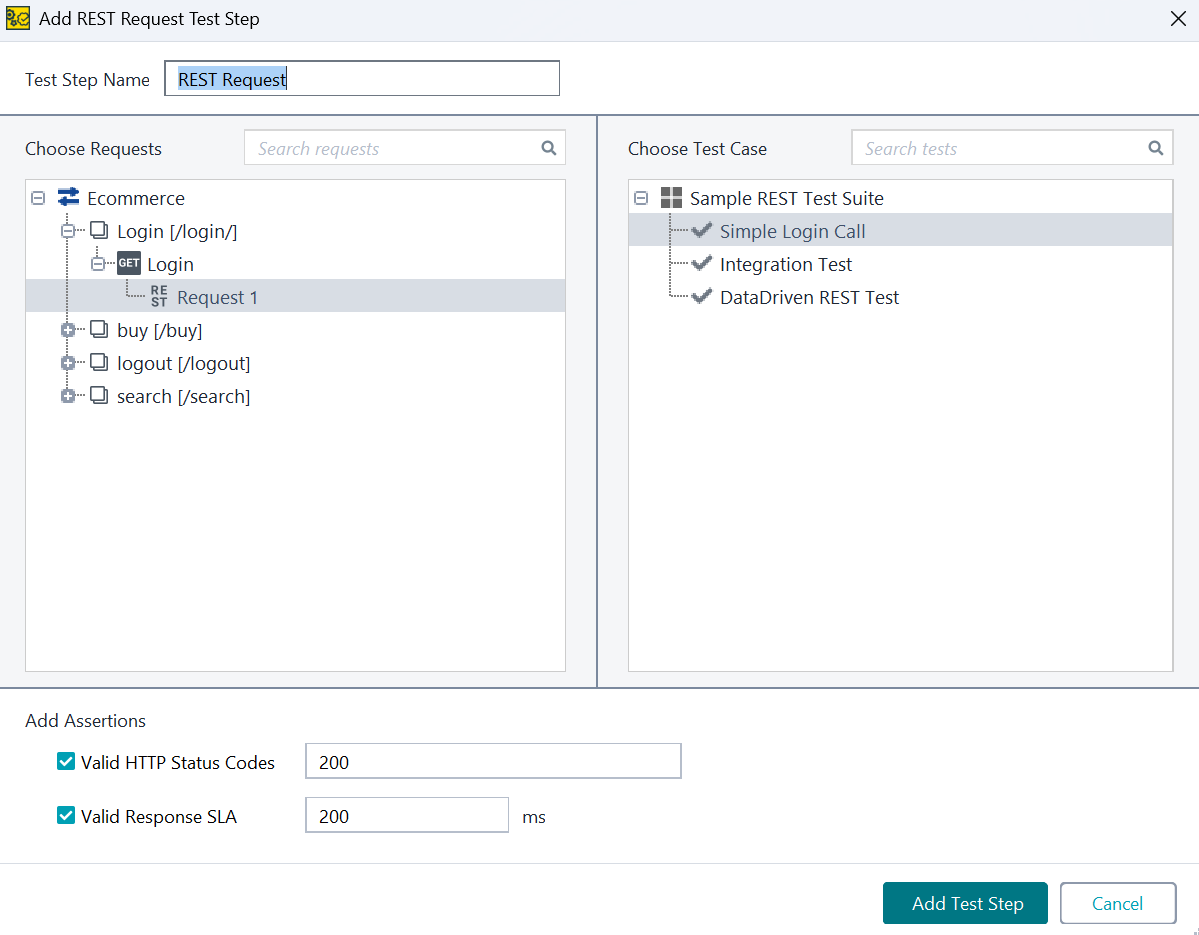
2️⃣Now, you will see the "Add REST Request Test Step" dialogue. Choose a test case to which you want to add a new test step.➡️
Tip 🔗- To add a new test suite or test case, right-click a test suite in the right tree of the dialogue.
3️⃣You can configure the "Valid HTTP Status Codes" and "Valid Response SLA" assertions and add them to the new test step.➡️
4️⃣Now, click on the "Add Test Step" to create a test step.➡️
GraphQL⚙️
In the navigator, click on the "GraphQL Request" and follow the below steps.
1️⃣Click on "Add to Test Case" in the top-right corner.➡️
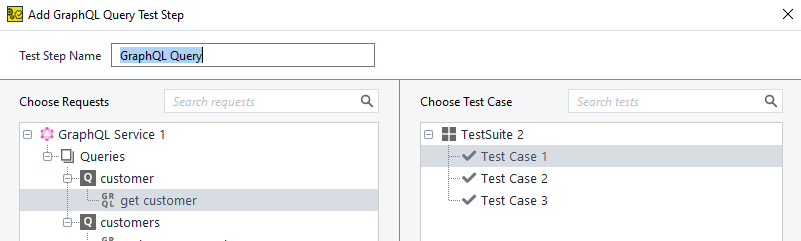
2️⃣Now, you will see the "Add GraphQL Query Test Step" dialogue. Choose a test case to which you want to add a new test step.➡️
Tip 🔗- To add a new test suite or test case, right-click a test suite in the right tree of the dialogue.
3️⃣You can configure the "Valid HTTP Status Codes" and "Valid Response SLA" assertions and add them to the new test step.➡️
4️⃣Now, click on the "Add Test Step" to create a test step.➡️
gRPC⚙️
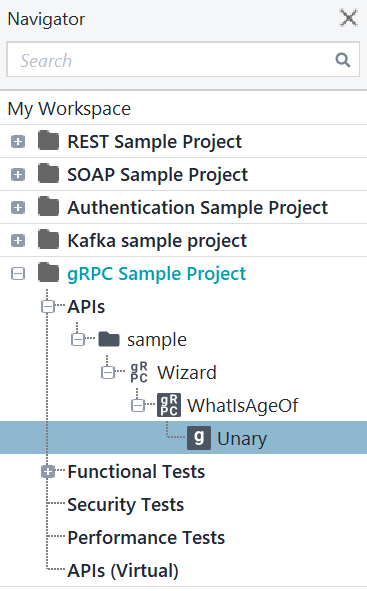
In the navigator, click on the plus icon to expand. Now, find an operation(for example, "Unary") and follow the steps below.
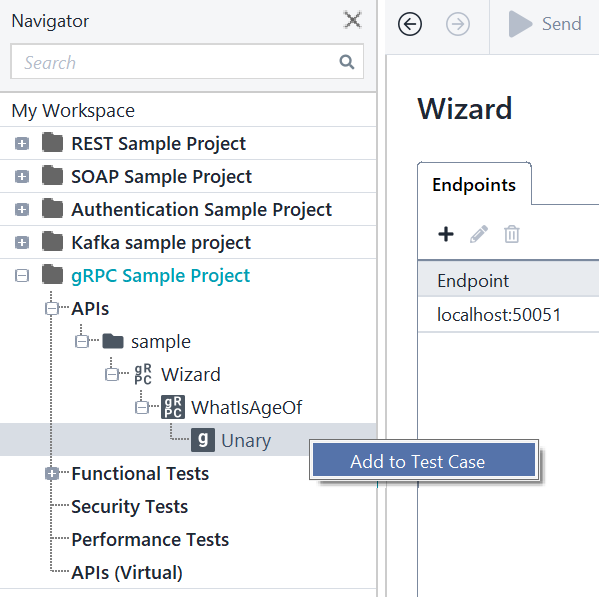
1️⃣Right-click on an operation(for example, "Unary") in the navigator and select "Add to Test Case".➡️
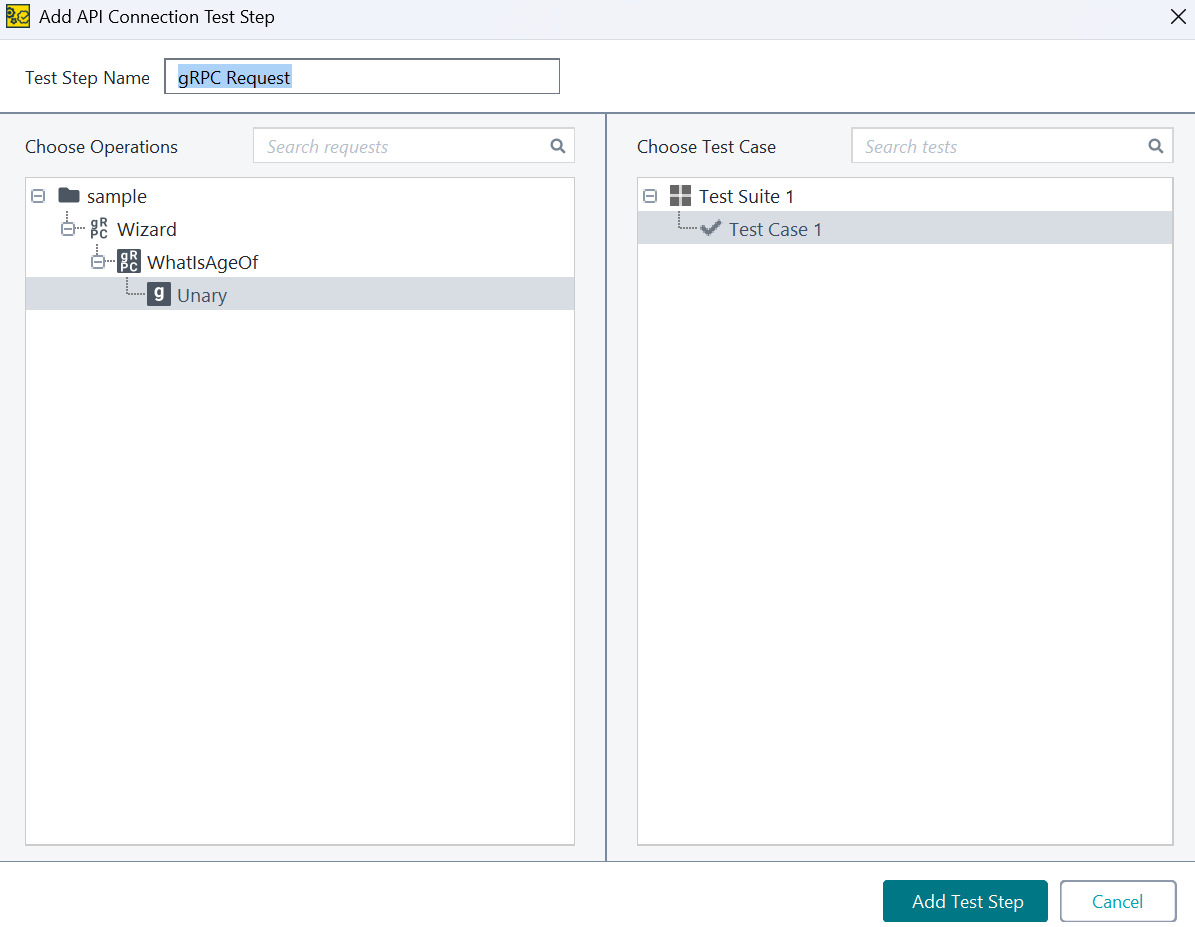
2️⃣Now, you will see the "Add API Connection Test Step" dialogue. Choose a test case to which you want to add a new test step.➡️
Tip 🔗- To add a new test suite or test case, right-click a test suite in the right tree of the dialogue.
3️⃣Click "Add Test Step" to create a test step.➡️
Kafka⚙️
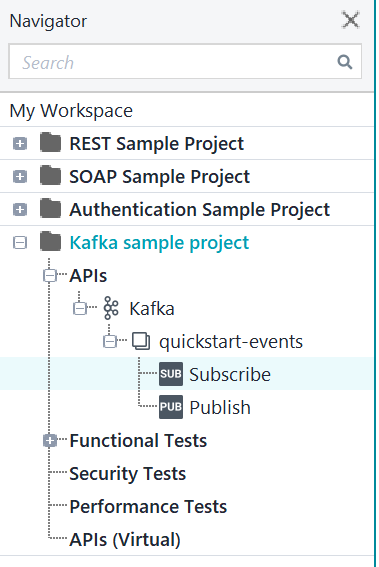
In the navigator, click on the plus icon to expand. Now, find an operation(for example, "Subscribe" or "Publish") and follow the given below steps.
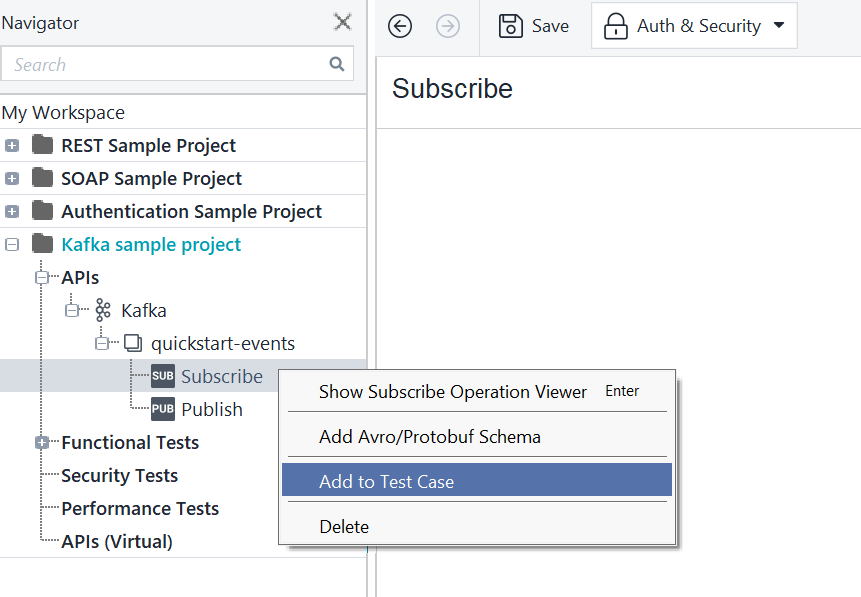
1️⃣Right-click on an operation(for example, "Subscribe", "Publish") in the navigator and select "Add to Test Case".➡️
2️⃣Now, you will see the "Add API Connection Test Step" dialogue. Choose a test case to which you want to add a new test step.➡️
Tip 🔗- To add a new test suite or test case, right-click a test suite in the right tree of the dialogue.
3️⃣Now click on the "Add Test Step" to create a test step.➡️
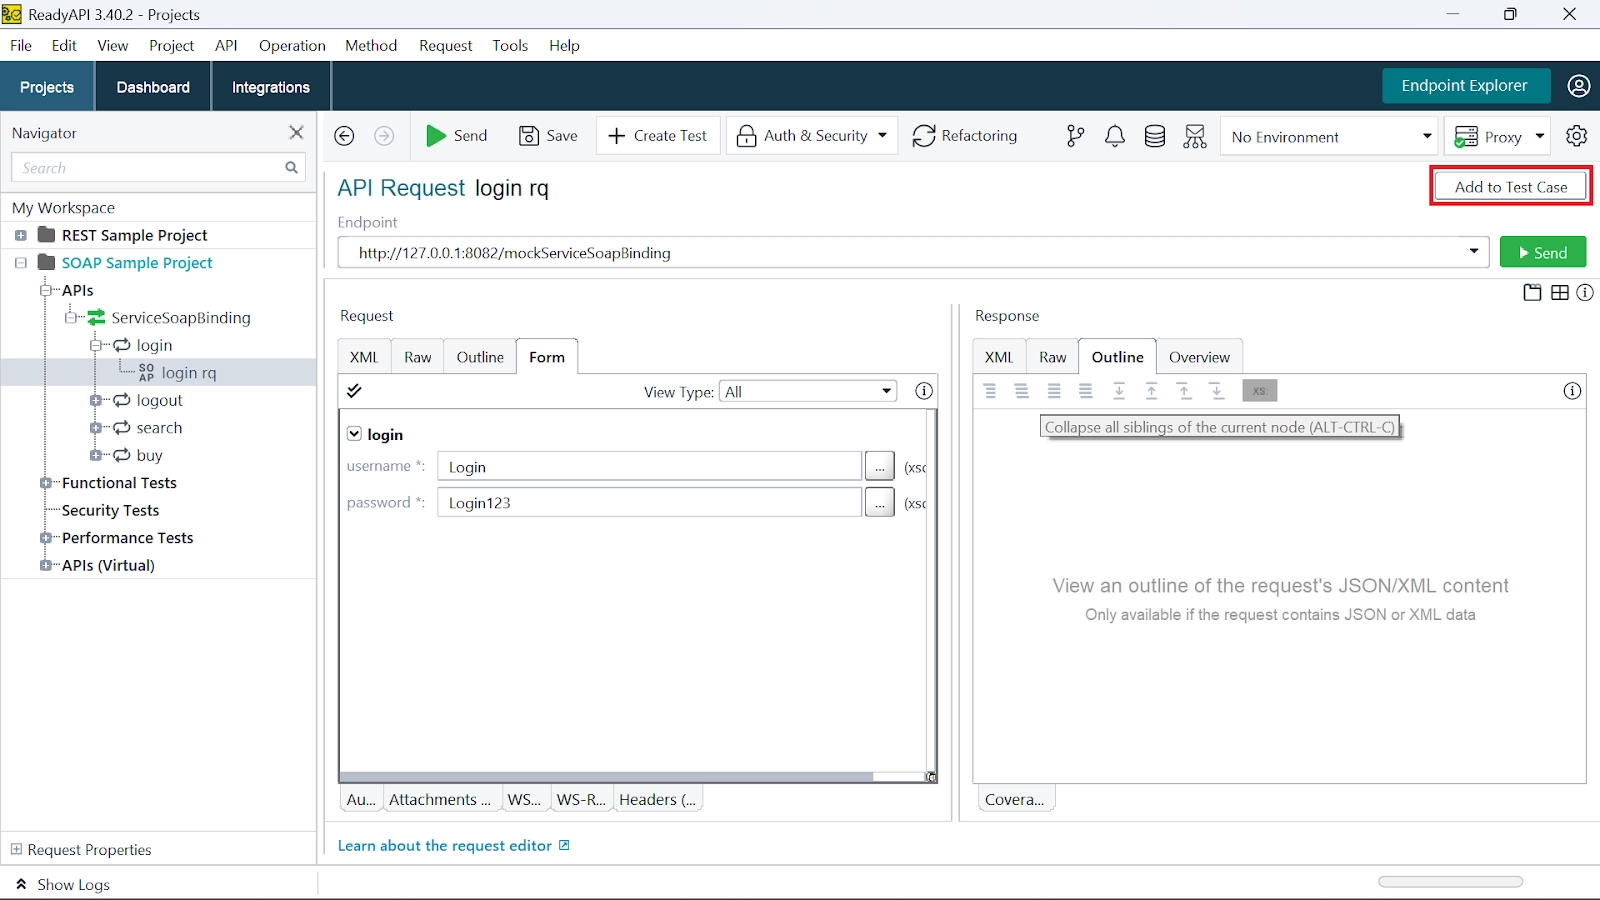
SOAP Request⚙️
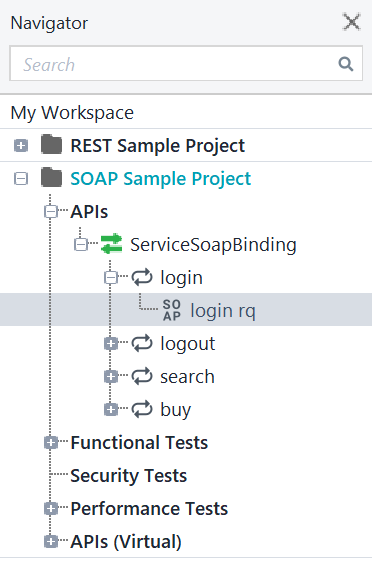
In the navigator, click on a "SOAP Request" and follow given below steps -
1️⃣Click on "Add to Test Case" in the top-right corner.➡️
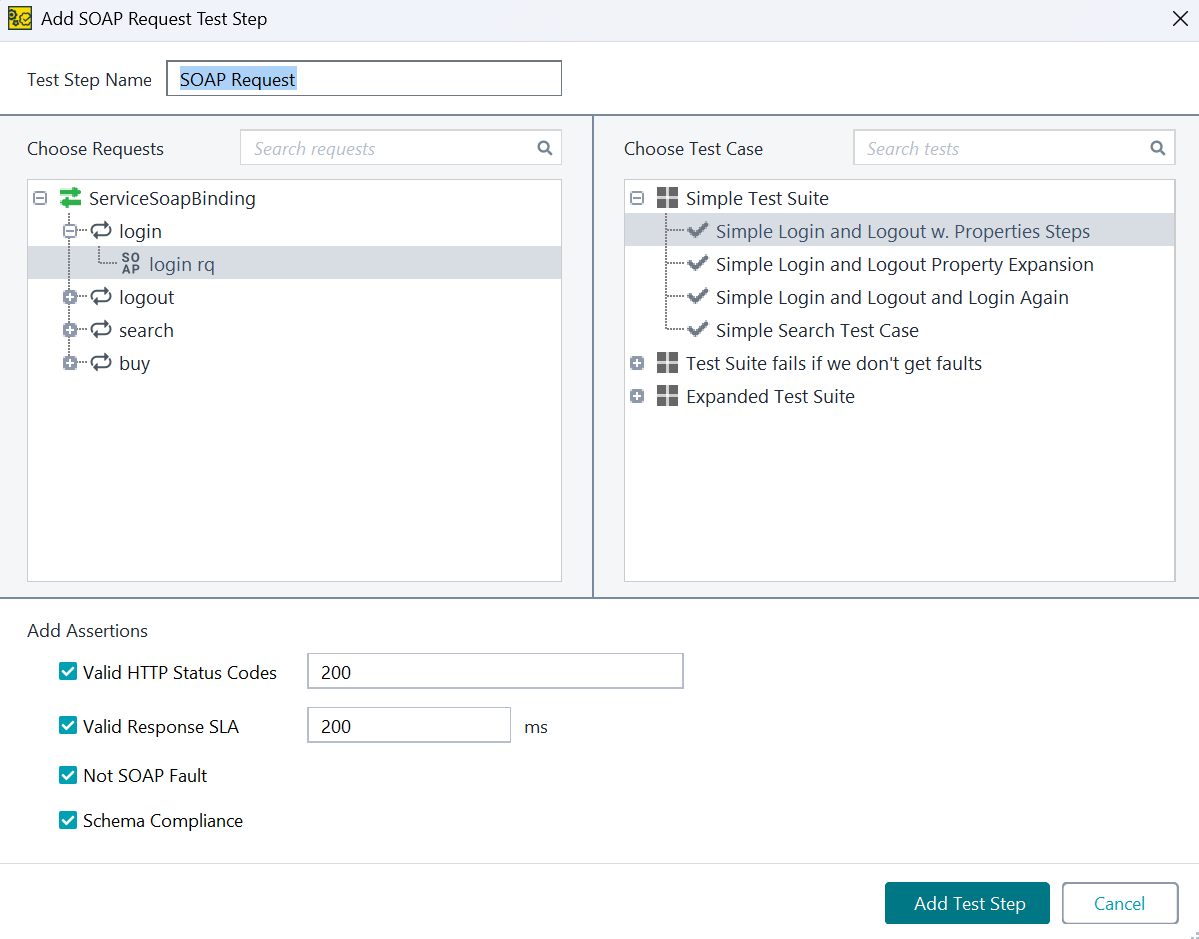
2️⃣Now, you will see the "Add SOAP Request Test Step" dialogue. Choose a test case to which you want to add a new test step.➡️
Tip 🔗- To add a new test suite or test case, right-click a test suite in the right tree of the dialogue.
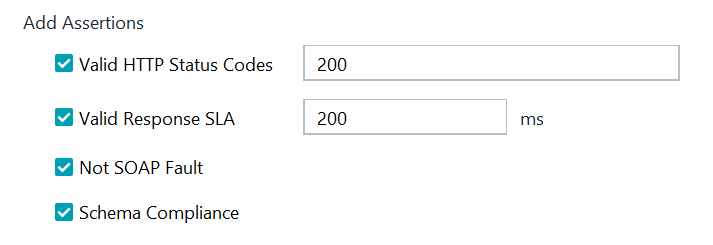
3️⃣You can configure the "Valid HTTP Status Codes" and "Valid Response SLA", "Not SOAP Fault", or "Schema Compliance" assertions and add them to the new test step.➡️
4️⃣Now click on the "Add Test Step" to create a test step.➡️
So far, we have learnt to use requests in tests. Let us see the second part of the article on the test and validate the requests in ReadyAPI. And learn about validating requests and responses.
Validate Requests and Responses🧶
In ReadyAPI, you can check if your requests and responses' data types and values tone with the data structure defined in the API specification.
You can do this check in the request editor.
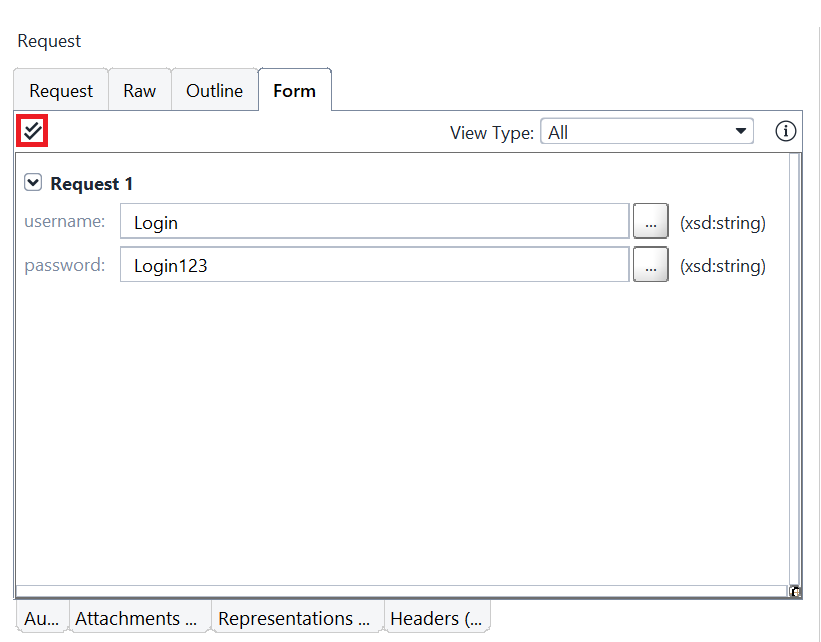
Checking Request Data🔎
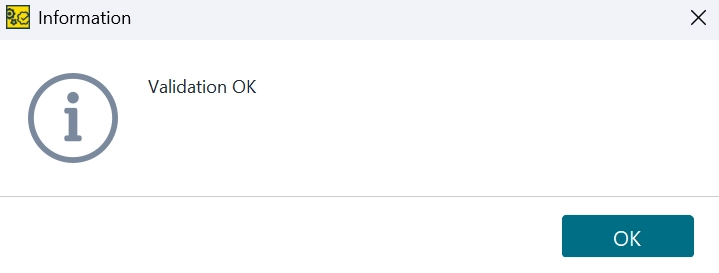
To validate the request parameter values, switch to the "Forms" section of the request editor and click on the double tick button.
The ReadyAPI will check if the data type of parameter values tones with the request definition in the web service specification. It will give the notification if it detects any errors or shows "Validation OK".
In the case of "REST" requests, you can change the parameter type in the "Request" section of the request editor. The check will run against the data type defined in the specification. And the settings you set in the "Request" section will be ignored.
Checking Response Data🔎
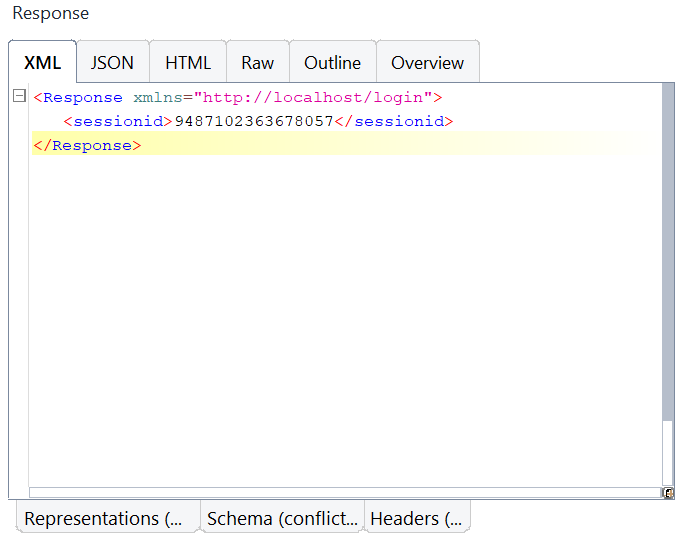
To validate data of "XML" and "JSON" responses.
➡️Switch to the "XML" or "JSON" response section.
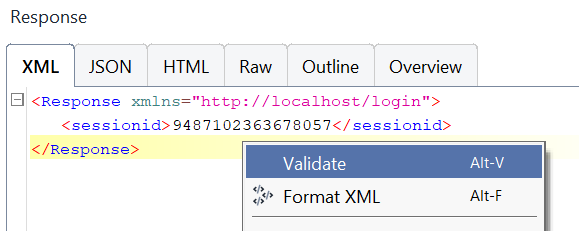
➡️Now, right-click on the page and select "Validate"(or press Alt+V).
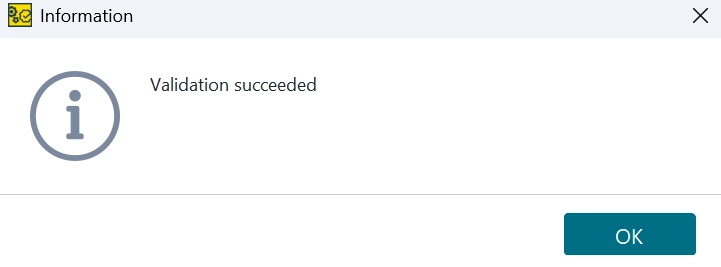
It will give a notification if it detects any errors or shows "Validation succeeded".
🔥ReadyAPI checks the given below aspects.
📌If the response data structure consistent with the structure you defined in your API specification.
📌If the response values match the data-type set in the specification.
Tip🔗 - If needed, you can modify the response and then re-validate it to ensure your changes are correct. You need to select "Edit" from the context menu on the XML or JSON page to activate the edit mode for a response.
Supported Services📱
The discussed validation works for the given below requests.
📌WSDL - the requests of the WSDL services.
📌Swagger 2.0 - the requests of this service which satisfy the below conditions.
➼The requests and responses pass data in JSON format.
➼The service specification is in the YAML or JSON format.
➼The service specification is added to your project in ReadyAPI v2.2 or later.
For all other services, this check always succeeds.
We hope you understand how to test and validate the requests in ReadyAPI.
Frequently Asked Questions
What is "ReadyAPI"?
"ReadyAPI" is one of the products of "SmartBear". It is an easy-to-use no-code API testing platform designed to streamline the testing workflows.
Is "ReadyAPI" open source?
"ReadyAPI" includes third-party open-source software modules subject to their respective licenses.
What is "SmartBear"?
"SmartBear" software is an American privately-held IT company that delivers tools for APM(application performance monitoring), software development and testing, API testing and management.
What does API stand for?
API stands for Application Programming Interface.
What is the use of API?
API is a software intermediary that allows two different applications to communicate.
Conclusion
This article discussed how to test and validate the requests in ReadyAPI. We learnt about adding requests to the test case and validating requests and responses.
We hope this blog on test and validate the requests in ReadyAPI. You can refer to other similar articles as well -


 9+ registered

