How to create a WebSocket Request in Postman?
To create a WebSocket Request, head over to your Postman Desktop App.
(If you have not installed Postman Desktop App, we recommend you read this article How to Install and Setup Postman and install the App.)
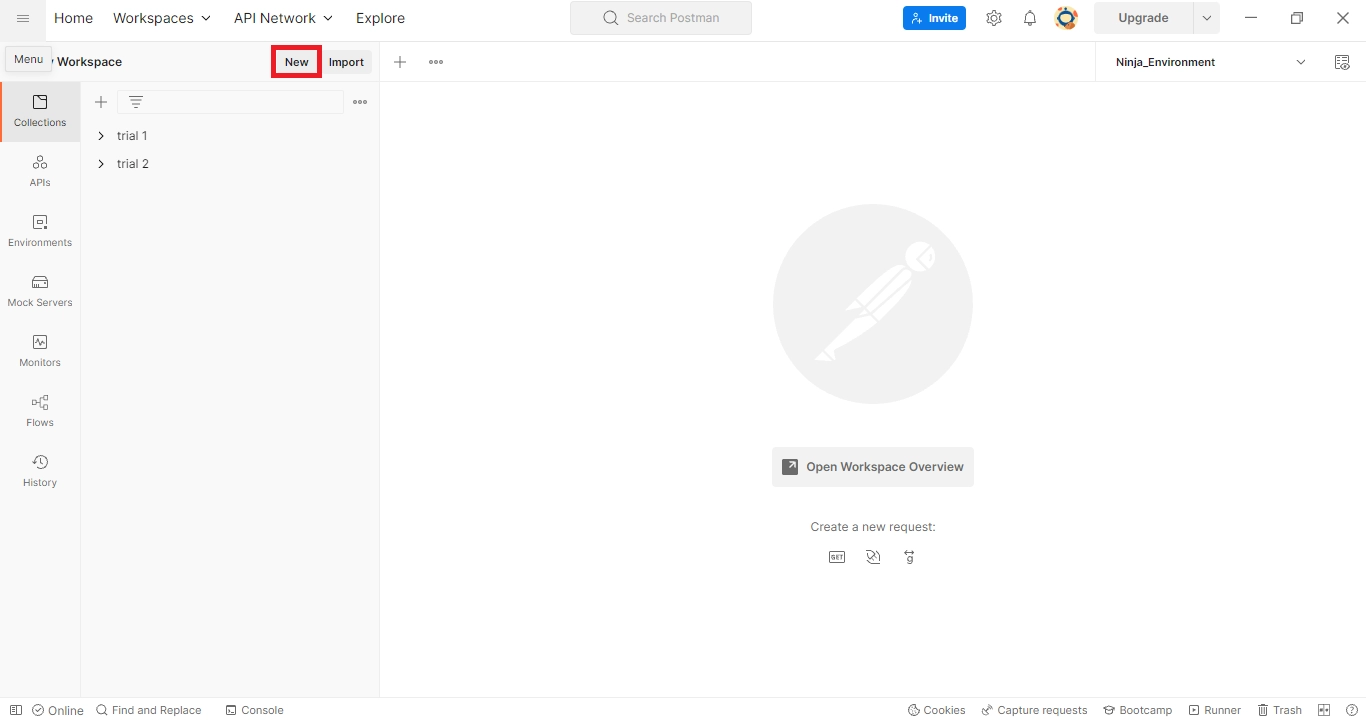
🚀 Click on New.
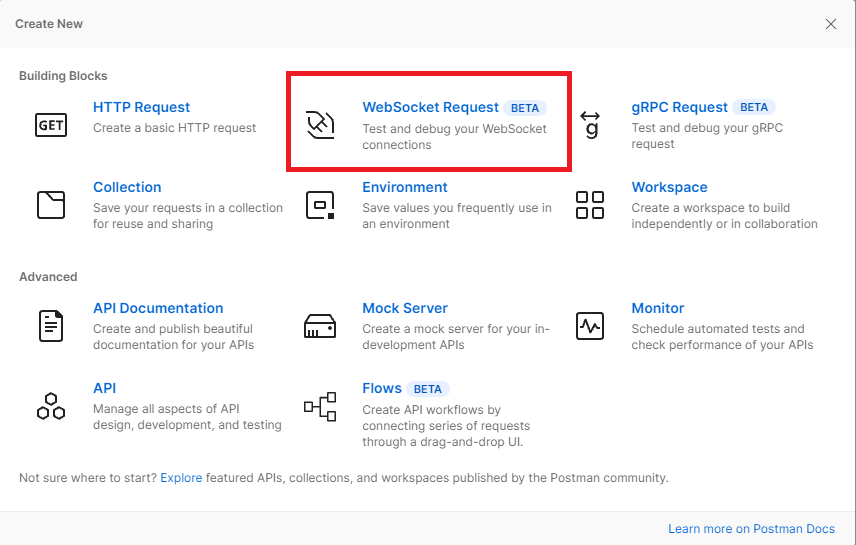
🚀 Select the WebSocket Request.
🚀 Notice that there is a Drop down list with two options - Raw and Socket.IO, for this example we will send a Raw WebSocket Request.
We will discuss the difference between Raw and Socket.IO further in this article.
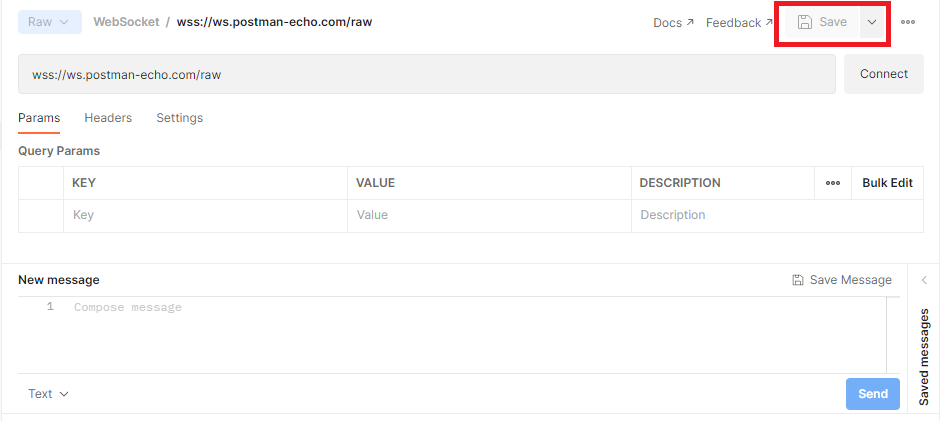
🚀 Enter the URL - wss://ws.postman-echo.com/raw

Remember that WebSocket Requests start with ws:// or wss:// where ws stands for WebSocket and the ‘s’ in wss (like the ‘s’ in https) means secure WebSocket connection.
wss://ws.postman-echo.com/raw will echo the message sent.
🚀Click on Connect to establish a connection.
Yay!🤩You have successfully established a connection.

To disconnect your WebSocket connection, click on Disconnect.
How to send Messages?
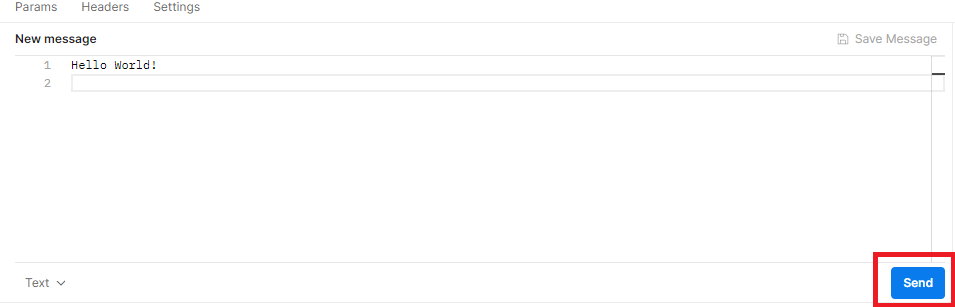
Let’s use wss://ws.postman-echo.com/raw and send a Hello World! message.
🚀 Type the message in the Message Box and click on send.
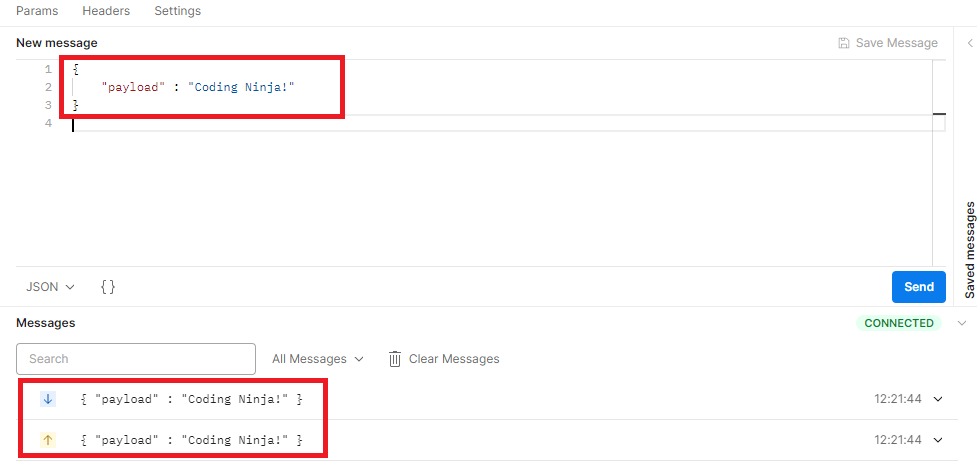
🚀 The output will be

🚀 The upward arrow ⬆️ is the request sent and the downward arrow ⬇️ is the response received.
You can send Text, JSON, XML, HTML or Binary messages.
🚀Let’s send a JSON message. From the drop-down list, select JSON.
Similarly, you can send many more messages.
Yay!🤩 Now you know how to create a connection and send messages.
Saving Messages
To save the message, you must first Save the request to a collection.
Note: You cannot save a WebSocket request to a collection that has already been used to save an HTTP request. Always create a separate collection for WebSockets.
🚀 Save the request in a collection by Using the Save button.
🚀 After saving the Request, save the message by clicking on ‘Save Message’. By default, the message will be saved as ‘New Message’ you can click on  and select ‘Rename’ and rename the saved message.
Additional Message Properties when using Socket.IO
🚀 We can add an event name to each request sent using Socket.IO. Enter the event name next to the Send button. By default, the event name is messages.
Let’s name the event ‘Greeting Message’.

🚀 We can add arguments by clicking on the +Args next to the message type drop-down list.

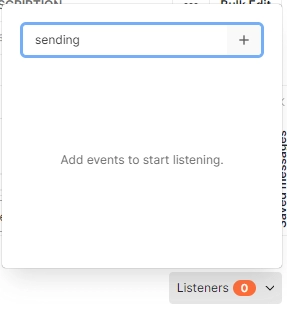
🚀The event's name and arguments help listen to particular events.
Type the name of the event on the Listeners tab and click “+” to add it. Since this is Socket.IO, you’ll only receive events for which you’ve added listeners.
Difference between Raw WebSocket and Socket.IO
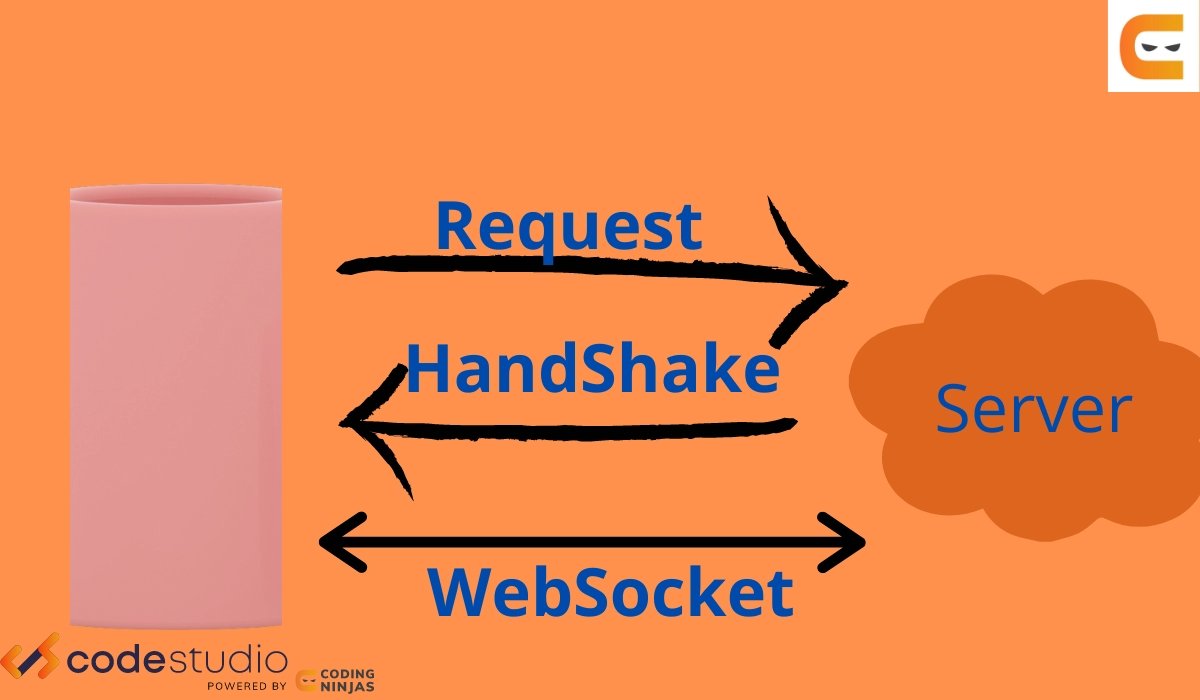
Raw WebSocket is a technology that provides a full two-way communication channel.
Socket.IO is a library built on WebSocket technology.
Socket.IO is easier to work with. If a connection is lost, it will be automatically reconnected if we use Socket.IO but in WebSocket, we will have to reconnect the connection manually.
Raw WebSocket runs only two requests, the GET request and the UPGRADE connection, but Socket.IO mostly runs four requests, the GET request, the Socket.IO client library, the three long polling AJAX requests and the UPGRADE connection.
Running so many requests is a waste of the network, hence we can say that Raw WebSocket is less network consuming.
Yay!🤩We have discussed the differences between the WebSocket and Socket.IO also.
Frequently Asked Questions
Does Socket.IO use WebSockets?
Yes. Socket.IO is a library built upon WebSockets technology and some other technologies.
What is WebSocket API?
WebSocket API supports two-way communication between client and the server. Once a connection is established between the client and server, it will not be lost unless any one of the client or server decides to stop the communication.
Why are WebSockets used?
WebSockets are used for real-time communication like for a trading website the data changes every second and needs to be updated accordingly or like for a chatting application, we have no idea for how long the connection should be established and how many messages will be exchanged within the conversation.
Conclusion
Pat yourself on the back👏 for finishing this article. We discussed what WebSockets are and how to send requests using them in Postman. We discussed creating a connection and sending messages using both Raw and Socket.IO. Lastly, we discussed the difference between Raw WebSocket and Socket.IO.
After reading this article, if you are interested in knowing more about Postman, we recommend you to read some of our articles -
🔥 Soap Requests in Postman
🔥 Managing Environment in Postman
🔥 Postman Interceptor
🔥 Postman Scripts
Head to the Guided Path on the Coding Ninjas Studio and upskill in Data Structures and Algorithms, Competitive Programming, System Design, and many more courses.
If you want to Practice top Coding Problems, attempt mock tests, or read interview experiences, head to the Coding Ninjas Studio, our practice platform.
We wish you Good Luck!🎈 Please upvote our blog 🏆 and help other ninjas grow.


 9+ registered

