Introduction
A tooltip is something that helps us when we need to learn what a particular icon does and is essential in navigating web pages to which we are new. Thus, a tooltip is usually a brief description of the functionality of the object and provides some hint to the user about the element. However, sometimes we need to verify the tooltip of an element using Selenium web driver using two ways essentially which we will discuss further in the blog.
In this blog, we will learn how we can verify Tooltip and the different methods depending on the way the tooltip is getting inserted into the HTML.
Verify Tooltip
There can be considered multiple ways to insert a tooltip inside an HTML. Here we will consider two such cases:
- When the tooltip is available in the ‘title’ attribute. In this case, we will be using the By strategy.
- When the tooltip is declared using ‘div’. Here, we can retrieve the tooltip using Actions class methods.
Now we will learn about the above methods.
Using getAttribute
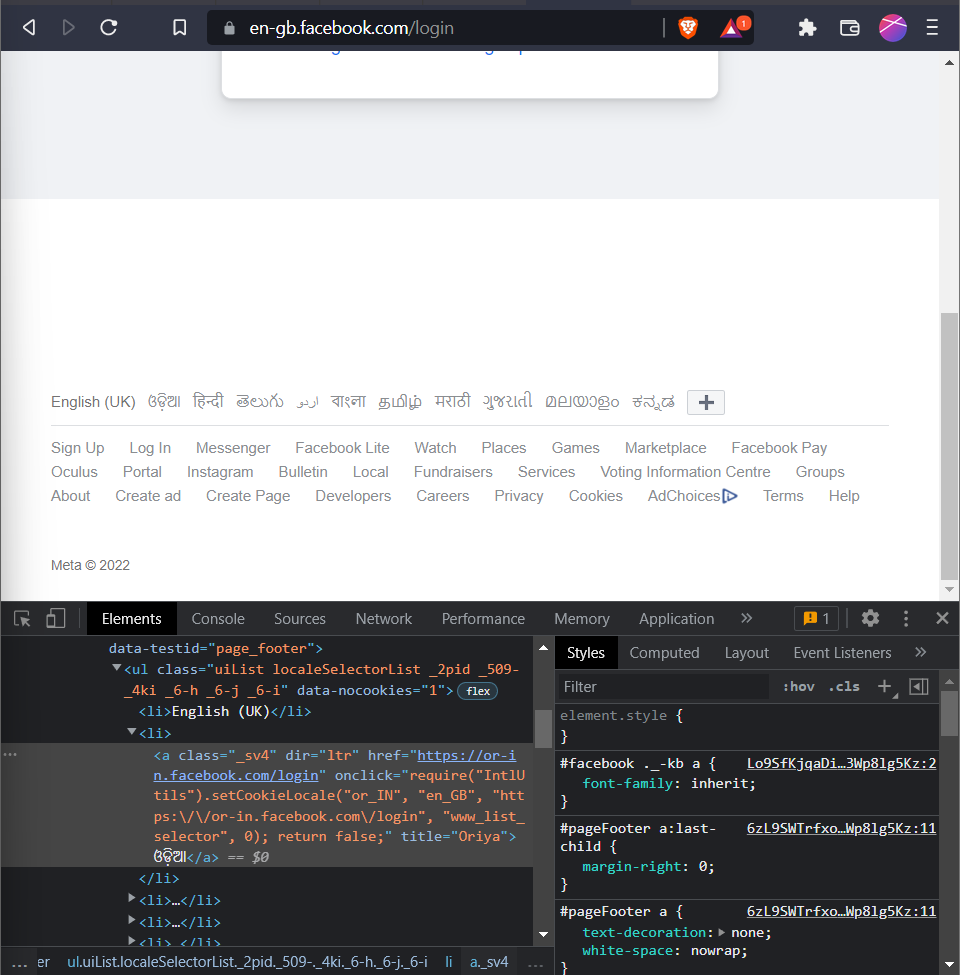
First, we need a sample webpage where we will check the tooltip and find a title attribute tooltip. Then we need to inspect and find the title.

Next, we need to locate and retrieve the web element with the tooltip.
WebElement webElement = driver.findElement(Any By locating strategy);Now, we can simply retrieve the ‘title’ attribute value of the webElement.
String tooltipText = webElement.getAttribute("title");Thus, we can utilize the value of the text of the tooltip from the tooltipText.
Using Actions Class
In this method, we will mock the behaviour of a user accessing the tooltip in a page. Then we can simply read the description of the tooltip.
Program
First, we instantiate an Actions class to make use of the object.
Actions action = new Actions(driver);Then we locate the tooltip web element.
WebElement element = driver.findElement(Any By Locating Strategy);Next, we invoke the moveToElement(), to move the mouse to the middle of the element containing our tooltip.
actions.moveToElement(element).perform();Now we access the element and invoke getText() to get its description.
WebElement toolTip = driver.findElement(Any By Locating Strategy);
String tooltipText = toolTip.getText();
Now we have the text stored in tooltipText and thus can access it to verify.


