Do you think IIT Guwahati certified course can help you in your career?
Introduction 🎯
Versioning is required because it helps us to iterate faster when the necessary changes are identified in the APIs. API in Postman is needed to be versioned up only when a breaking change is made. These breaking changes include a difference in the response data format for more than one call, removing a part of the API, or changing the request/ request type.
Breaking changes must always result in a change to the major version for a content response type or API in Postman. Whereas non-breaking changes like adding new response parameters or new endpoints do not require a change to the major version. Versioning can help track the minor versions of APIs in Postman whenever changes are made o support customers who may experience API issues.
Versioning concepts📙
Every API in Postman has more than one version, consisting of multiple releases. Each version also has status.
🧿 A version describes a significant variant of an API and its corresponding elements like tests, documentation, mock servers, and monitors.
🧿 A release is a periodic gradual change to an API version. The changelog lists released and unreleased changes, and we can generate new releases there. Changes include modification to the API schema or any associated elements. When connected to an external git repository, releases can be mapped to Git release tags.
🧿 A status is a text tag that can be changed to indicate the ongoing development stage of the API version.
We can also generate multiple versions parallelly. For example, we can develop a new 2.0 version of an API that introduces recent breaking changes and functions on it internally but keep adding changes to the 1.0 version that is public currently.
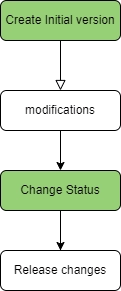
A typical workflow for API - first development is as follow:
✨ Firstly, we need to create an initial version of an API. Set the status of the version to indicate that the version is in progress, such as "In development" or "Planning."
✨ Then, we need to make modifications/changes to the schema and related collections.
✨ Next, we need to review changes in the Changelog. We can set the status of the version in Postman to "Security Review" or "Code Review" during this stage.
✨ Now, We need to go to the Changelog and Choose Release changes. Then, name the Release, add a release note, and then create the Release. Then, at last, change the status to "In production."
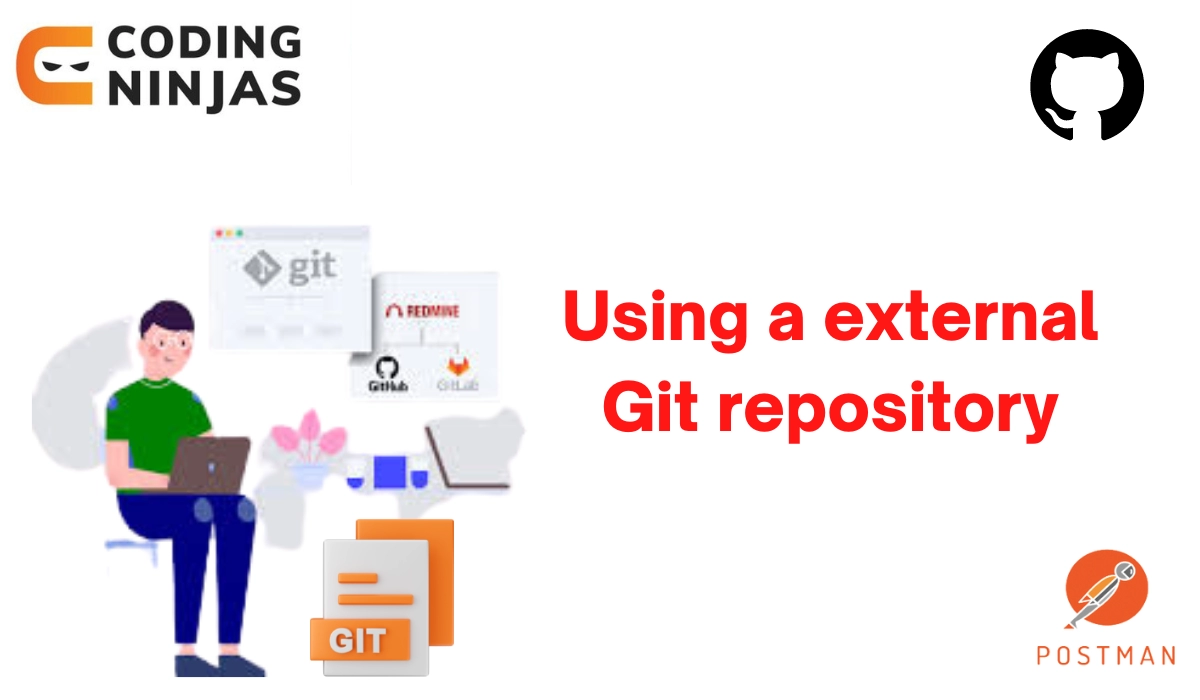
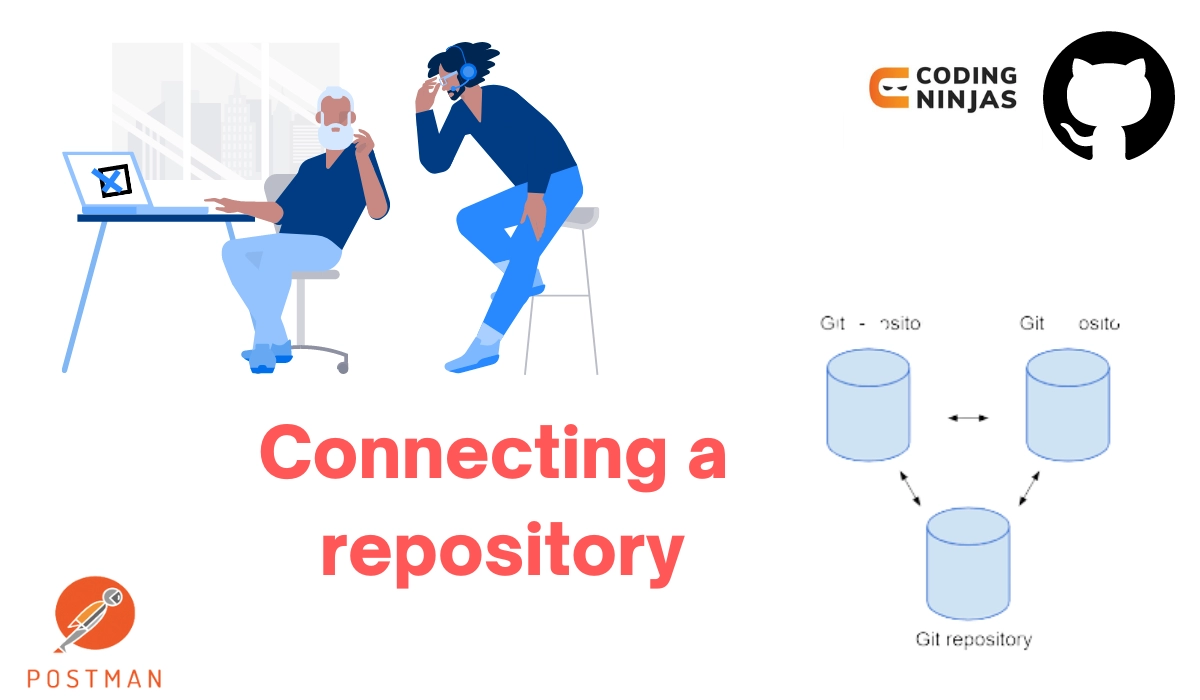
Using an external Git repository📗
We can connect a Bitbucket, Github, GitLab, Azure DevOps, or GitLab Self-Managed repository to our API and sync our API specifications and related collections with the repository. We can continuously make changes synced between develop branch in Git and Postman.
When it's time for Release, we can merge the develop branch to the main branch in Git, Which holds the release version of the API. Then, we can generate a Git release and can map this release tag to our Release in Postman.
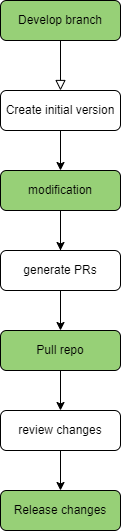
A normal workflow for API-first development with an external git repository is as follows:
✳️Step 1: Connect a repository and set up a develop branch.
✳️Step 2: In Postman, generate/create an initial version of an API. Next, set the status of the version to indicate that the version is in progress, like "In development" or "Planning."
✳️Step 3: In the next step, we need to make changes to Postman's schema and related collections, commit the changes, and then push the changes to the develop branch in the gi repository.
✳️Step 4: We can also make changes to collections and schemas directly in Git with the help of other editors or tools. Also, the developer can follow a Git workflow like working on feature branches, then generating PRs to concatenate them into the develop branch.
✳️Step 5: If any issues occur, we need to pull periodically from the develop branch to get changes others have made into Postman and resolve the conflict.
✳️ Step 6: In the next step, we have to review all the changes made on our developed branches, then merge them all to the main branch and create a Git release. During this stage, we can set the status of the version in Postman to "Security Review" or "Code review."
✳️ Step 7: In the last step, We need to go to the Changelog and Choose Release changes. Then, name the Release, add a release note, and then create the Release. Then, at last, change the status to "In production."
Connecting a repo lets us continuously synchronize changes between a Postman and the repository. The things we need to keep in mind while connecting to a repository are as follows:
📝 The user account used for authentication needs full access to the repositories.
📝 We can only connect one Postman API to one remote repository.
📝 We need to enable third-party application access for our organization for Azure DevOps connections.
📝 For GitHub connections, Github has imposed a limit of ten auth tokens per user per application.
If we used the earlier standalone GitHub integration for two-way sync of an API schema, we must delete the previous integration to connect a repo to your API. An existing integration will continue to function, but we can't add new integrations for two-way sync to an API schema.
To connect a repository, we need to do the following steps: ✍️ In an API version page, choose Connect Repository and select a repo type: GitHub Enterprise, GitHub, Bitbucket, GitLab self-managed, GitLab, or Azure DevOps.
✍️ After choosing repo type, an authentication pop-up window appears. Fill in the information to sign in to our repository and click on Grant access.
We need to make sure to enable pop-ups from this site. Because this pop-up window may be hidden by our browser.
✍️ On the Connect our repository page, fill in the information for our repository.
✍️ Enter the Repository and Organization where the API will be contained.
We can only connect one Postman API per repository. Multiple APIs need multiple repositories.
✍️ Fill the Main branch for the API. This is used to get release tags; code is not pushed to this branch.
✍️ Fill in the Development branch for the API. In this code, updates are pushed.
✍️ Choose a Collection directory and API schema directory where the schema and collections will be contained in the repository. If a value is blank, a postman/collections or postman/schemas directory will be generated in the repository's root. If we select a directory that contains schemas already, we will be asked which schema to use in Postman the first time we pull changes.
✍️ Choose Connect Repository.
Pulling and pushing Changes🎯
When connected to an external Git repository, the repository dropdown list shows our ongoing development branch and indicates if our API changes in Postman are behind or ahead of the files in our external repository. It displays links to the connected repo and branch and the date when changes were last pushed to the Git repo or pulled to Postman. It also stores commands to commit, pull and push, delete the integration, and switch branches.
Choose the refresh icon next to the repo dropdown list to check the remote repository for applicable changes.
Pulling changes 📙
Click on Pull from the repository dropdown list to get changes from the remote repository. This sync changes from the develop branch of the local repository to Postman. If we have a remote chance of quarrels with the local copy, we will be shown a link to the recent Git commit and the conflicting files. To sort out the conflict, next to each file, choose either Keep a local file or Keep a remote file, then click on Pull Changes. The first time we pull changes from the local repository, we will be prompted to choose which schema to use in Postman if the local schema directory already contains schema files.
Committing and pushing changes 📙
For adding our local changes to the external repository, choose to commit and push from the repository dropdown list. We will see a list of files modified. Type a commit message, and choose to Commit and Push Changes. We will be asked to pull the changes if there have already been changes on the remote repository.
Switching branches 📘
🧵If our Git repository contains multiple feature branches, we can switch branches in Postman from the development branch to a distinct feature branch.
🧵For switching to another branch, We have to select Switch Branch from the repository dropdown list, then select a branch from the list.
🧵 Note that the only Switch Branch list is available if our repository has more than one branch, including the main branch.
🧵 When not in the configured develop branch, we can only edit the API schema and collections.
🧵 Commit and push our changes to the feature branch; then, in our repository, we can make a pull request, review all the changes, and merge them back to our develop branch.
Removing the repository connection
We can remove a connection to a Git repository at any time. We may want to do this if we are changing accounts or providers or are required to use a different development branch.
On the repository dropdown list, click on Delete Integration.
Note: This removes the connection to Git; it does not change any branches or files.
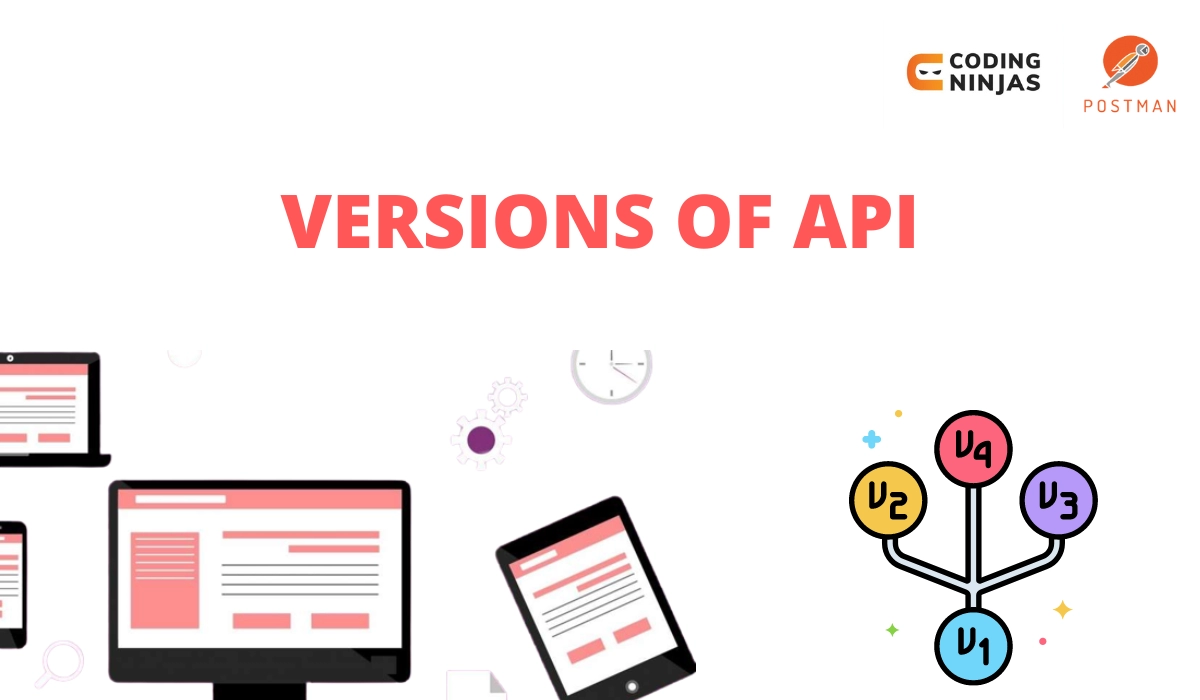
Versions of API
Whenever we create a new API in Postman, it also generates the initial version we entered during API creation. New versions can be made from scratch or based on the existing version.
Creating version📚
The steps for creating new versions of an API are as follows:
💥In the API Overview page, select the more actions icon … in the upper right corner and then click on create version.
💥Then, Enter the version name.
💥If we want to base this entered version on existing elements, click "show more options." Select a previous version of the API to copy elements from a previous version. Then, choose the element we want to copy to our new API version.
💥Select Create Version. After selecting, our latest version will get opened in the API Builder.
Renaming and deleting versions📚
💥We can edit, rename or delete an API version using the icon more actions in the sidebar. Editing in API allows us to change the name and status.
💥When we delete an API version, the monitors, collections, environments, and mocks linked to it will not be deleted or removed.
API releases✳️
As discussed earlier, A release is a periodic gradual/incremental change to an API version. We create a release regularly to put out changes made to the API. Releases can be named dynamically (2022 - 08 - 25, Q4 Security Update) or can be semantic version names (3.2.0- beta). When connected to an external Git repository, releases can be mapped/sourced to the Git release tags.
Viewing releases 📚
Releases are displayed on the API version page. To open the API version's release page, select a release date.
Every release page displays a read-only view of the schema, tests, and documentation associated with that Release.
We cannot make changes to a released API. If we have to make more changes, we can create another release.
Creating a release 📚
For creating a release, follow the below steps:
🌀If we use an external Git repository, create a release in Git first by grouping changes from our develop branch to the main branch and creating a release tag.
🌀 Choose the changelog icon in the sidebar. The Changelog will display changes to the schema of the API version and associated elements.
🌀 Then, Click on +Create Release.
🌀 Then, we need to enter the release name and summary. The summary has a limit of 140 characters.
🌀 Enter the release note for the Release. Use the editor to fill a long-form Release description, including lists, tables, images, headings, code blocks, and another formatting.
🌀 If we use an external Git repository, choose a tag in the Git release.
🌀 Choose Consumers can view this Release if we want the new version to be visible to our consumers of API. Otherwise, it is only visible to users with Editor access to the API.
🌀 Click on Create Release.
We can edit a release name in the Changelog. After the Release, click on the more actions icon … , then click on Edit. We can also edit a summary of Release and release notes from the release page in the edit dialog or by choosing the description or release notes in the overview.
API Status🎯
📝 An API status is a text tag that we can change to signify the current stage of the API version within our development cycle. For example, we can select a status such as "Security Review," "In production," or "In Design." We can set different statuses for every version of an API.
📝 A status does not impact an API's permissions, visibility, or availability. Rather, it is a way to inform about the current state of the API. We can change the status at any time.
📝 By default, the status of the new API is "In planning." Select one from the dropdown list on the API's overview page for setting a new status.
If you want to learn how to use Postman API, you can watch our video here.
Frequently Asked Questions
What is Postman?
Postman is a free software program based on the HTTP Client protocol. By leveraging GUI (Graphical User Interface), which can be executed and validate the responses, it provides testing of HTTP requests.
What is API used for?
API is a software intermediary that allows two different applications to communicate with each other.
What is the difference between versions and releases?
Version represents a specific edition or form of something at a specific point in its history. On the other hand, the release is the distribution of the newest version of a document or application.
What collection is used for in postman?
A collection in postman helps us to group similar requests. It helps in systematically arranging the requests into folders.
What does API stand for?
API stands for Application Programming Interface.
Conclusion
In this article, we have discussed versioning an API in Postman in detail. We started with an introduction to versioning; we saw topics such as Using an external Git repository, Versions of API, API releases, and API status.
Do you not feel eager to read/explore additional information on the subject of the Postman after reading about How to Monitor Your APIs and Their Uptime in Postman?


 6+ registered

