Introduction
ReadyAPI is an interactive tool for no-code API testing. It aims to help user test applications more efficiently. Also, it lets users scale and automates end-to-end testing for several API types.
There comes three modules on a single platform. These are:
- Ready API Test Module
- Ready API Performance Module
- Ready API Virtualization Module

The VirtServer is a part of the Ready API virtualization module. You can virtualize your service and continue its testing despite being in the development stage.
Let's move into the article to learn more about VirtServer in Ready API.

VirtServer in Ready API
We use VirtServer in Ready API to run virtual network services. It is not bound to run on a specific platform. You can run it on Windows, Linux, macOS, or any headless machine.
VirtServer is strongly integrated with the Ready API Virtualization Module. Thus, it permits you to create, edit, and manage services and run them.

Note that before starting, you must have two licenses to work with VirtServer. These are the Ready API Virtualization Pro license and the VirtServer license. If you do not have these, visit their website and mark a request.
Features
Some of the most prominent features of VirtServer in Ready API are listed below.
- It lets you work independently with virts by downloading them from a remote VertServer.
- It allows performance tester to use virtual services. This saves time and frees them from scheduling time for the servers.
- It saves resources by providing virtual services to code and test.
- One can share and manage virts remotely.
- It permits other teams to create powerful and flexible tests.

Working
- Firstly, install and launch VirtServer on your network.
- Then, discover operations from the recorded traffic or any other supported manner. It will help you define operations and responses in the editor to create virtual services.
- Your virtual service is ready for testing. Deploy it to VirtServer and start it.
- Now, run tests against these virts as normally for other APIs.
You can use the workflow image below for a better understanding.
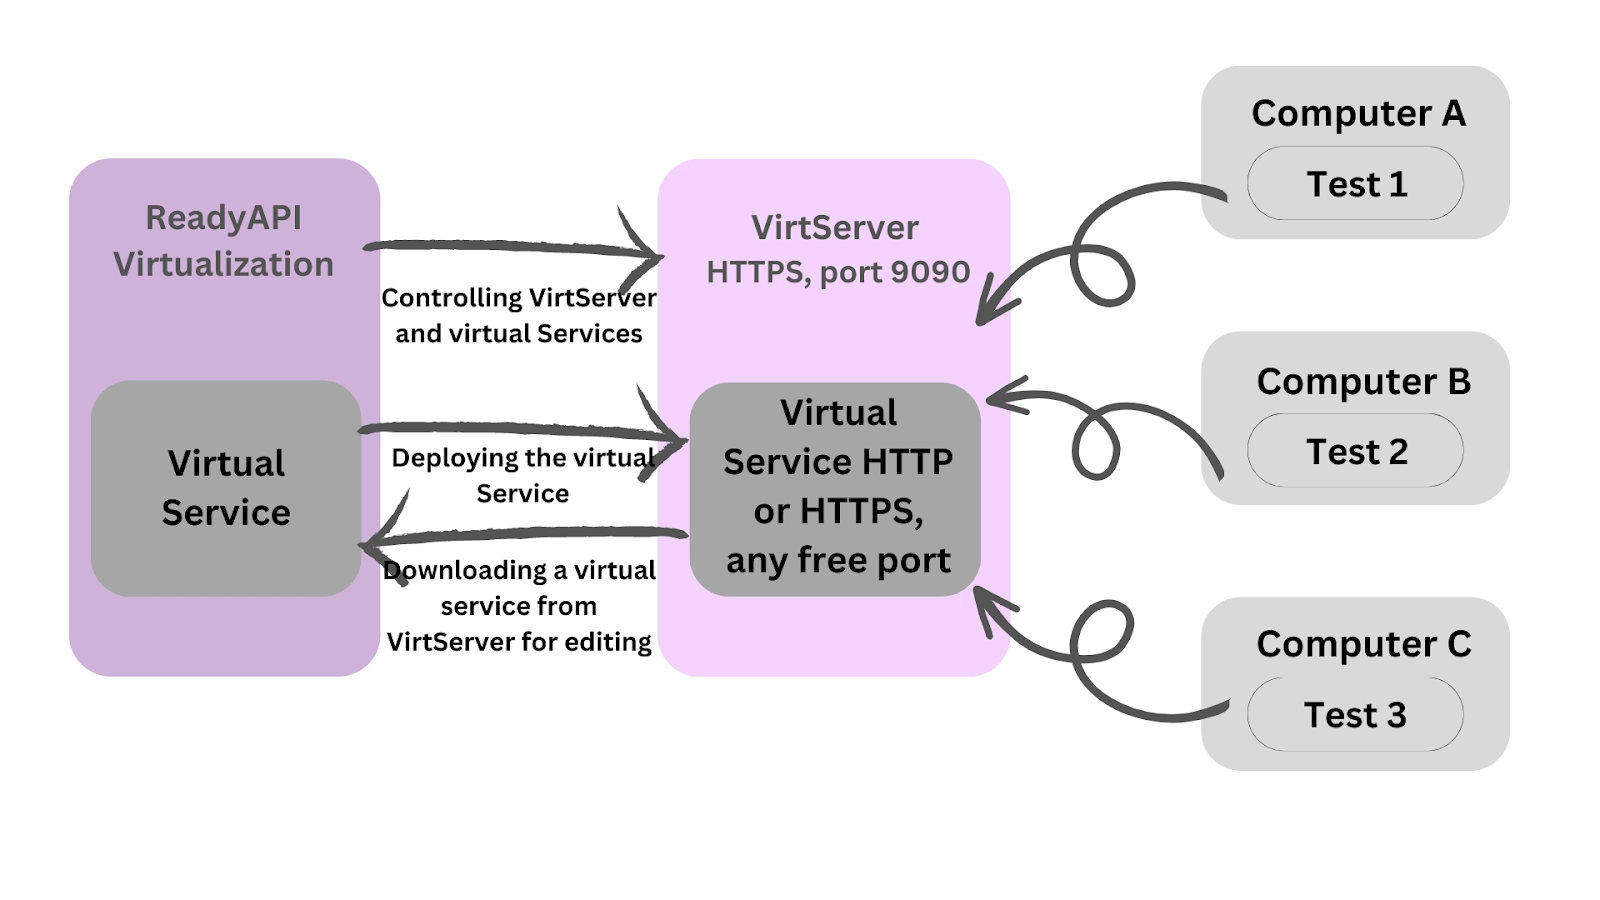
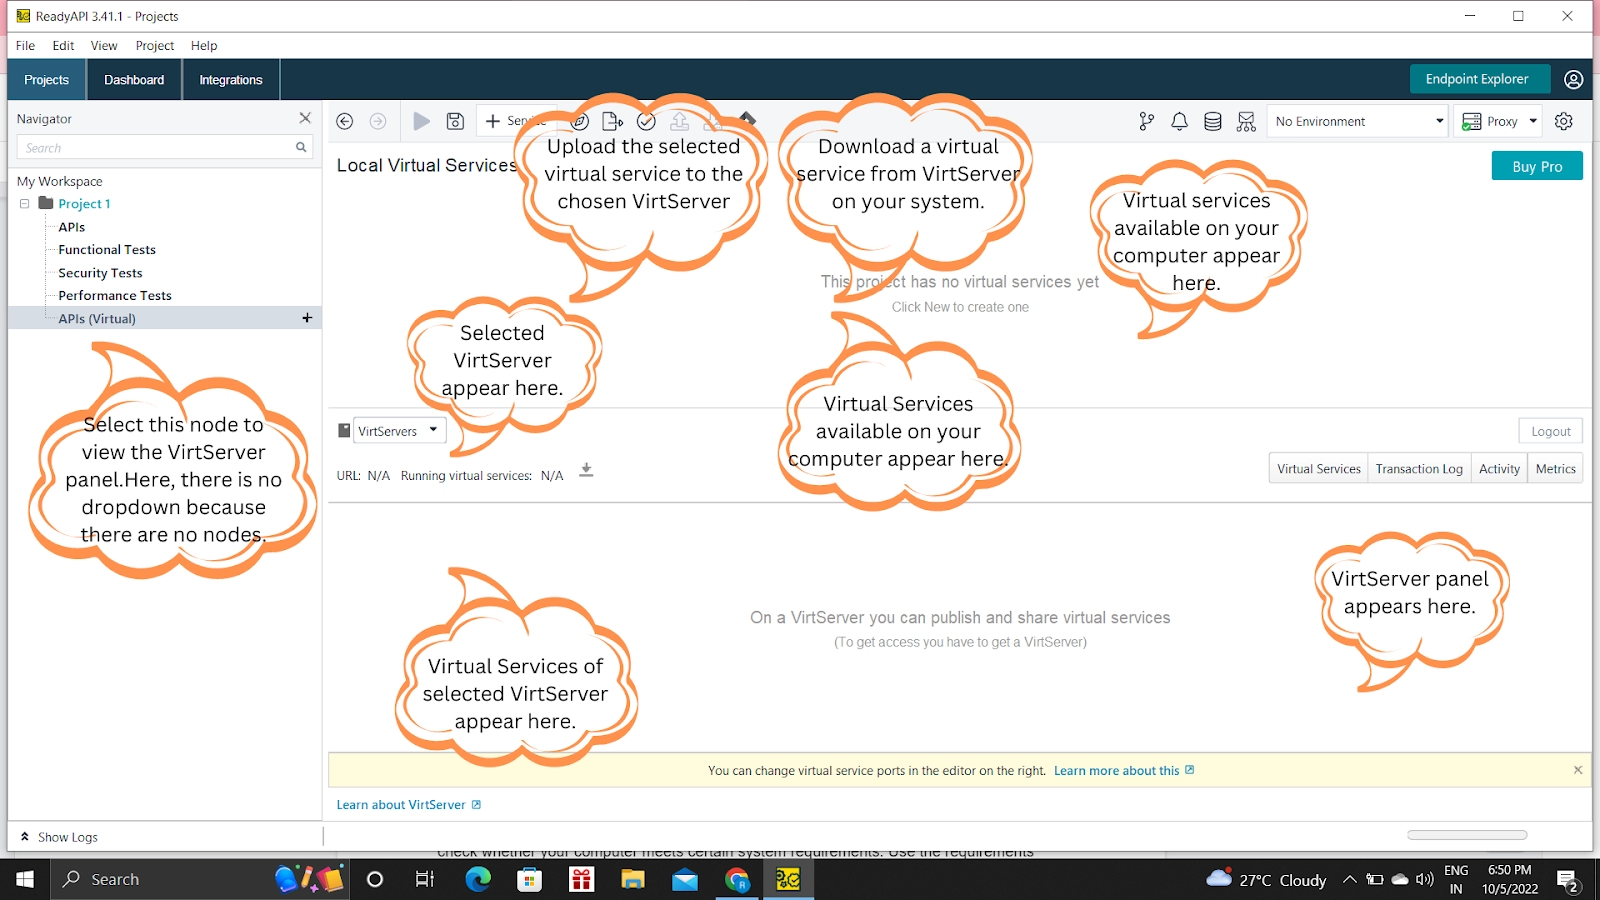
The VirtServer and virtual services you create get saved in the VirtServer panel of Ready API. Use that panel to control and manage those services.
Installation
You will need a separate installation package from Ready API for installing VirtServer. The process is similar for Windows, macOS, and Linux. But, there is a different process for headless machines. We will discuss them all further.
Pre-preparation
As part of pre-preparation, ensure that you own the two licenses mentioned earlier. Also, check whether your computer meets certain system requirements. Use the requirements table below for the same.
Criteria |
Requirements |
| Operating System | 64-bit Oracle Linux 6 - 8, 64-bit Suse Linux Enterprise Server 12 - 15, 64-bit Red Hat Enterprise Linux 6 - 8, Ubuntu Linux 18.04 - 20.04, Windows 7 SP1 with convenience rollup update (KB3125574), Windows 8, Windows 10 (64-bit), Windows Server 2012 - 2019, macOS 10.13 - 10.15. |
| Processor |
Recommended- Intel Core i5/i7 (the 3rd generation or later) or an equivalent AMD processor. Minimal- Intel Core i3 (the 3rd generation or later). |
| RAM |
Recommended- 6 GB of RAM or more. Minimal- 4 GB of RAM |
| Free disk space |
Recommended- 500MB of free disk space for installation. Minimal- 500MB of free disk space for installation. |
The Performance Requirements come into play while testing. It is assumed that a huge number of tests would be running in parallel to the services. So, to ensure that things go as expected, it is advisable to take a more powerful computer. The minimum recommendations are:
- Intel Core i5/i7 (the 3rd generation or later) with at least 4 threads.
- 8 GB of RAM or more.
- An SSD with at least 1 GB of free disk space.
For Large-scale load tests, ensure that you have the following system configurations.
- A 64-bit operating system.
- Intel Core i7 desktop processor or an equivalent AMD processor (3rd generation or newer).
- 16 to 32 GB RAM.
- An SSD disk with enough space to store data.
- A network connection sufficient to handle all transactions. (The actual bandwidth required depends on your test).
Typical Installation (Windows, macOS, and Linux)
For a Typical installation, follow the steps mentioned below.
- Download the VirtServer installer using the official SmartBear website.
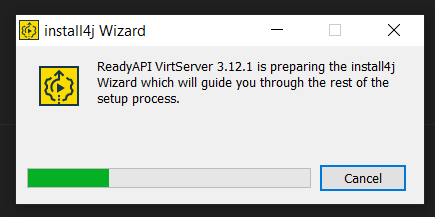
- Run the installation package you downloaded. The installer starts unpacking the files and continues installation in command-line mode.
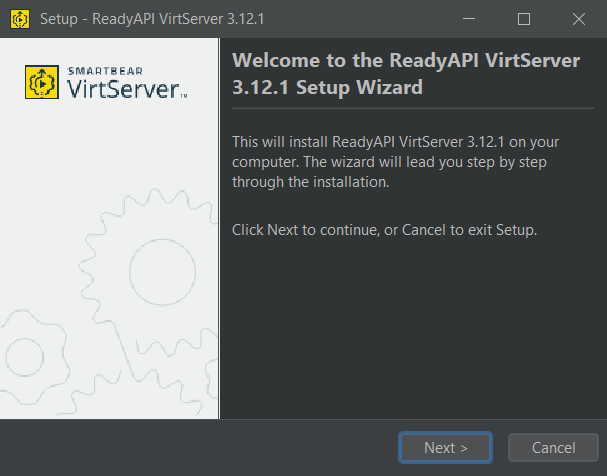
- A dialog appears. Click on Next.
- Mention the particular installation directory and click on Next.
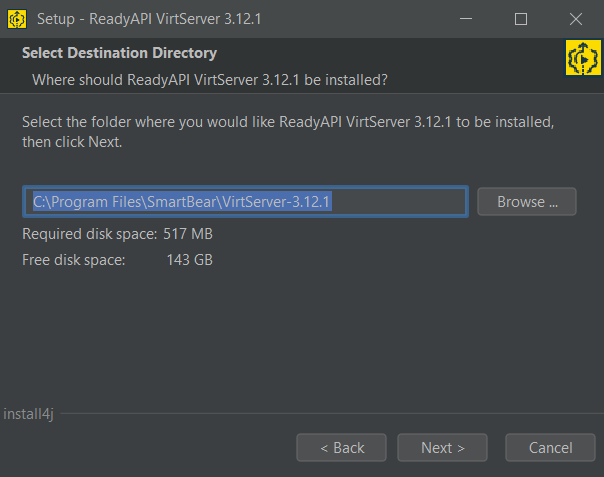
- Now, the wizard will ask if you require a few additional components. Click on Next.
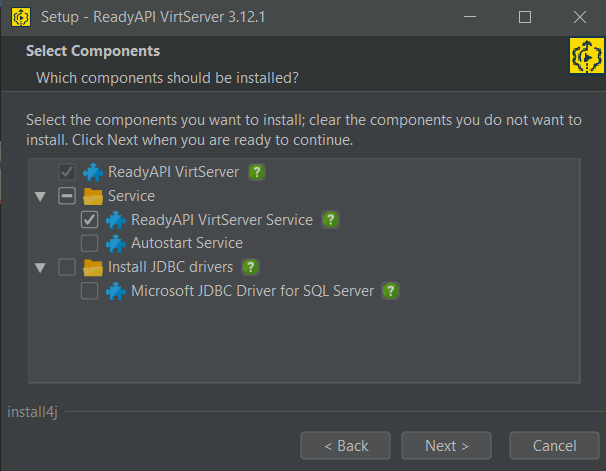
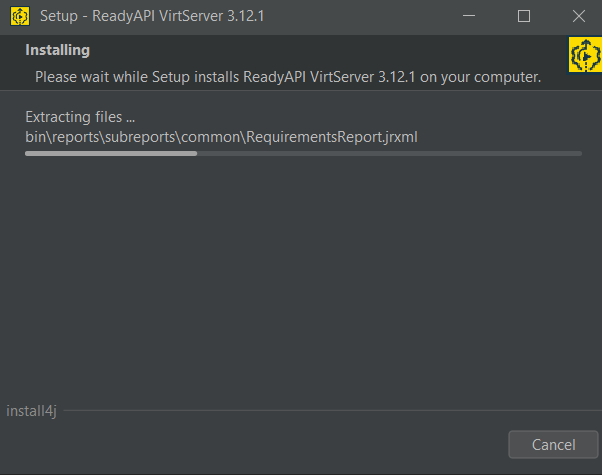
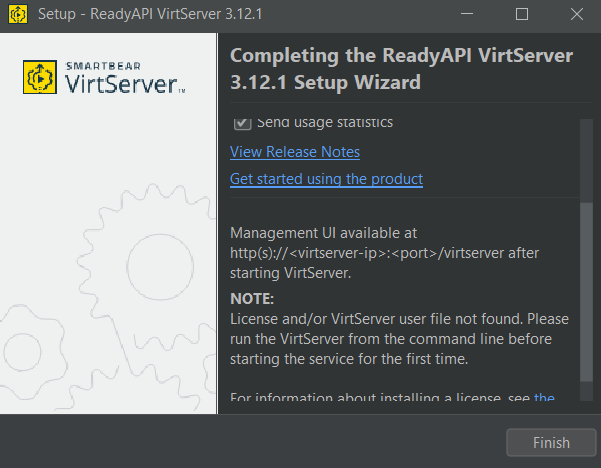
- Wait for the process to complete. Click on Finish to complete.
Installation Process for Headless Machines
To install VirtServer in Headless Machines, follow these steps:
- Download the VirtServer installer using the official website.
- Grant required permissions to the installer for execution.
- With the c- argument in its command line, run the installer. Use the example below of a 64-bit installer of VirtServer 3.12.1.
sh VirtServer-x64-3.12.1.0.sh -c
For Windows computers, use the following command.
start /wait VirtServer-x64-3.12.1.exe -c
- The installer starts unpacking the files and continues installation in command-line mode.
- Mention the particular installation directory and click on Next.
- Now, the wizard will ask if you require a few additional components. Click on Next.
- Wait for the process to complete. Click on Finish to complete.
After Installation
Now, it is time to run VirtServer in Ready API. So, create a user and activate the licenses. The processes are simple, and you can complete them by following the instructions on the screen.
Upgradation
If you want to upgrade or reinstall VirtServer, you can follow the steps above. It is advisable to always keep a backup of your database as a precaution. If you are upgrading VirtServer on the same machine you used for the previous installation, restart VirtServer and pick up the latest installation.
Also read - AMD vs Intel


