Implementation
One of the most prevalent issues is figuring out how to add functionality to a button. We utilize the bind() method to add functionality, connecting the function to the button. bind() generates an event and sends it to the callback ().
One of the most prevalent issues for new Kivy users is misunderstanding how the bind method works, particularly among newer Python users who haven't wholly acquired their intuition about function calls.
However, the bind method is unaware of the existence of a function or its parameters; it just receives the outcome of this function call. When the button is pushed, the given code outputs the "button pressed" def in the function callback.
Approach
The basic approach to using the button is given:
- Import kivy
- Import kivyApp
- Import Widget
- Import Button
- Set minimum version(optional)
- Create widget class:
- Arrange a callback
- Define Callback function
- create App class
- create a .kv file (name same as the app class):
- create a Widget
- Create a Button
- Specify requirements
- return Layout/widget/Class
- Run an instance of the class
Code
The code below will show how to implement a button and arrange a callback to it in kivy.
import kivy
from kivy.app import App
from kivy.uix.button import Button

class FirstButtonApp(App):
    def build(self):
        button = Button(text="Press Here",font_size ="30sp",
                   background_color =(0,0,1,1),
                   color =(50, 50, 50, 50),
                   size =(15, 15),
                   size_hint =(.2, .2),
                   pos =(400, 250))

        # Arranging a callback to a button using bind() function in kivy.
        button.bind(on_press = self.click)
        return button

    # Click function tells when button pressed
    def click(self, event):
        print("Button pressed")
        print('Hello Ninja')

root = FirstButtonApp()
root.run()

You can also try this code with Online Python Compiler
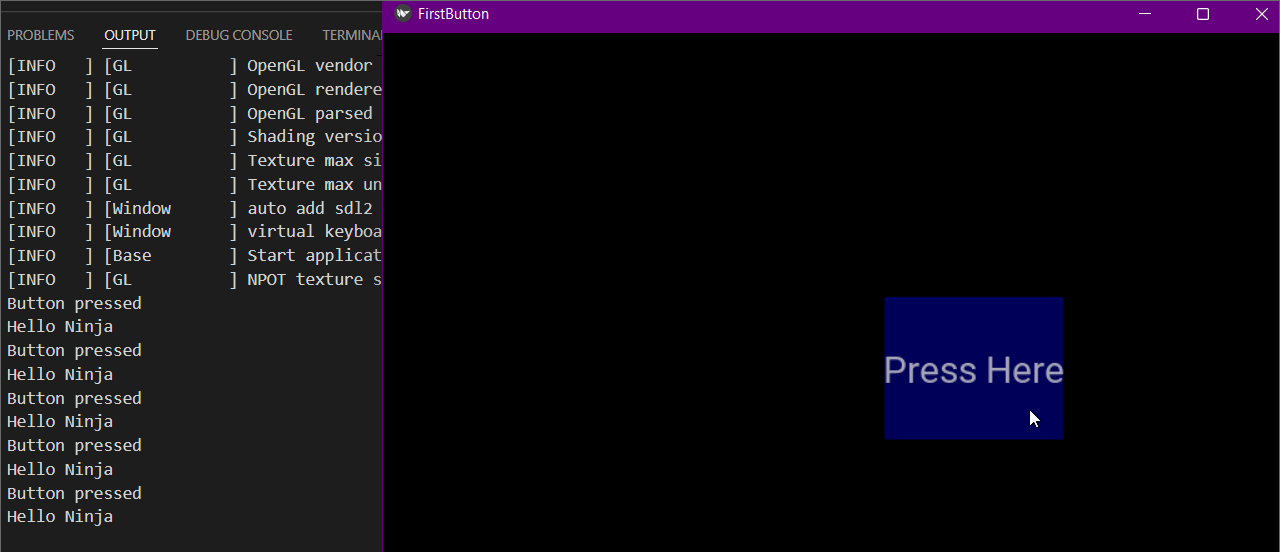
Output
Frequently Ask Questions
How do I use the toggle button on Kivy?
ToggleButton is a checkbox-like widget. When we touch or click it, the status changes from 'normal' to 'down' (unlike a Button, just 'down' when pushed). We can check only one of the buttons at any given moment.
How can we edit a .kv file?
Because KV files are stored as plain text, we may use a simple text editor like Microsoft Notepad (included with Windows) or Apple TextEdit to open and modify them (bundled with macOS).
What is an instance in Kivy?
When you push the Button, 'instance' is the name and reference to the object instance of the Class CustomBnt. It is unnecessary to label it 'instance.' You may also name it 'object' or 'btn,' or anything you like. It's used to collect data about the pushed Button.
What is the relative layout in kivy?
Set relative coordinates for children using this layout. Use the FloatLayout if you want absolute placement. The RelativeLayout class behaves like the regular FloatLayout, except its child widgets are positioned relative to the layout.
Conclusion
In this article, we have extensively discussed working with Buttons in KIVY. We start with a brief introduction of the Working with Buttons in KIVY and then discuss the steps to implement it.
After reading about the Working with Buttons in kivy, are you not feeling excited to read/explore more articles on the topic of KIVY? Don't worry; Coding Ninjas has you covered. To learn, see the Introduction to Kivy, The drop-down List In Kivy, Widgets in Kivy, and Kivy Float Layout in Python.
Refer to our Guided Path on Coding Ninjas Studio to upskill yourself in Data Structures and Algorithms, Competitive Programming, JavaScript, System Design, and many more! If you want to test your competency in coding, you may check out the mock test series and participate in the contests hosted on Coding Ninjas Studio! But if you have just started your learning process and are looking for questions asked by tech giants like Amazon, Microsoft, Uber, etc., you must look at the problems, interview experiences, and interview bundle for placement preparations.
Nevertheless, you may consider our paid courses to give your career an edge over others!
Do upvote our blogs if you find them helpful and engaging!
Happy Learning!


 9+ registered

