


Introduction
React Native is a Javascript framework that helps web developers to construct mobile apps with their existing Javascript skills. It promises to build a mobile app for both Android and iOS without compromising the end user's experience or the app's quality.
In this tutorial, we will build an app's simple screen using react-native. We assume that you have already done all the necessary downloads and setups, if you haven't, then it is strongly recommended that first, you set up the environment for yourselves. You can find all the instructions from the react-native official site, go with React Native CLI Quickstart
Also See, Hooks in React JS
Steps to Create Your First App
Since you have done all the setups so we will now quickly start creating a new app. There are some following steps:-
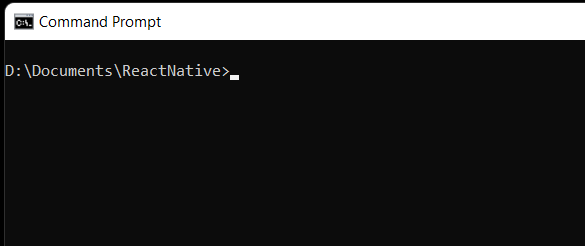
1. Open the command prompt in your machine and locate yourself in the folder where you want to create your project.
2. Now run the following command with your desired name of the project. This will download all the necessary files and folders for your app.
npx react-native init YourProjectName
You can provide a version also
npx react-native init YourProjectName --version X.XX.X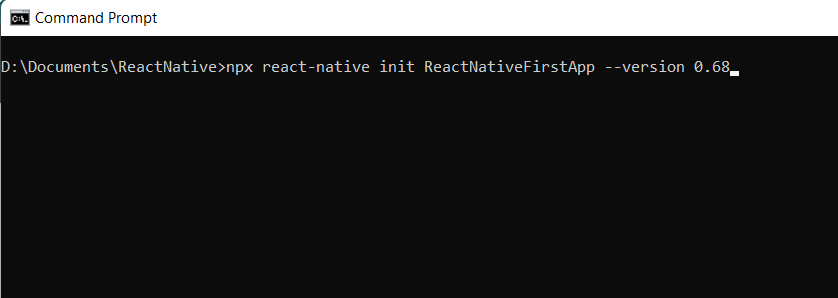
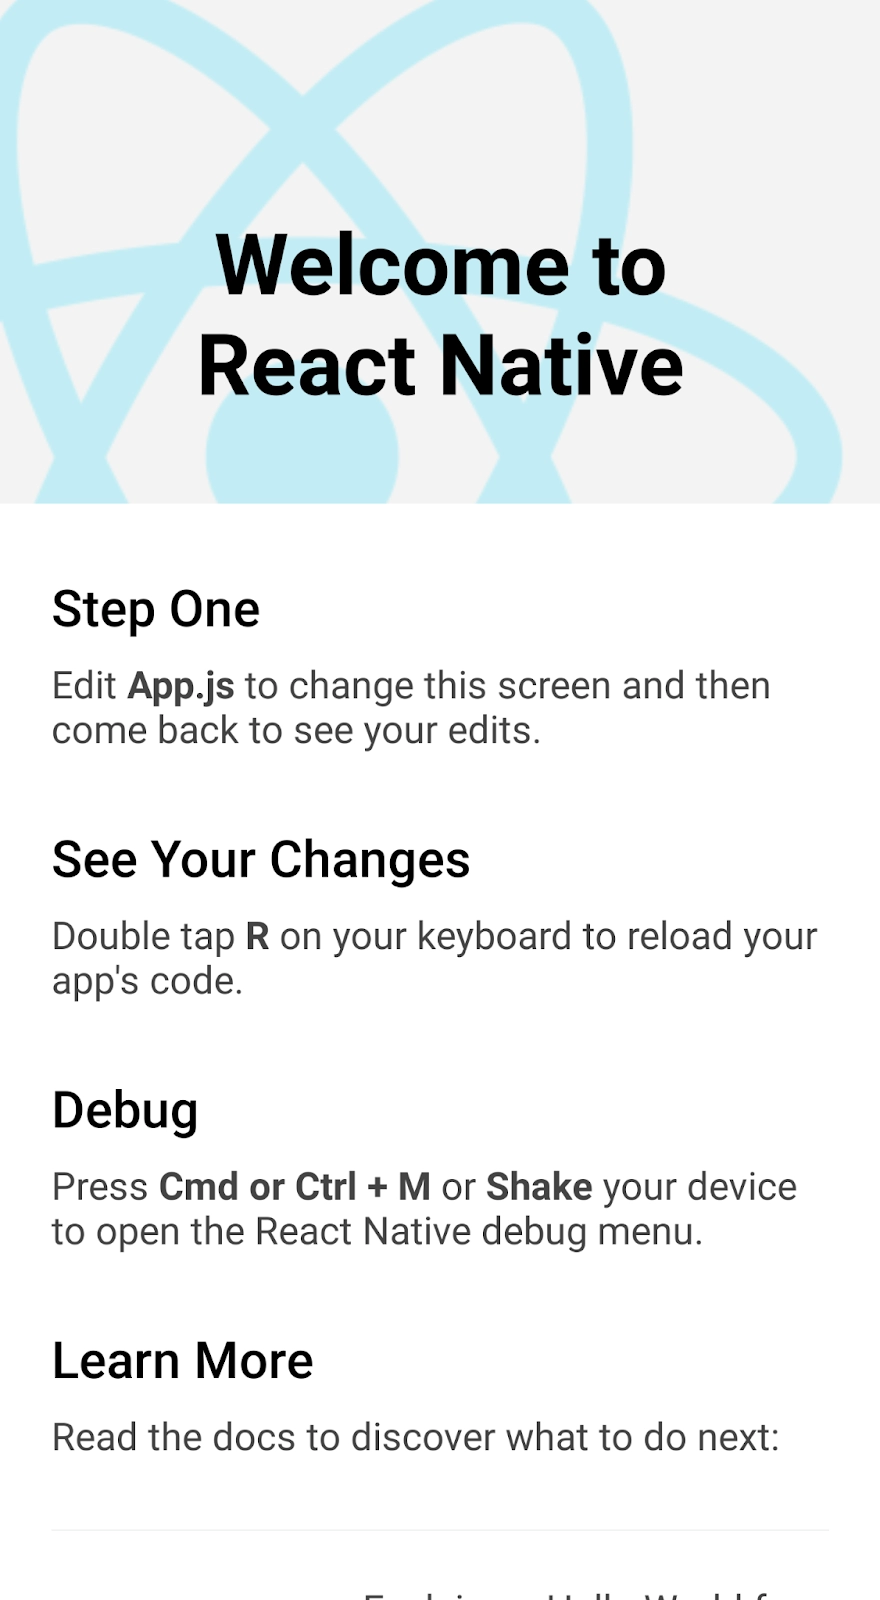
After you press enter, it will take some time to download all the required files and folders. You will get this screen after downloading.
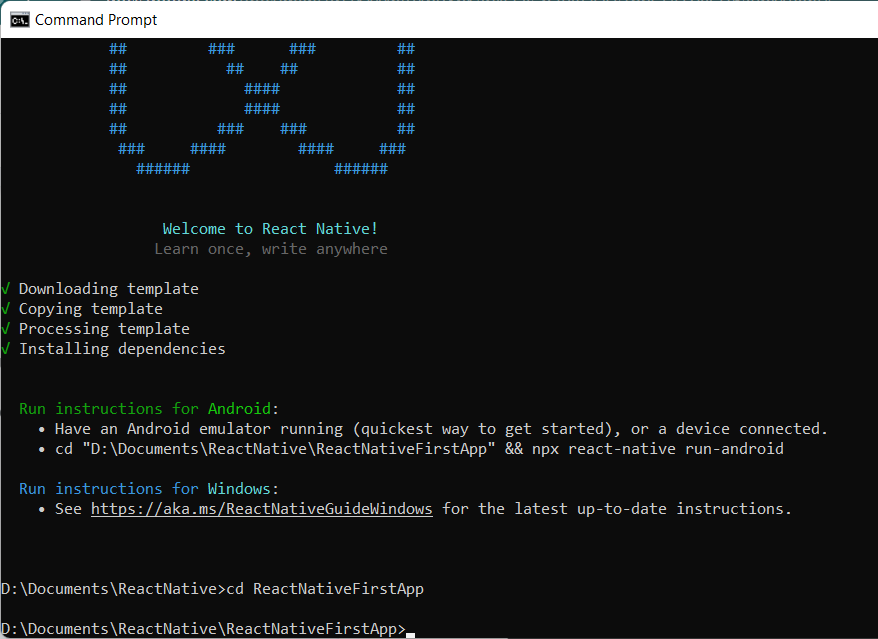
3. Now, you can open the project in your favorite IDE. You can notice on the left side, you will have the entire project structure.
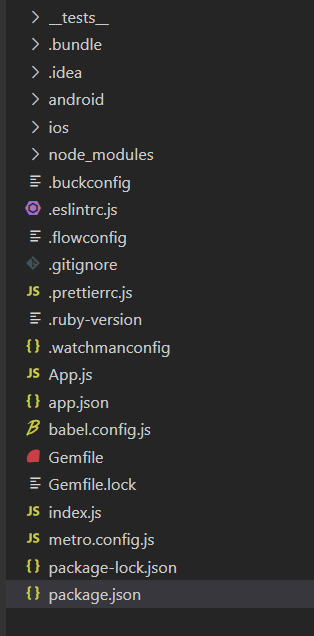
In this whole project structure, the main content, for now, is in the App.js file. It contains the design of the screen, and by default, react-native provides us the pre-written code in the App.js file.
Code:
/**
 * Sample React Native App
 * https://github.com/facebook/react-native
 *
 * @format
 * @flow strict-local
 */

import React from 'react';
import type {Node} from 'react';
import {
  SafeAreaView,
  ScrollView,
  StatusBar,
  StyleSheet,
  Text,
  useColorScheme,
  View,
} from 'react-native';

import {
  Colors,
  DebugInstructions,
  Header,
  LearnMoreLinks,
  ReloadInstructions,
} from 'react-native/Libraries/NewAppScreen';

const Section = ({children, title}): Node => {
  const isDarkMode = useColorScheme() === 'dark';
  return (
    <View style={styles.sectionContainer}>
      <Text
        style={[
          styles.sectionTitle,
          {
            color: isDarkMode ? Colors.white : Colors.black,
          },
        ]}>
        {title}
      </Text>
      <Text
        style={[
          styles.sectionDescription,
          {
            color: isDarkMode ? Colors.light : Colors.dark,
          },
        ]}>
        {children}
      </Text>
    </View>
  );
};

const App: () => Node = () => {
  const isDarkMode = useColorScheme() === 'dark';

  const backgroundStyle = {
    backgroundColor: isDarkMode ? Colors.darker : Colors.lighter,
  };

  return (
    <SafeAreaView style={backgroundStyle}>
      <StatusBar barStyle={isDarkMode ? 'light-content' : 'dark-content'} />
      <ScrollView
        contentInsetAdjustmentBehavior="automatic"
        style={backgroundStyle}>
        <Header />
        <View
          style={{
            backgroundColor: isDarkMode ? Colors.black : Colors.white,
          }}>
          <Section title="Step One">
            Edit <Text style={styles.highlight}>App.js</Text> to change this
            screen and then come back to see your edits.
          </Section>
          <Section title="See Your Changes">
            <ReloadInstructions />
          </Section>
          <Section title="Debug">
            <DebugInstructions />
          </Section>
          <Section title="Learn More">
            Read the docs to discover what to do next:
          </Section>
          <LearnMoreLinks />
        </View>
      </ScrollView>
    </SafeAreaView>
  );
};

const styles = StyleSheet.create({
  sectionContainer: {
    marginTop: 32,
    paddingHorizontal: 24,
  },
  sectionTitle: {
    fontSize: 24,
    fontWeight: '600',
  },
  sectionDescription: {
    marginTop: 8,
    fontSize: 18,
    fontWeight: '400',
  },
  highlight: {
    fontWeight: '700',
  },
});

export default App;
4. Now, in order to run your app on the android emulator, open your emulator from the
android studio and create virtual device if you haven't already.
5. Now, to run your project execute the following command you run this either on your command prompt from the project's root directory or in your IDE's terminal, both the ways work the same. It will start the development server.
npx react-native start
6. To run your project in the current working android emulator on your machine, run the following command on the new terminal.
npx react-native run-androidNote: You can also directly run this command to see the output on the emulator without executing the previous command.
On the emulator, you will have the following output. All the codes are pre-written let's modify them.
Modifying App.js as per our need
So far, we got a fully designed screen, but all the codes were pre-written. Here we are going to modify the code to make the screen looks like how we want. We are about to create a simple screen with background color as "teal" there will be a heading "This is Coding Ninjas Studio" and with the bottom text "Powered By" and "Coding Ninjas".
App.js
Code:
import React, { Component } from "react";
import { Platform, StyleSheet, Text, View } from "react-native";

type Props = {};
export default class App extends Component<Props> {
  render() {
    return (
      <View style={styles.container}>
        <Text style={styles.heading}>This is Coding Ninjas Studio</Text>
        <Text style={styles.middleText}>Powered By</Text>
        <Text style={styles.bottomText}>Coding Ninjas</Text>
      </View>
    );
  }
}
const styles = StyleSheet.create({
  container: {
    flex: 1,
    backgroundColor: "teal",
    alignItems: "center",
    justifyContent: "center"
  },
  heading: {
    flex: 1,
    fontWeight: "bold",
    justifyContent: "center",
    textAlign: "center",
    marginTop: 100,
    fontSize: 50,
  },
  middleText: {
    color: "black",
    fontSize: 20,
  },
  bottomText: {
    marginBottom: 30,
    color: "orange",
    fontWeight: "bold",
    fontSize: 30,
  }
});
Output:

Also see, React Native Reanimated
Also Read, React Native Paper, React devtools


 8+ registered

