Do you think IIT Guwahati certified course can help you in your career?
Introduction
The form attribute in the <textarea> tag is used to associate the text area with a specific <form> element. This is useful when the <textarea> is placed outside the form but still needs to be submitted with it. The value of the form attribute should match the id of the target <form>.
In this article, you will learn how to use the form attribute in <textarea> and its benefits.
Definition and Usage
A textarea in HTML is an element used to collect multi-line text input from users. Unlike input fields that only allow a single line of text, a textarea provides a larger box where users can type paragraphs or longer messages. This makes it ideal for things like feedback forms, comment sections, or any place where detailed user input is required.
To create a textarea, you use the `<textarea>` tag. It has an opening and closing tag, and the content between these tags serves as the default text inside the box. For example, if you want a textarea with placeholder text, you can write it like this:
<!DOCTYPE html>
<html>
<head>
    <title>Textarea Example</title>
</head>
<body>
    <form>
        <label for="feedback">Enter your feedback:</label><br><br>
        <textarea id="feedback" name="feedback" rows="4" cols="50">
            Type your feedback here...
        </textarea><br><br>
        <input type="submit" value="Submit">
    </form>
</body>
</html>
Output
In this code:
The `<textarea>` tag creates the box for text input.
The `rows` attribute defines how many lines tall the box is.
The `cols` attribute sets the width of the box in terms of characters.
The text "Type your feedback here..." is the default content that appears inside the box.
When a user submits the form, the text they entered in the textarea is sent to the server for processing. This makes it a powerful tool for gathering detailed information.
Syntax
The basic syntax of the <textarea> tag is as follows:
name: Defines the name of the textarea, which is used when submitting the form.
rows: Specifies the number of visible text lines.
cols: Defines the visible width of the textarea in terms of character columns.
HTML Textarea Form Attribute
The `form` attribute in HTML is used to associate a `<textarea>` element with a specific form, even if the textarea is not nested inside the `<form>` tags. This is particularly useful when you want to place the textarea outside the form for layout or design reasons but still want it to be part of the form submission.
How It Works
The `form` attribute takes the ID of the form as its value. When the form is submitted, the textarea’s data is included in the submission, just like it would be if it were inside the form.
The `<textarea>` is placed outside the form but is associated with it using the `form="feedbackForm"` attribute.
When the form is submitted, the data from the textarea is included in the submission.
Why Use the Form Attribute?
This feature is helpful in scenarios where you need to organize your layout better. For instance, if you have a long form and want to position certain elements like textareas elsewhere on the page, you can use the `form` attribute to keep them linked to the form without rearranging the entire structure.
It also improves flexibility in responsive designs, allowing developers to place elements dynamically while ensuring they remain functional.
HTML Textarea Tag Attribute Values
The <textarea> tag supports multiple attributes to control its behavior. Below are some commonly used attributes:
1. name
Defines the name of the textarea, which is sent to the server when the form is submitted.
<textarea name="feedback"></textarea>
2. rows & cols
Controls the visible height and width of the textarea.
<textarea rows="5" cols="30"></textarea>
3. placeholder
Displays a hint inside the textarea.
<textarea placeholder="Enter your comments here..."></textarea>
4. maxlength
Sets the maximum number of characters allowed.
<textarea maxlength="200"></textarea>
5. readonly
Makes the textarea uneditable.
<textarea readonly>This text cannot be edited.</textarea>
6. disabled
Disables the textarea, preventing user input.
<textarea disabled>This field is disabled.</textarea>
7. required
Ensures that the textarea must be filled before form submission.
<textarea required></textarea>
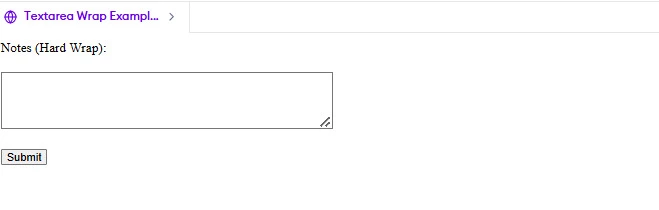
8. wrap
Controls how text wraps inside the textarea.
soft: Text wraps when submitted but not visibly wrapped.
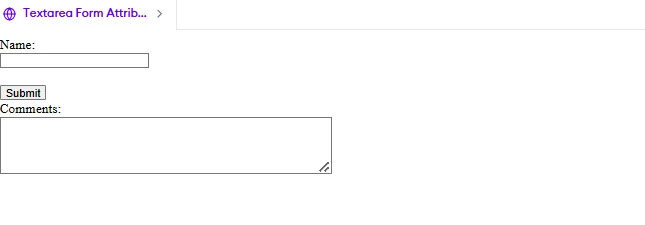
A form with a multi-line text area and a submit button.
Example 2: Textarea with Pre-filled Content
<textarea name="comments">This is a pre-filled text.</textarea>
Output:
The textarea will contain "This is a pre-filled text" when loaded.
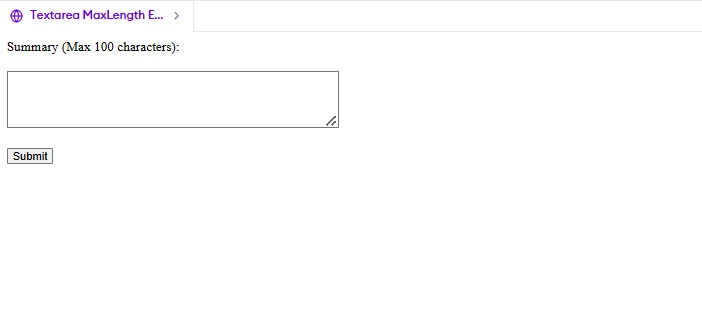
Example 3: Using the maxlength Attribute
<textarea name="bio" maxlength="100" placeholder="Describe yourself in 100 characters"></textarea>
Output:
A textarea that restricts user input to 100 characters.
New HTML 5 Textarea Attributes
HTML5 introduced several new attributes for the `<textarea>` element, making it more flexible and user-friendly. These attributes help improve the functionality and appearance of textareas, ensuring a better experience for users. Let’s look at some of these attributes in detail:
1. Placeholder Attribute
The `placeholder` attribute adds hint text inside the textarea that disappears when the user starts typing. This helps guide users on what to enter without cluttering the form.
In this example, the placeholder "Write your message here..." appears inside the textarea until the user starts typing.
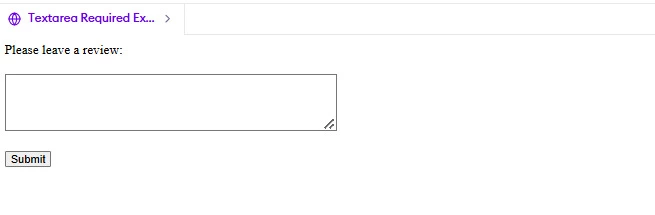
2. Required Attribute
The `required` attribute ensures that the user cannot submit the form without filling out the textarea. This is useful for mandatory fields like feedback or comments.
Here, if the user tries to submit the form without entering text, the browser will show an error message prompting them to fill the field.
3. MaxLength Attribute
The `maxlength` attribute limits the number of characters a user can type into the textarea. This is helpful for restricting input length, such as for short descriptions or summaries.
<textarea name="chat" placeholder="Type your message..."></textarea>
<button>Send</button>
Supported Browsers
The <textarea> tag is supported in all modern web browsers, including:
Browser
Support
Google Chrome
Yes
Mozilla Firefox
Yes
Safari
Yes
Microsoft Edge
Yes
Opera
Yes
Internet Explorer
Yes (deprecated)
Frequently Asked Questions
Can I change the size of a textarea dynamically?
Yes, you can use CSS or JavaScript to adjust the size dynamically based on content or user interaction.
How can I make a textarea auto-resize based on content?
By using JavaScript, you can adjust the height dynamically so that it expands as users type more text.
Can I set a default value inside a textarea?
Yes, by placing the text between the opening and closing <textarea> tags, a default value can be displayed to users.
Conclusion
In this article, we learned the form attribute of the <textarea> tag in HTML, which allows a <textarea> to be associated with a specific <form> element, even if it is placed outside the form. This attribute helps in organizing form elements efficiently and enhances flexibility in web development. Understanding the form attribute improves form structure and usability.


 8+ registered

