Table of contents
1.
Introduction
2.
Action Bar & Configurations
3.
Device View and All Objects
4.
Available Actions
5.
Validate UI elements and recorded actions
6.
Captured Objects
7.
Frequently Asked Questions
7.1.
What are the guidelines for designing API tests?
7.2.
What tools are available for API testing?
7.3.
Can TestNG be used in Katalon?
8.
Conclusion
Last Updated: Mar 27, 2024

Introduction to Mobile Recorder in Katalon Studio

Author Shivani Singh
0 upvote
Career growth poll
Do you think IIT Guwahati certified course can help you in your career?
OG Image

Introduction

As we are already familiar with Katalon. One of the well-known tools for automated testing is Katalon Studio. The platform enables the creation of analytical reports, test recording, and the execution of automated tests for Windows desktop, iOS, Android mobile apps, Web interfaces, APIs, and desktop and desktop Windows apps. Katalon platform provides various tools like Katalon Studio, Katalon Studio Enterprise, Katalon Runtime Engine, Katalon TestCloud, Katalon TestOps, and Katalon Recorder. 

Now we will see about the mobile recorder in Katalon Studio. Users can easily record and perform the same tests on several devices using the Katalon Studio Record Mobile functionality. Why easily? Because it takes time and effort to recognize objects in apps. The free web plugin Katalon Recorder for Record and Playback and browser automation testing provides powerful test creation and execution. More sophisticated capabilities, including self-healing, global variables, and dynamic test suites, have been added to Recorder in subsequent editions. Startups, small businesses, non-tech users, and those just learning test automation use Katalon Recorder. Select your device type and click the Mobile Recorder icon in the main toolbar to begin recording a mobile test. Katalon Studio supports mobile devices running Android, iOS, Remote, or Kobiton. For your recording sessions, the Mobile Recorder dialogue with its various components appears.

Mobile Recorder

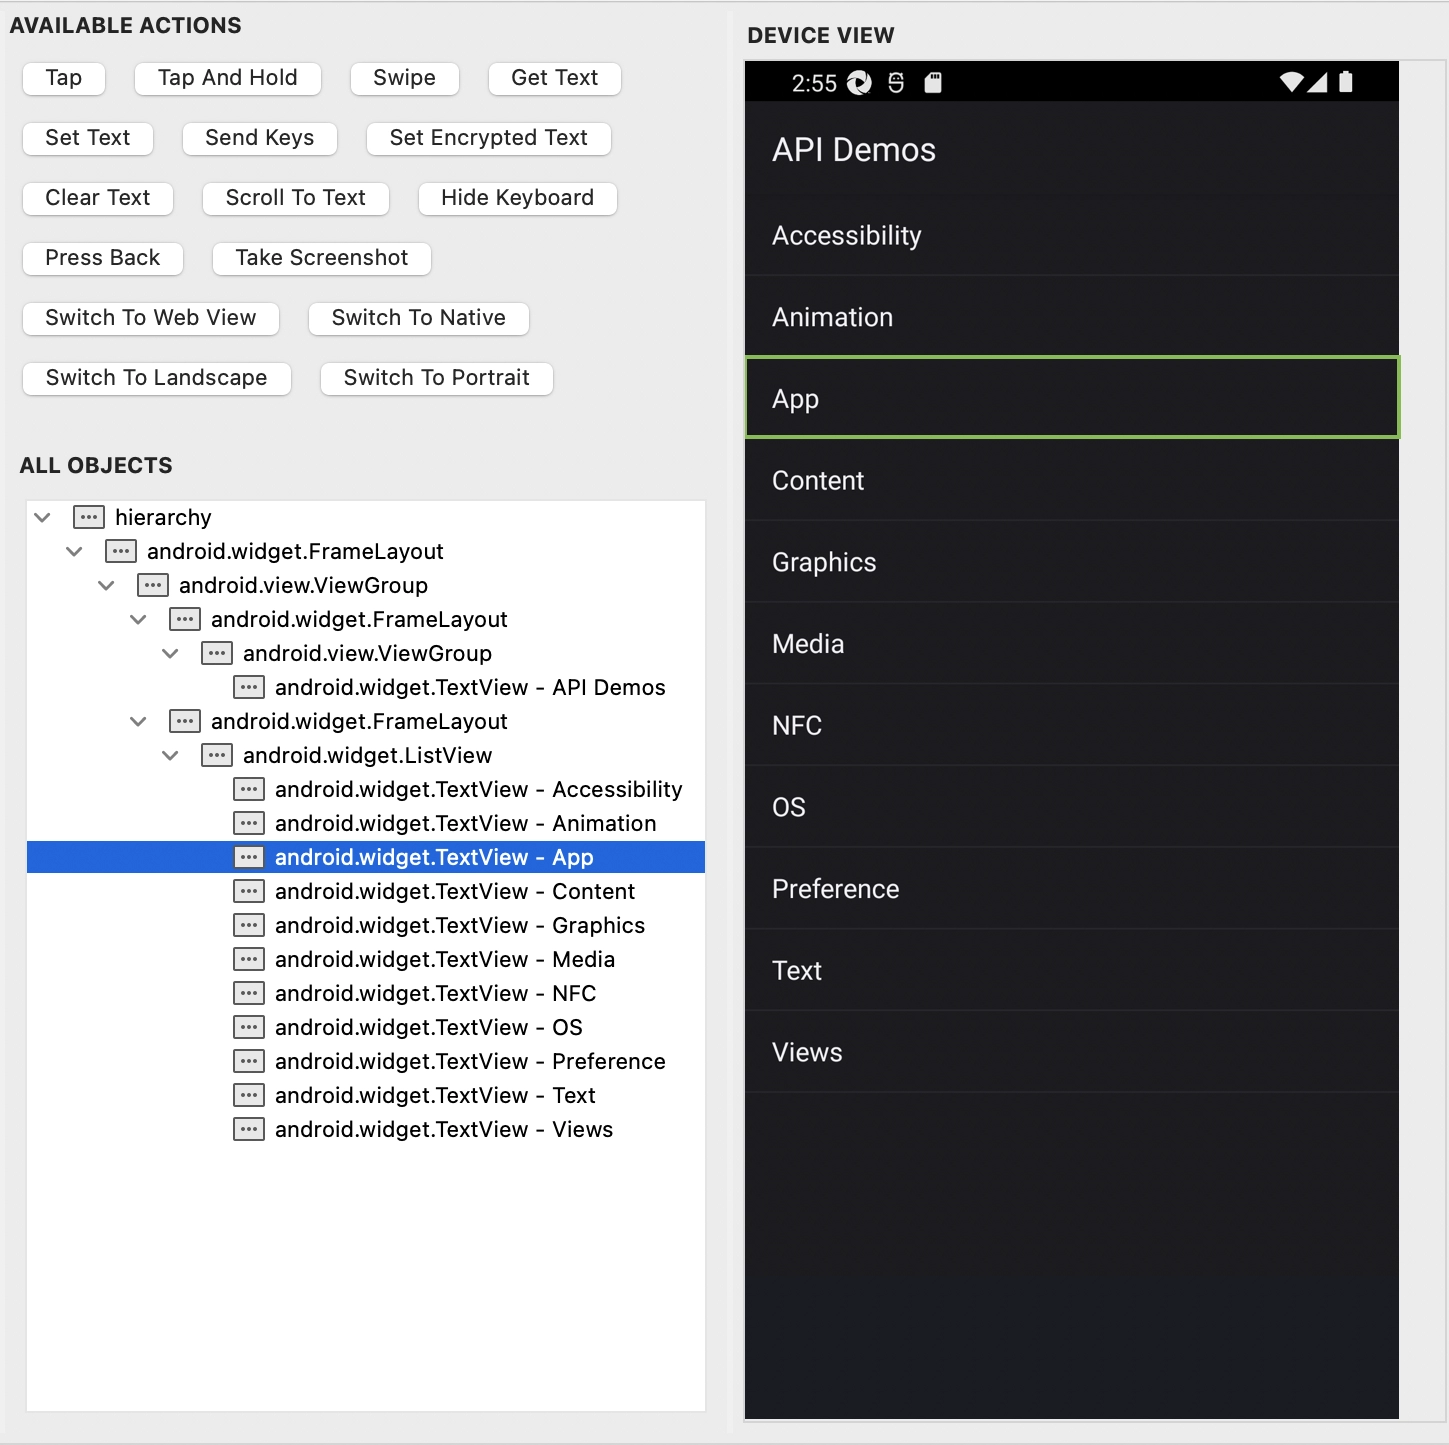
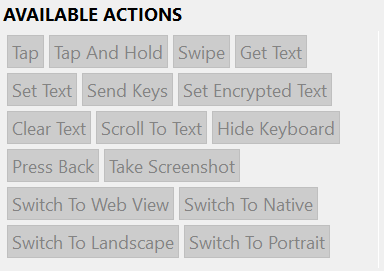
Now let us see the different actions which can be performed with the help of Mobile Recorder in Katalon Studio. 

Action Bar & Configurations

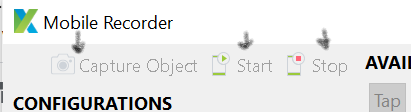
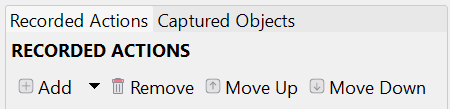
The following buttons are located on the action bar, which is in the top left corner:

Action Bar
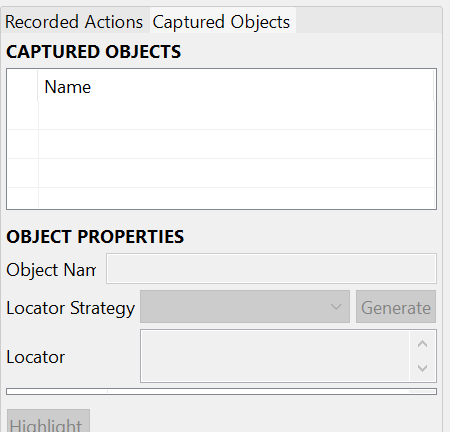
  1. Capture Object: When you click this button, Katalon Studio screenshot every mobile element visible on the device's current screen.
     
  2. Start: When you click this button, Katalon will deploy and launch the appropriate application on the selected device and begin recording. When the AUT is specified, this button becomes active.
     
  3. Pause: Press this button to put the recording on hold.

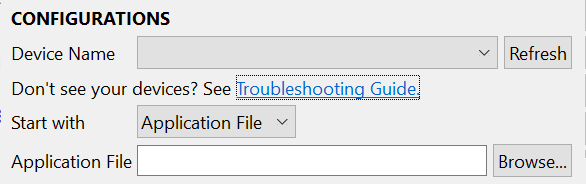
In the Configurations section, you select a mobile device and application under test (AUT) for the recording session. It offers the following possibilities:

Configurations
  1. Device Name: The mobile device from which Katalon runs the program (All of your connected devices should be displayed in this list.)
     
  2. Start with: You can choose either Application File or Application ID from the drop-down list.
    • Browse your tested application's file (.apk file for Android; .ipa file for iOS)
    • Application ID: Specify your tested application's application ID, either the bundle identification for iOS apps or the package name for Android apps.

Device View and All Objects

You can click on any object in the tree of All Objects or in Device View to choose it. For verification, Katalon indicates their equivalent in line with that.

  1. Device View simulates the screen of a device. In this view, you can interact with the AUT.
  2. The All Objects view collects and arranges all the mobile objects in Device View into a tree.
Device View and All Objects

Source: Mobile recorder

Available Actions

The Available Actions section presents multiple buttons that signify Mobile actions that can be carried out on the AUT. Mobile measures come in two varieties which are object actions and application actions.

  1. Object action: To use an object action, you must first choose an object from Device View or All Objects. You can view the activities available for a selected object by selecting it.
  2. Application action: An application action can be carried out without a specified item.

    Available Actions
     
  3. Tap: Tap a mobile component.
  4. Tap and Hold: Tap and maintain pressure on a movable element.
  5. Swipe: Act like you're swiping your fingers across a smartphone.
  6. Get Text: Retrieve a mobile element's text.
  7. Set Text: Position the text on an element that may move. Additionally, it removes the mobile element's previous value.
  8. Clear Text: A mobile element's clear text.
  9. Scroll To Text: Move the cursor to an element with the specified text.
  10. Hide Keyboard: If your keyboard is visible, hide it.

Validate UI elements and recorded actions

You can conduct the Capture Object action by simply right-clicking on any element in Device view or All objects, or you can add the Verify and Wait for keywords as test steps from the context menu. Recorded Actions contain a record of the chosen verification action. Input may require a double-click for some keywords.

Some of the actions are the following:

  1. Capture Object: Used to take a picture of something.
  2. Check Element Existence: Check to see if a mobile element is available.
  3. Verify Element Not Exist: Check to see if a mobile element is there or not.
  4. Verify Element Visible: Check if a mobile element can be seen.
  5.  Verify Element Not Visible: Check to see if a mobile element is available or not. 
Validate UI elements

Source: Mobile recorder


The Recorded Actions table provides each recorded action you've taken on the AUT, along with any relevant input or output. Later, these components develop into test stages for your test case. By selecting Add, you can manually add new actions using keywords, remove unneeded actions, and reorder previously recorded actions by selecting Move Up or Move Down.

Recorded Actions

Captured Objects

All of the things that you interacted with throughout the recording session are displayed under Captured Objects. By double-clicking on an object that Katalon has captured, you can view all of its detailed information in the Object Properties table. The locator method and value of an item are its most crucial attributes. You can select a different locator technique from the options offered if that is what you prefer, and a new locator will be created. To check if your freshly updated locator can successfully find the target object, click Highlight after that.

Captured Objects

Frequently Asked Questions

What are the guidelines for designing API tests?

In designing API tests, the five guiding concepts are setup, execution, verification, reporting, and cleanup.

What tools are available for API testing?

Many different API testing tools are available. Katalon Studio, Postman, SoapUi Pro, Apigee, and others are examples of standard tools.

Can TestNG be used in Katalon?

You can convert your test cases from Selenium, TestNG, or JUnit projects to Katalon Studio starting with version 7.4. 0. You may use Katalon to run and maintain your current Selenium, TestNG, and Junit applications without starting from scratch thanks to the supported features and keywords.

Conclusion

To conclude this blog, firstly, we discussed Mobile Recorder in Katalon Studio. Then we saw the action bar, configurations, Device View, and All Objects. Then we debated available actions and validated UI elements, and recorded actions. In the end, we saw captured objects and their primary actions. 

For more content, Refer to our guided paths on Coding Ninjas Studio to upskill yourself. 

Do upvote our blogs if you find them helpful and engaging!

Happy Learning!

Thankyou
Live masterclass