


Introduction
Sometimes it becomes tough for us to find out the minor errors that we make in our tests, or sometimes we need to know what went wrong with our tests and why they failed. A screen recording might help us as we can look at it again and find out. Let us find out how we can Record Screen-based and Browser-based Videos in Katalon. From version 7.8 and later, we can do screen-based and browser-based recording in Katalon studio. Let us have a look at both.
Generate Screen-Based Videos
When we are facing failed tests, we have the option to record and watch videos of our screen records. This is an inbuilt feature of Katalon Studio version 7.8 and above. It helps us find out what is causing the failed tests.
When we are running a test, a screen-based recorder records and captures the things we are doing on the screen. However, we should note that a Screen-based Recorder can currently be used when a single test suite gets executed.
Configuring Screen-based Recorder
Before starting to use a Screen-based Recorder, we have to configure it. Let us take a look at the steps that we will follow to go with the configuration process.
This is what we have to follow the steps below to record the screen.
Note for macOS users: If you are using macOS, we have to make sure that the Screen Recording permissions are given in to Katalon Studio in the settings. We will go to Security & Privacy settings> Privacy > Screen Recording to enable this. We have to enable the "Allow Katalon Studio to do Screen Recording" option.
For Configuration in Version 7.8 and Onwards
Now, we will look at how to configure in Katalon Version 7.8 above.
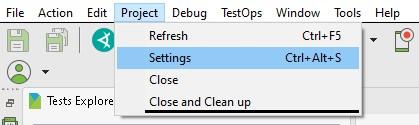
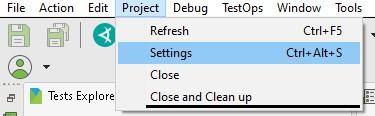
Step 1: First, we click on Projects and will click on Settings.
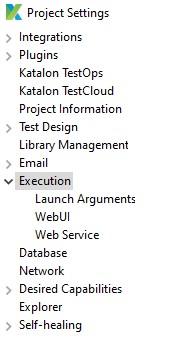
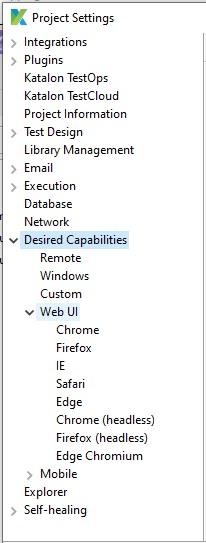
Step 2: Now, we will click on Execution to go to the Execution View.
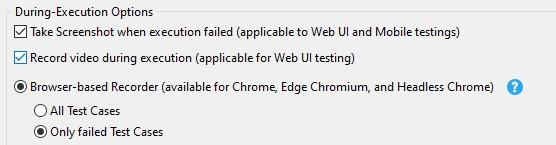
Step 3: There in the During-Execution Options panel, we will click to check on Record Video during execution option. This will enable the Video recorder function.

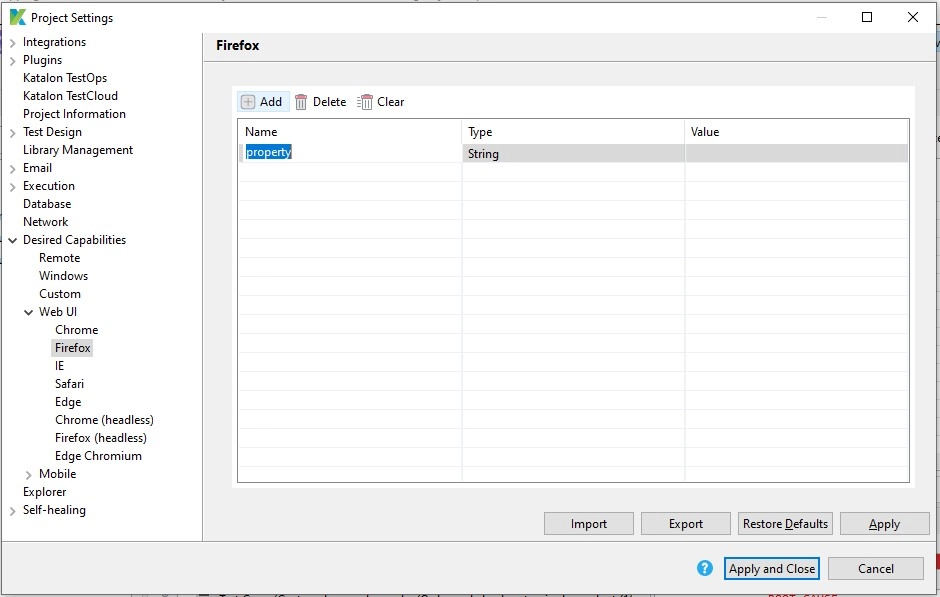
Step 4: Now, we will navigate to the Screen recorder option and give our video settings.
Step 5: We can choose our video format and the Quality of the screen recording video. It is suggested to choose the Low or medium option to save disk space.
Step 6: After making all our selections, we will click on Apply and Close.
For Configuration in Versions Before 7.8
Now let us take a look at the configurations below Katalon 7.8.
Step 1: After we have created a test suite, We will go to Project and select settings.
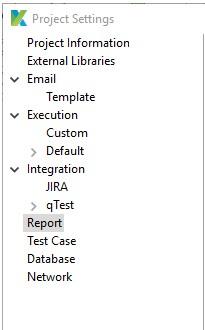
Step 2: In the settings, we will navigate to the side panel and click on Report. This will open the report view.
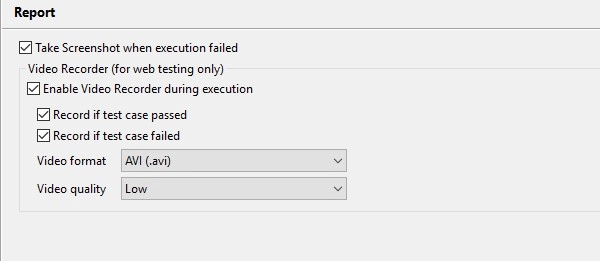
Step 3: In the report view, we will check on the Enable Video Recorder during execution option.
By default, the Katalon Studio only captures Failed test cases option is already selected. But along with that, we have the option to select if we want to capture Passed or Failed test cases or not.

Step 4: We can choose our video format and the Quality of the screen recording video. It is recommended to choose the Low or medium option to save disk space.
Step 5: After making all our selections, we will click on Ok.
View Recorded Videos
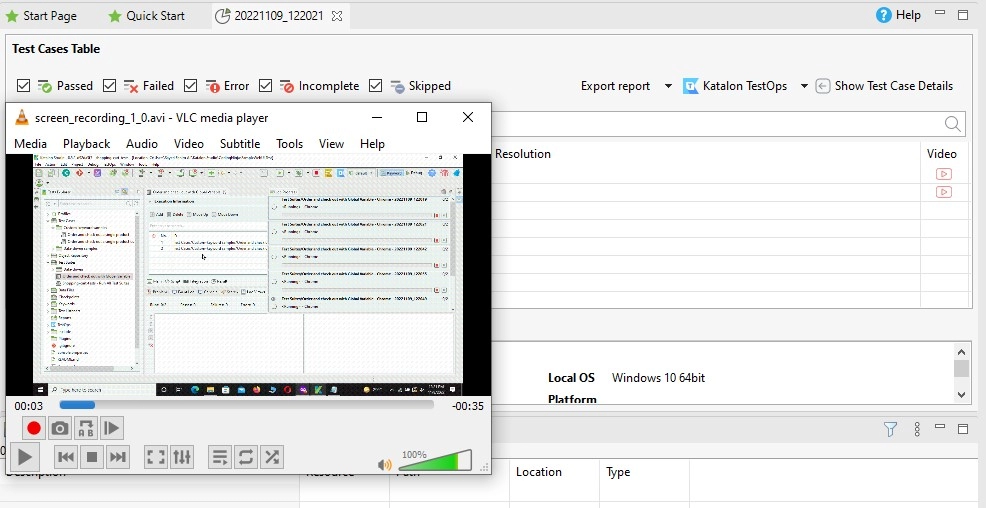
After we have run the test suite, we would definitely want to see the recorded videos. To do this, we will have to go to the Result tab. There we will be able to see a list of the test cases.
Every case will have a recorded video attached to it.
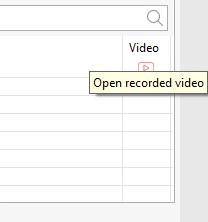
We can find a Play icon in the Video column. If we press that, it will play the recorded video.


 8+ registered

