Table of contents
1.
Introduction
2.
Creating a Web Form for User Registration
3.
Add a Web Form to the project
4.
Adding Controls to the Web Form
4.1.
WebControls.aspx
5.
Handling Submit Request from the Web Form
5.1.
WebControls.aspx.cs
6.
Run User Registration Web Form
7.
FAQs
8.
Key Takeaways
Last Updated: Aug 13, 2025

Web Forms User Registration

Career growth poll
Do you think IIT Guwahati certified course can help you in your career?

Source: Link

Introduction

Active Server Pages (ASP) and Active Server Pages (ASP.NET) are server-side technologies for displaying interactive web pages. ASP.NET offers developers a wide range of options in a large, diverse ecosystem of libraries and tools. Developers can also design custom libraries that can be shared with any .NET platform application.

ASP.NET also contains an authentication system for developers, which includes a database, libraries, templates for handling logins, external authentication to Google, Facebook, and other services, and more. ASP.NET may be used on all major platforms, including Windows, Linux, macOS, and even Docker, by developers.

Backend code for ASP.NET apps can be written in C#Visual Basic, or even F#. Developers can effectively code the business logic and data access layer because of this flexibility. Another big benefit of utilising ASP.NET is the ability to create dynamic web pages in C# using the Razor webpage template grammar tool.

In addition to HTML, CSSJavaScript, and C#, Razor has a syntax for constructing interactive dynamic web pages. Client-side code is commonly written in JavaScript, and ASP.NET can even operate with other web frameworks like Angular or React.

Creating a Web Form for User Registration

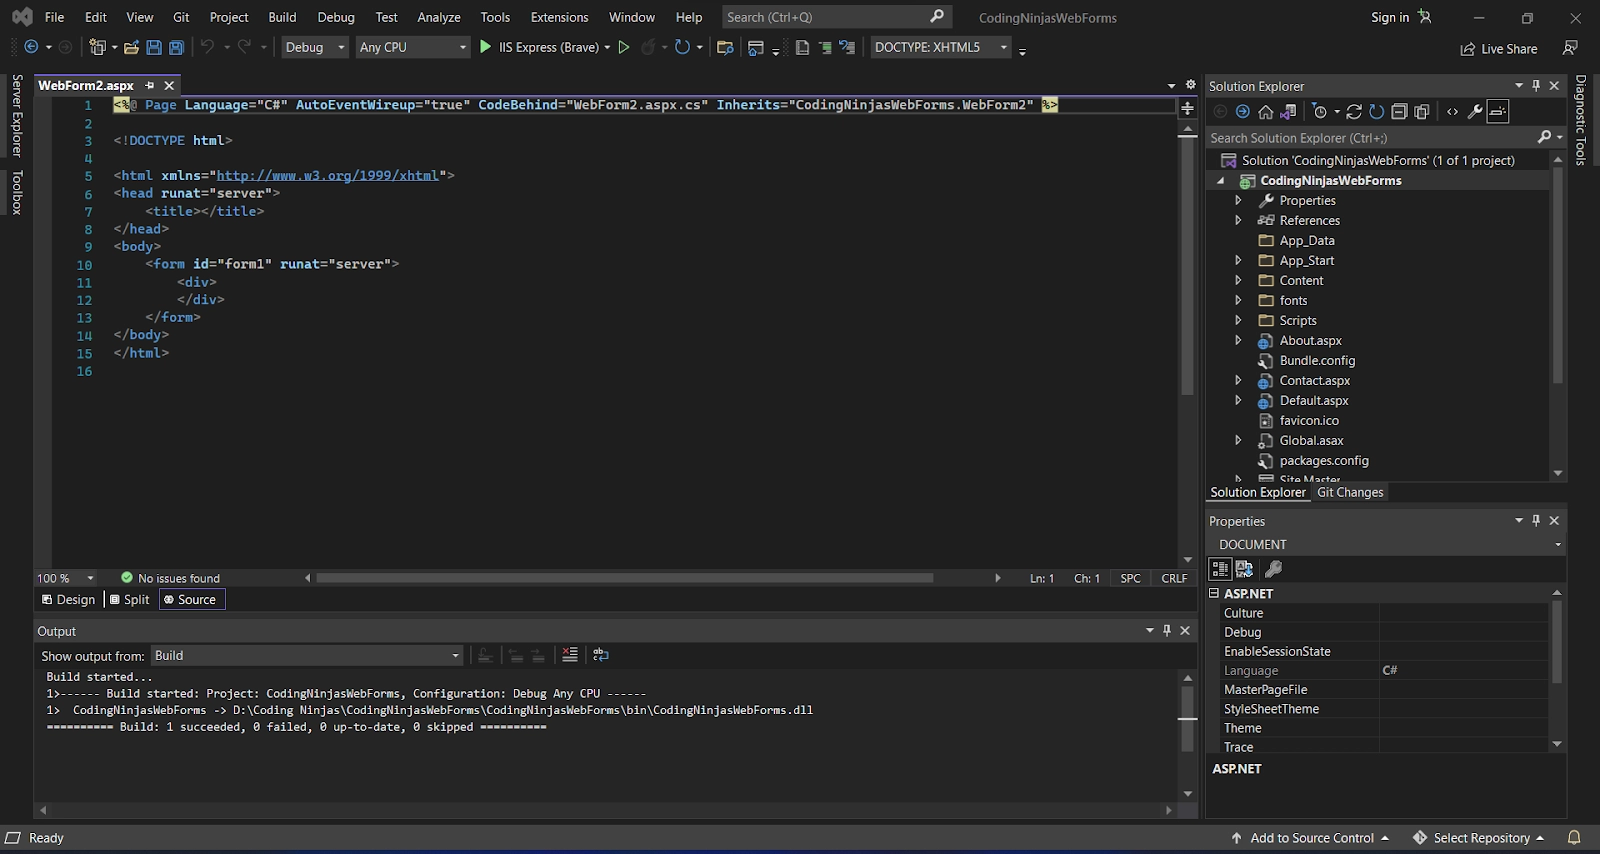
Web Forms are pages which are requested by your users through their browser. HTML, client-script, server controls, and server code can all be used to create these pages. When users request a page, the framework compiles and executes it on the server, then generates the HTML markup that the browser may render. In any browser or client device, an ASP.NET Web Forms page displays information to the user.

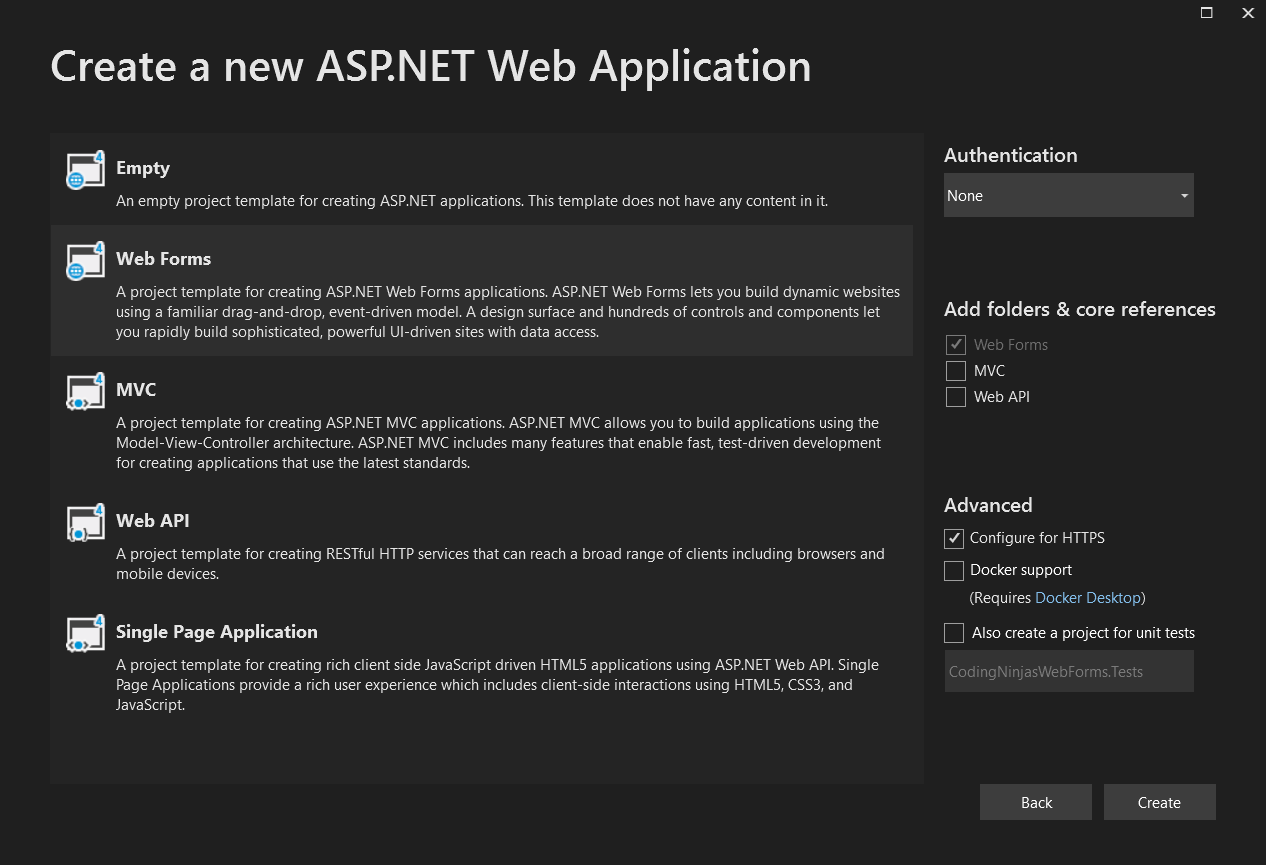
ASP.NET Web Forms may be created with Visual Studio. Drag and drop server controls to set out your Web Forms page in the Visual Studio Integrated Development Environment (IDE). The methods, properties, and events for controls on the page, as well as the page itself, can then be readily set. These attributes, methods, and events are used to define the behaviour, appearance, and feel of a web page, among other things. We can use .NET language like Visual Basic or C# to develop server code to handle the page's logic.

Let's make a registration form for users. This web form collects data from the user and sends it to the server. It returns the message "successfully registered" after submission. The steps in this technique are as follows.

Add a Web Form to the project


This form contains some default HTML code.

Adding Controls to the Web Form

To add controls to the form, we may either drag components from the toolbox or manually enter code to construct the controls.

The code for a user registration form can be found in the following file.

WebControls.aspx

<%@ Page Language="C#" AutoEventWireup="true" CodeBehind="WebForm1.aspx.cs" Inherits="CodingNinjasWebForms.WebForm1" %>

<!DOCTYPE html>

<html xmlns="http://www.w3.org/1999/xhtml">
<head runat="server">
   <title></title>
   <style type="text/css">
       .auto-style1 {
           width: 100%;
       }

       .auto-style2 {
           width: 278px;
       }

       .auto-style3 {
           width: 278px;
           height: 23px;
       }

       .auto-style4 {
           height: 23px;
       }
   </style>
</head>
<body>
   <form id="form1" runat="server">
       <div>
           <table class="auto-style1">
               <tr>
                   <td>
                       <asp:Label ID="Label1" runat="server" Text="Username"></asp:Label>
                   </td>
                   <td>
                       <asp:TextBox ID="username" runat="server" required="true"></asp:TextBox></td>
               </tr>
               <tr>
                   <td>
                       <asp:Label ID="Label6" runat="server" Text="Email"></asp:Label>
                   </td>
                   <td>
                       <asp:TextBox ID="EmailID" runat="server" TextMode="Email"></asp:TextBox></td>
               </tr>
               <tr>
                   <td>
                       <asp:Label ID="Label2" runat="server" Text="Password"></asp:Label></td>
                   <td>
                       <asp:TextBox ID="TextBox2" runat="server" TextMode="Password"></asp:TextBox></td>
               </tr>
               <tr>
                   <td>
                       <asp:Label ID="Label3" runat="server" Text="Confirm Password"></asp:Label></td>
                   <td>
                       <asp:TextBox ID="TextBox3" runat="server" TextMode="Password"></asp:TextBox></td>
               </tr>
               <tr>
                   <td>
                       <asp:Label ID="Label4" runat="server" Text="Gender"></asp:Label></td>
                   <td>
                       <asp:RadioButton ID="RadioButton1" runat="server" GroupName="gender" Text="Male" />
                       <asp:RadioButton ID="RadioButton2" runat="server" GroupName="gender" Text="Female" /></td>
               </tr>
               <tr>
                   <td>
                       <asp:Label ID="Label5" runat="server" Text="Select Coding Ninjas Course"></asp:Label>s</td>
                   <td>
                       <asp:CheckBox ID="CheckBox1" runat="server" Text="DSA" />
                       <asp:CheckBox ID="CheckBox2" runat="server" Text="React" />
                       <asp:CheckBox ID="CheckBox3" runat="server" Text="Spring" />
                   </td>
               </tr>
               <tr>
                   <td></td>
                   <td>
                       <br />
                       <asp:Button ID="Button1" runat="server" Text="Register" CssClass="btn btn-primary" OnClick="Button1_Click" />
                   </td>
               </tr>
           </table>
           <asp:Label ID="message" runat="server" Font-Size="Medium" ForeColor="Red"></asp:Label>
       </div>
   </form>
   <table class="auto-style1">
       <tr>
           <td class="auto-style2">
               <asp:Label ID="ShowUserNameLabel" runat="server"></asp:Label></td>
           <td>
               <asp:Label ID="ShowUserName" runat="server"></asp:Label></td>
       </tr>
       <tr>
           <td class="auto-style2">
               <asp:Label ID="ShowEmailIDLabel" runat="server"></asp:Label></td>
           <td>
               <asp:Label ID="ShowEmail" runat="server"></asp:Label></td>
       </tr>
       <tr>
           <td class="auto-style3">
               <asp:Label ID="ShowGenderLabel" runat="server"></asp:Label></td>
           <td class="auto-style4">
               <asp:Label ID="ShowGender" runat="server"></asp:Label></td>
       </tr>
       <tr>
           <td class="auto-style2">
               <asp:Label ID="ShowCourseLabel" runat="server"></asp:Label></td>
           <td>
               <asp:Label ID="ShowCourses" runat="server"></asp:Label></td>
       </tr>
   </table>
</body>
</html>

Handling Submit Request from the Web Form

In the code behind the file, we are adding a message that triggers only when the user submits the registration form. This file includes the following code.

WebControls.aspx.cs

using System;
using System.Collections.Generic;
using System.Linq;
using System.Web;
using System.Web.UI;
using System.Web.UI.WebControls;

namespace CodingNinjasWebForms
{
   public partial class WebForm1 : System.Web.UI.Page
   {
       protected System.Web.UI.HtmlControls.HtmlInputFile File1;
       protected System.Web.UI.HtmlControls.HtmlInputButton Submit1;
       protected void Page_Load(object sender, EventArgs e)
       {

       }

       protected void Button1_Click(object sender, EventArgs e)
       {
           message.Text = "Hello " + username.Text + " ! ";
           message.Text = message.Text + " <br/> You have successfuly registered with the following details.";
           ShowUserName.Text = username.Text;
           ShowEmail.Text = EmailID.Text;
           if (RadioButton1.Checked)
           {
               ShowGender.Text = RadioButton1.Text;
           }
           else
           {
               ShowGender.Text = RadioButton2.Text;
           }

           var courses = "";
           if (CheckBox1.Checked)
           {
               courses = CheckBox1.Text + " ";
           }
           if (CheckBox2.Checked)
           {
               courses += CheckBox2.Text + " ";
           }
           if (CheckBox3.Checked)
           {
               courses += CheckBox3.Text;
           }

           ShowCourses.Text = courses;
           ShowUserNameLabel.Text = "Username";
           ShowEmailIDLabel.Text = "Email";
           ShowGenderLabel.Text = "Gender";
           ShowCourseLabel.Text = "Courses";
           username.Text = "";
           EmailID.Text = "";
           RadioButton1.Checked = false;
           RadioButton2.Checked = false;
           CheckBox1.Checked = false;
           CheckBox2.Checked = false;
           CheckBox3.Checked = false;
       }
   }
}

Run User Registration Web Form

To run this form, just right click and select the view in the browser option. We did it in our example.

Output:

After filling out the form and registration, it shows a greeting message to the user.

After submitting the registration details it shows the following message.

FAQs

  1. What is ASP.NET?
    Active Server Pages (ASP) and Active Server Pages (ASP.NET) are server-side technologies for displaying interactive web pages. ASP.NET offers developers a wide range of options in a large, diverse ecosystem of libraries and tools.
     
  2. What is a web form?
    Visual Studio comes with ASP.NET Web Forms, which is part of the ASP.NET web application platform. ASP.NET Web Pages, ASP.NET MVC, and ASP.NET Single Page Apps are the other three programming paradigms you can use to construct ASP.NET web applications.
     
  3. What are controls of the form?
    ASP.NET provides web forms controls, which are used to create HTML components. These controls are categorised as server-based and client-based.
    There are various server controls available for the web forms in ASP.NET:
    1.Label
    2.Checkbox
    3.Text Box
    4.Radio Button and many more.
     
  4. How do we handle the submit request from the web form?
    The handling of the submit request is based on the trigger mechanism of the code behind the file, which triggers when the submit button is clicked on the web forms.
     
  5. How do we run the user registration form?
    To run the web form, we just right click and select the view in the browser option in the code editor, to run the user registration form.

Key Takeaways

In this article, we learned about how to create a project to make a user registration web form. We learned how to manage the web form controls. We also learned how to handle the submit request in the web form.

Apart from this, you can also expand your knowledge by referring to these articles on Features Of ASP Net.

For more information about backend development, get into the entire Backend web development course.

Happy Learning!

Live masterclass