Steps Involved While Creating The App
While creating our calculator application, we need to do the following:
- We first design the GUI of the calculator application by importing the tkinter module in Python. We then add the main window followed by the widgets, which we have to add as per the requirements of the operation.
- Finally, we need to add the event triggers to the widgets so that whenever a button is clicked, the arithmetic operation is triggered.
Code
from tkinter import *


# to create the main frame
def myCalculator(source, side):
    calcFrame = Frame(source, borderwidth=4, bd=4, bg="yellow")
    calcFrame.pack(side=side, expand=YES, fill=BOTH)
    return calcFrame


# to create the buttons of the frame
def button(source, side, text, command=None):
    calcButton = Button(source, text=text, command=command)
    calcButton.pack(side=side, expand=YES, fill=BOTH)
    return calcButton


class app(Frame):
    def __init__(self):
        Frame.__init__(self)
        self.option_add('*Font', 'arial 20 bold')
        self.pack(expand=YES, fill=BOTH)
        self.master.title('Simple GUI Calculator')


        #display widget to view inputs and the result
        display = StringVar()
        Entry(self, relief=RIDGE, textvariable=display,
              justify='right'
              , bd=30, bg="yellow").pack(side=TOP,
                                              expand=YES, fill=BOTH)


        # button to clear the display
        for clearButton in (["C"]):
            erase = myCalculator(self, TOP)
            for ichar in clearButton:
                button(erase, LEFT, ichar, lambda
                    storeObj=display, q=ichar: storeObj.set(''))


        # for buttons other than the equal to button
        for numButton in ("789/", "456*", "123-", "0.+"):
            FunctionNum = myCalculator(self, TOP)
            for iEquals in numButton:
                button(FunctionNum, LEFT, iEquals, lambda
                    storeObj=display, q=iEquals: storeObj
                       .set(storeObj.get() + q))


        #the = button
        EqualButton = myCalculator(self, TOP)
        for iEquals in "=":
            if iEquals == '=':
                btniEquals = button(EqualButton, LEFT, iEquals)
                btniEquals.bind('<ButtonRelease-1>', lambda e, s=self,
                                                            storeObj=display: s.calc(storeObj), '+')


            else:
                btniEquals = button(EqualButton, LEFT, iEquals,
                                    lambda storeObj=display, s=' %s ' % iEquals: storeObj.set
                                    (storeObj.get() + s))
    # eval function is included here.
    def calc(self, display):
        try:
            display.set(eval(display.get()))  #the eval() function, which parses the expression
        except:
            display.set("ERROR")


if __name__ == '__main__':
    app().mainloop()

You can also try this code with Online Python Compiler
The eval() Function
The eval() built-in Python method is the heart and soul of our GUI calculator application. Whatever input we give in the display widget is processed by the eval() function, and the final result is provided. Before we discuss the eval() function, let's see how the eval() function works for our calculator.
Input:

Output:
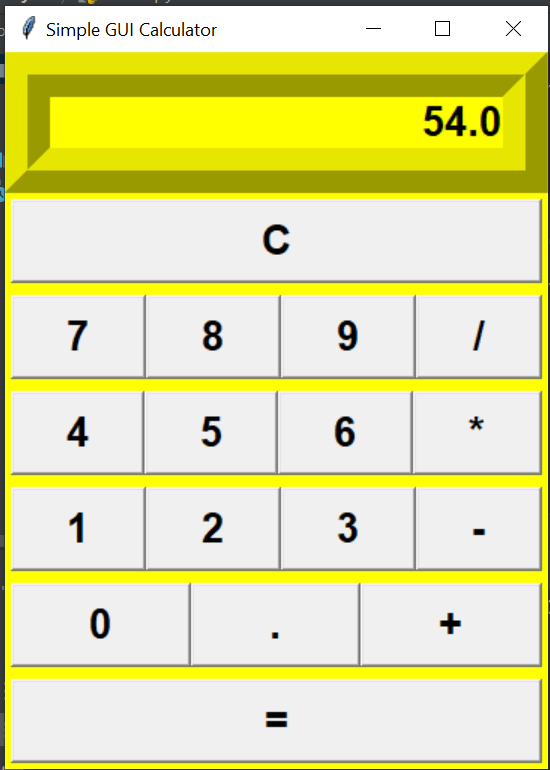
We can see that when we provided "7*8-6/3" as the input, it correctly displayed 54.0 as a result. The expression was evaluated as per the BODMAS rule.
How did this happen?
The answer to the above question is the eval() function, which is a built-in Python method. In simple terms, the work of the eval() function is to parse the expression passed as a String to it and evaluate the result.
Example 1:
myExpression="12+3-5*7"
parsedResult= eval(myExpression)
print("The expression will yield:", parsedResult)
You can also try this code with Online Python Compiler
Output:
The expression will yield: -20
You can also try this code with Online Python Compiler
Example 2:
myExpression="34/0"
parsedResult= eval(myExpression)
print("The expression will yield:", parsedResult)
You can also try this code with Online Python Compiler
Output:
ZeroDivisionError: division by zero
You can also try this code with Online Python Compiler
The eval() function is the most important part of the code in our GUI calculator application. It makes the work so easy. We put most of our energy towards the look of the interface while the internal arithmetic expression is done by the eval() function.
You can compile it with online python compiler.
Explanation
Creating The Main Window.
The main window is the body of the calculator. It will contain the name of our application.

Display Widget
The display widget will let the users view their input as well as the result of the arithmetic operations that we will do.

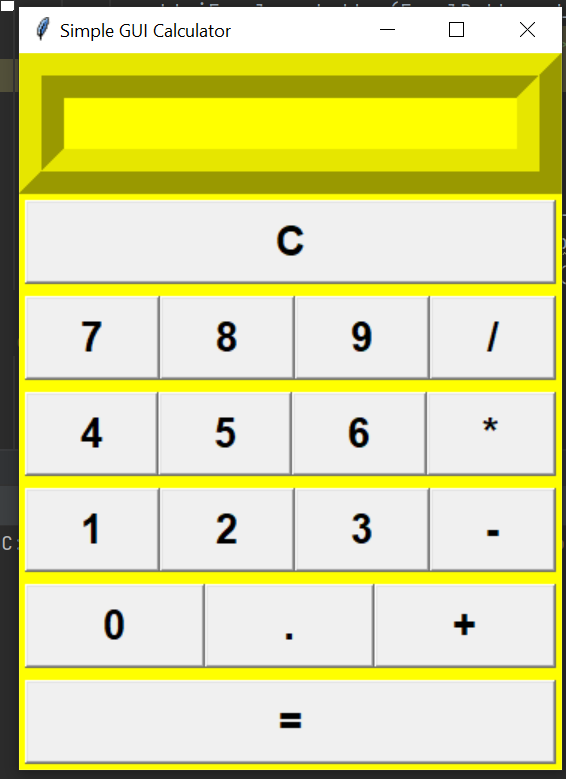
Clear Button
The clear button, which is represented by the character C in our calculator, is used to clear the display widget. After we click on the clear button, everything inside the display widget "vanishes."

We can observe that when the clear (C) button is pressed, the display widget is cleared. 7*5 will not be present now.
Adding the digits and mathematical symbols
The next step in building the GUI calculator application is to add the number buttons and the symbol buttons, which will be required to provide the input.

Adding Event Triggers
We finally add the event triggers on every widget. It is necessary to do this so that whenever a button is clicked, the required operation is performed. Failing to do so will not generate the output.
Adding the event trigger to the widgets is fairly simple.
Code:
def calc(self, display):
        try:
            display.set(eval(display.get()))
        except:
            display.set("ERROR")
You can also try this code with Online Python Compiler
Demonstration
Addition
Input:
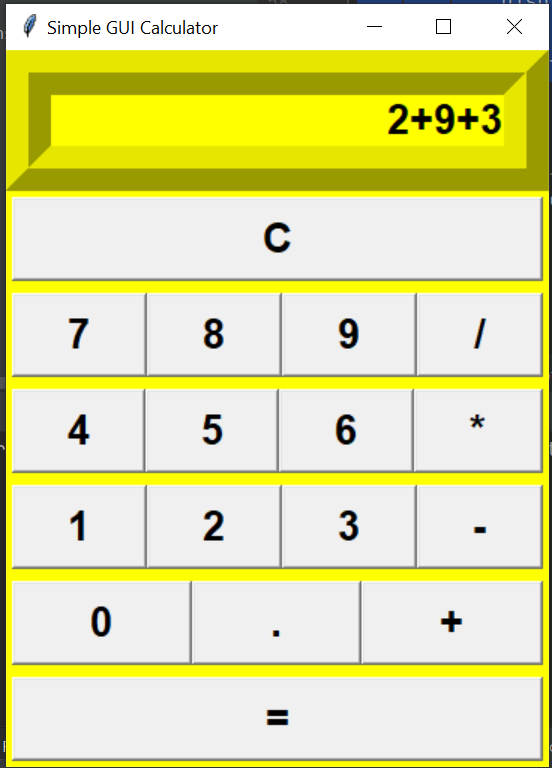
Output:

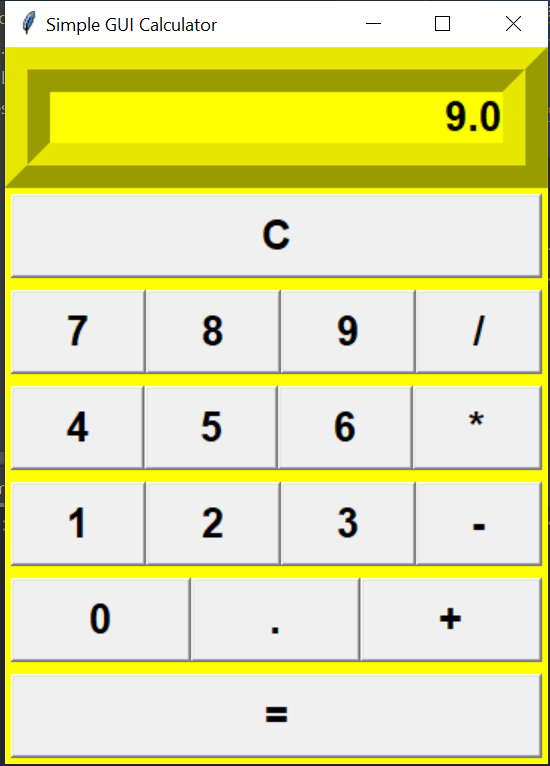
Subtraction
Input:
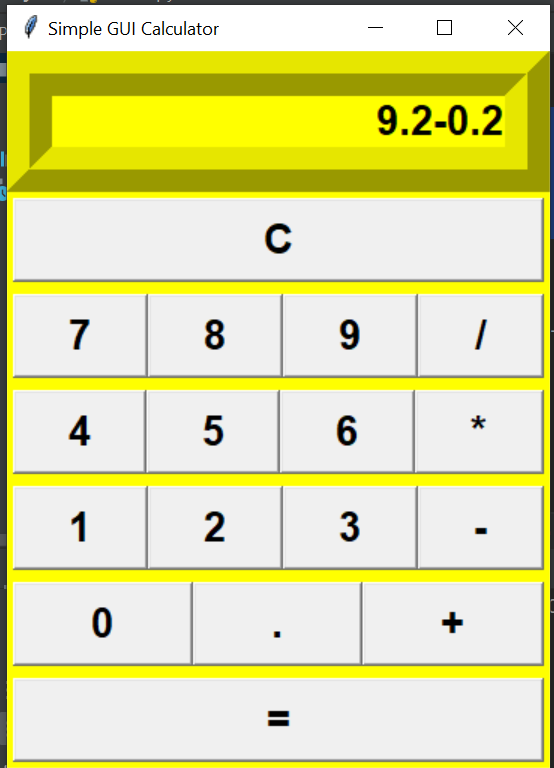
Output:
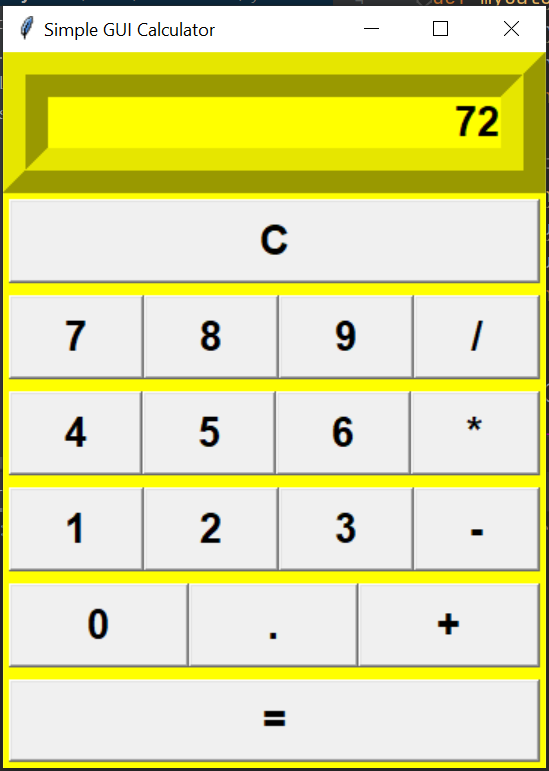
Multiplication
Input:
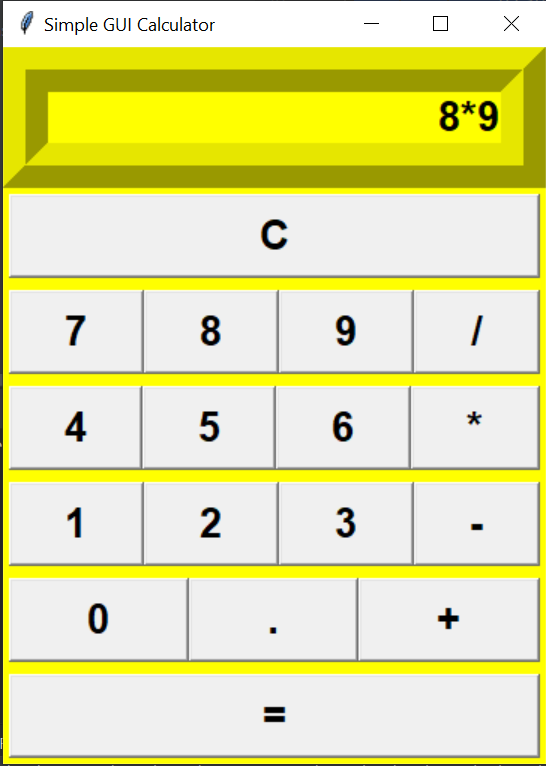
Output:
Division
Input:
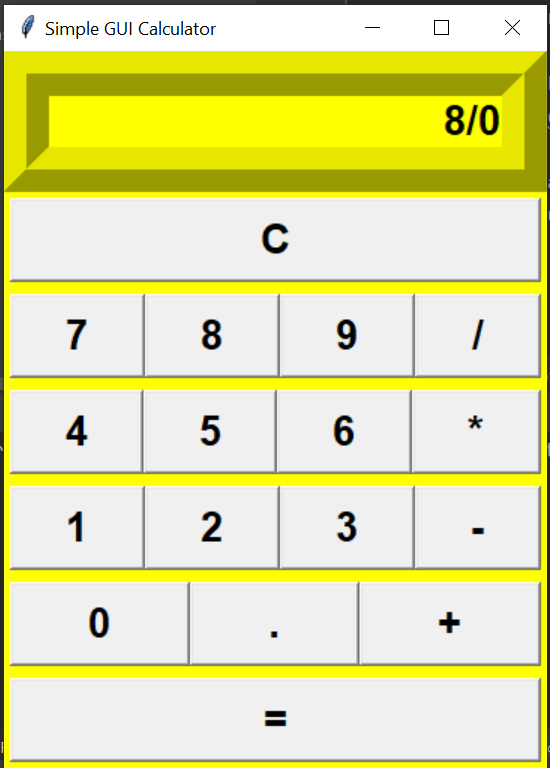
Output:

Frequently Asked Questions
- What is the importance of eval() function in the GUI calculator application?
The eval() function is used to parse the expression passed as a String to it and evaluate the result. It helps in the arithmetic operations in our calculator.
- Which module is required for making the GUI calculator application?
The tkinter module should be imported while making the GUI calculator application.
- How can we make the widgets function accordingly?
We need to add the event triggers to the widgets.
- What are the various steps involved while making a simple GUI calculator using tkinter?
The steps are creating the mainframe, adding the display widget, adding the numeric and equals to buttons, and adding the event triggers to the widgets.
Conclusion
- In this article, we learned how to create a simple GUI calculator application using the tkinter module in Python.
- The most important function is the eval() function, which parses the String expression and evaluates the result.
- We must create the mainframe display widgets and the buttons which are required for arithmetic operations in a calculator.
- Event triggers must be added to the widgets to make them functional.
Never stop learning. Explore more here!
Happy learning!


 8+ registered

