


Introduction
Hey Readers!!
Suppose you are trying to validate the database, and the values are constantly changing.
Then what will you do to verify whether the data state is the same as the previous one?
This is where the Checkpoints come into play.
In this article, you'll learn about the Checkpoints in Katalon Studio.
Let's begin to learn!!
Checkpoint
A checkpoint is a snapshot taken of the data at a particular time. It is used to check whether the current state of data is the same as the previous state.
Create a Checkpoint from Test Data
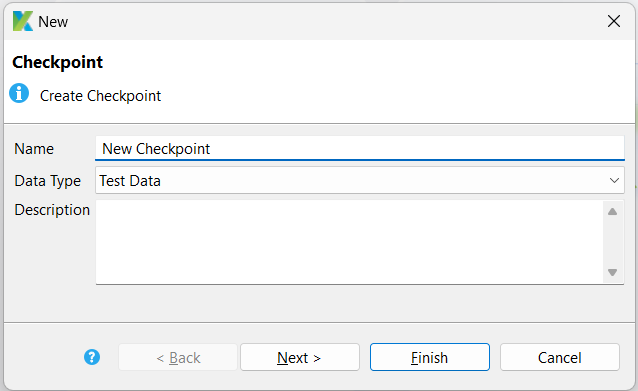
1. From the main menu, choose File> New > Checkpoint. Enter the name of your choice and then take the Data Type as Test Data.
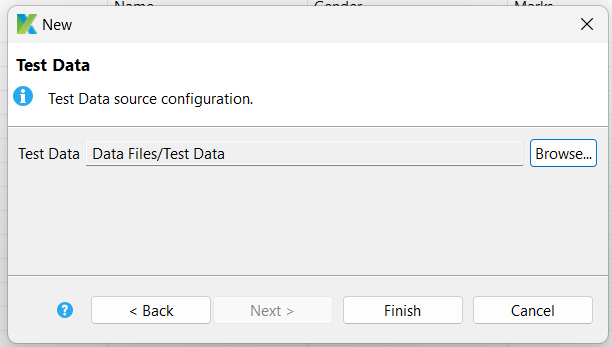
2. Click Browse to choose from the list of current Data Files defined in Katalon Studio in the following window. Click on Finish.
3. The selected data source's current condition will be recorded and shown in the preview below.

4. Save the Checkpoint, and then you're done with creating the Checkpoint.
Create an Excel Checkpoint
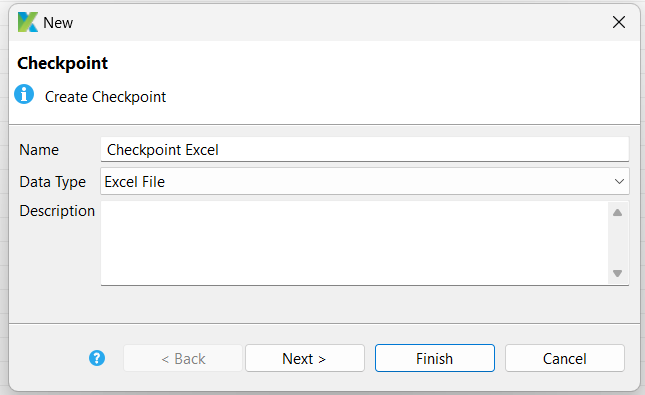
1. Select File> New > Checkpoint. Choose Excel File as your data type after entering the name of your Checkpoint. Choose Next.
2. Select the excel file by clicking Browse in the following dialogue.
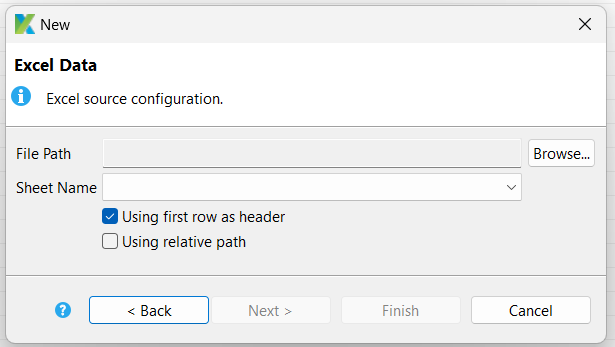
3. The selected data source's current condition will be recorded and shown in the preview below.

4. Save the Checkpoint, and then you're done with creating the Checkpoint.
Create a CSV Checkpoint
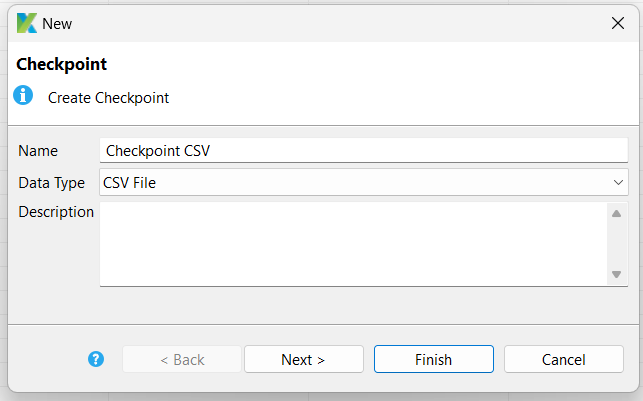
1. Select File> New > Checkpoint. Choose CSV File as your data type after entering the name of your Checkpoint. Choose Next.
2. To choose the CSV file, select Browse.
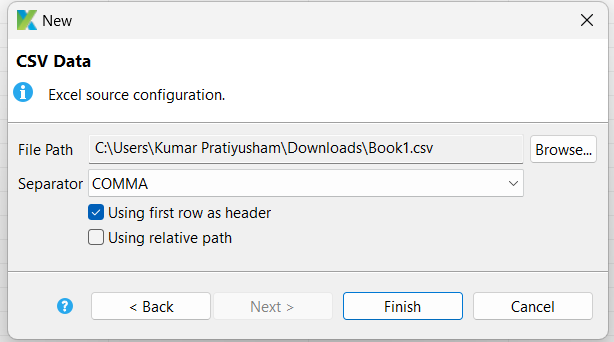
3. The selected data source's current condition will be recorded and shown in the preview below.

4. Save the Checkpoint, and then you're done with creating the Checkpoint.
Create a Database Checkpoint
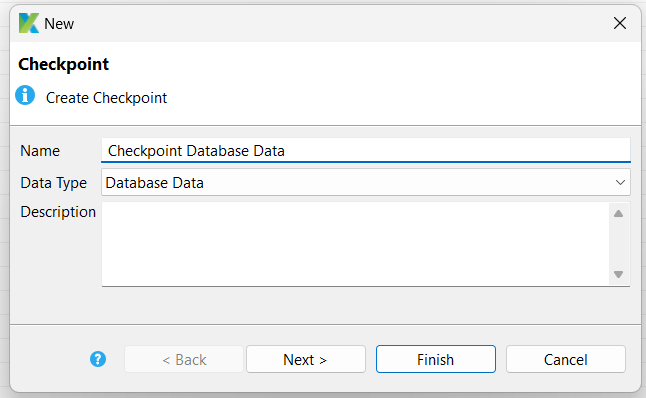
- Select File> New > Checkpoint. Select Database Data as the Data Type and type in the name of your Checkpoint. Choose Next.
2. Enter the database connection information and the data query in the following dialogue, then click Finish.
3. The selected data source's current condition will be recorded and shown in the preview below.
4. Save the Checkpoint, and then you're done with creating the Checkpoint.


 9+ registered

