Do you think IIT Guwahati certified course can help you in your career?
Introduction
Have you ever thought of doing creative coding? Do you know that Cinder provides features to add graphics, video, audio, and geometry to your codes?
In this article, we will discuss the Cinder platform on windows. We will see how we can set up Cinder on our machine. We will also build an in-built application after setting up Cinder to understand it more clearly. In the end, we will discuss the applications of Cinder.
What is Cinder?
Cinder is a C++ library, It allows doing creative coding. It is developed through GitHub. Cinder includes graphics, video, audio, and computational geometry. Cinder can be considered as a primary tool for professionals and, it is still suitable for experimenting and learning. Cinder is supported on macOS, Windows, Linux, IOS, and Windows UWP operating systems.
Moving forward, let’s first understand OpenGL in Cinder.
OpenGL in Cinder
OpenGL stands for Open Graphics Library. OpenGL is an application programming interface (API) that is required in rendering graphics. OpenGL is operated along with GPUs. GPU is a Graphics Processing Unit that helps to render graphics. The desktop OpenGL is supported by Cinder on Windows and, OS X. Cinder also supports OpenGL ES API on iOS and Android. Moving forward, let’s set up Cinder on our Windows. OpenGL is used to manage graphics in applications that are made with Cinder.
Setting Up Cinder
Before installing Cinder, let’s first install Visual Studio, while installing visual studio, select Desktop environment for C/C++ under the Programming Languages option. After installing Visual Studio, follow the below steps for setting up Cinder.
You can download Cinder for Windows from here Download:: Cinder or you can clone the GitHub repository cinder/Cinder. To clone and test the inbuilt application, follow the below steps. 1. Clone the repository with the below command:
git clone https://github.com/cinder/Cinder.git
2. You will see the repository on the location where you have cloned, in our case, it is C:\Users\user.
3. Now you are good to use Cinder on Windows.
Running an Application using Cinder
Now, to test the sample application, follow the below-mentioned steps.
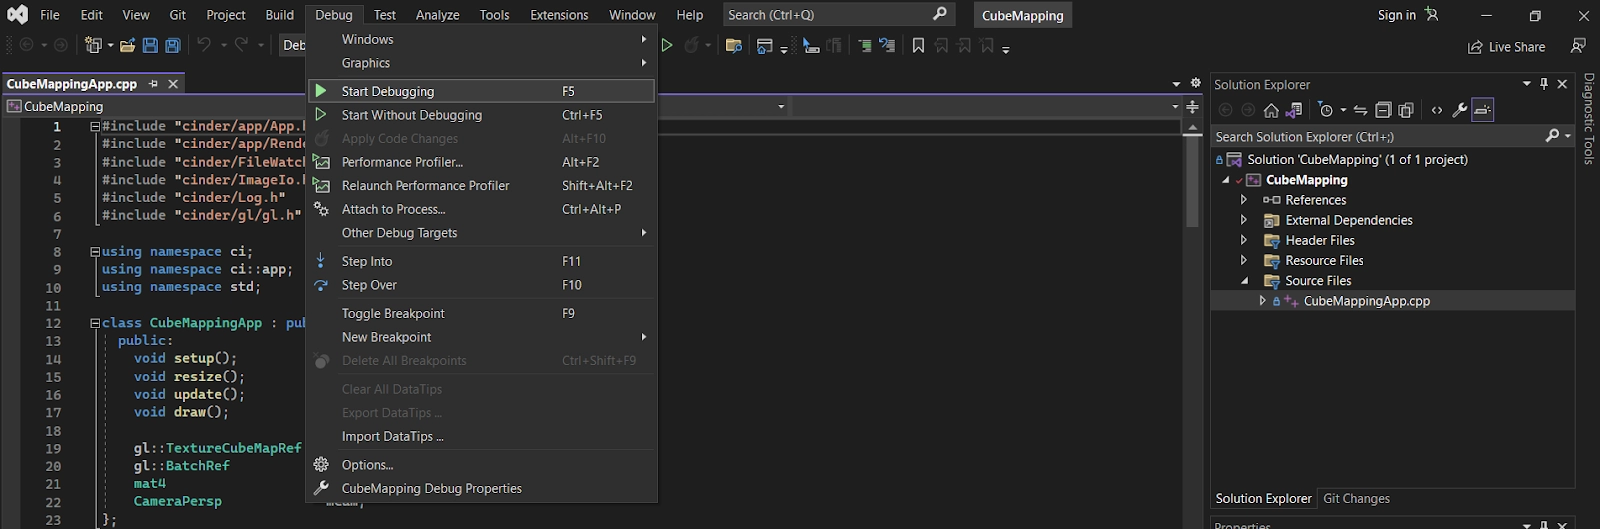
1. Navigate to CubeMapping.sln which is located at C:\Users\user\Cinder\samples\_opengl\CubeMapping\vc2019 open CubeMapping.sln in visual studio.
2. After it is loaded, navigate to the Debugoption.
3. Click on the Start Debugging option.
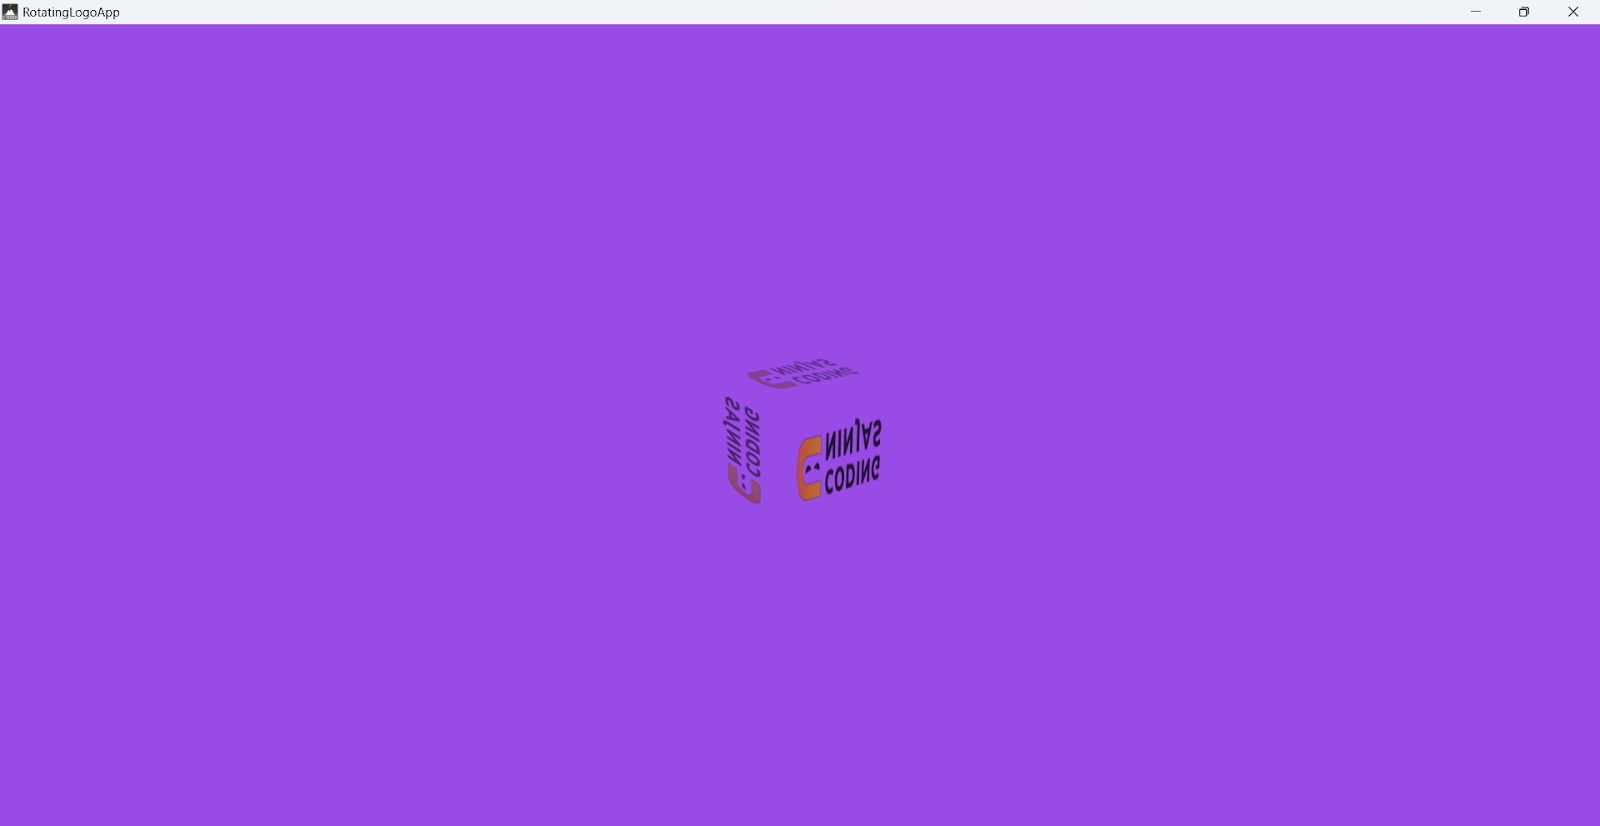
4. After the build is done, you will see a dynamic output.
In this program, we have made four methods named, setup(), resize(), update() and draw(). Inside the setup() method, we are loading our logo and checking whether it is loaded correctly or not. In this method, we are also loading shader and creating a batch. Shader program is required to run on the GPU, it calculates the light level, brightness and color that is required while rendering an 3-D object. Batch is created to add geometry in our code, like here we are creating a cubical geometry so we can create a batch using geom::Cube(). The resize() and update() methods are used to resize and update the rotation of the 3-D object. Inside the draw() method, we have added background color and defined the movement of our cube.
Try and compile by yourself with the help of online C++ Compilerfor better understanding.
Applications of Cinder
There are many applications of Cinder, and let’s discuss few of them.
Cinder allows making standalone applications, standalone applications mean applications that are independent of any other application.
Cinder helps in resizing high-quality images.
Cinder supports floating point HDR pixel processing in images.
Cinder provides full-featured matrix, vector, and quaternion classes.
Cinder provides useful features like adding graphics, audio, video, and geometry which helps in doing creative coding.
What Visual Studio version supports Cinder?
Cinder supports Visual C++ 2019 or later on Windows.
What is GPU?
GPU stands for Graphics Processing Unit, GPU is a processor that helps in rendering graphics fastly.
Conclusion
In this article, we have understood about Cinder platform, we have also set up Cinder on Windows and executed an inbuilt program for better understanding. To read more articles on OpenGL and graphics, you can refer to the below-mentioned articles.
We hope this article has helped you in understanding about Cinder. If this article helped you in any way, then you can read more such articles on our platform, Coding Ninjas Studio. You will find articles on almost every topic on our platform. Also, you can practice coding questions at Coding Ninjas to crack good product-based companies. For interview preparations, you can read the Interview Experiences of popular companies.
Happy Coding!
Live masterclass
Amazon Data Analyst Roadmap – From Resume to Interview
by Abhishek Soni
08 Jul, 2026
12:30 PM
Zero to GenAI Developer: Amazon SDE Roadmap for 30L+ CTC
by Sumit Shukla
07 Jul, 2026
12:30 PM
Interview-Ready RAG Project Walkthrough by Google SWE3
by Saurav Prateek
09 Jul, 2026
11:30 AM
Amazon-Ready Excel & AI Skills: Ace 20L+ Data Analyst Roles
by Prerita Agarwal
06 Jul, 2026
11:30 AM
Amazon Data Analyst Roadmap – From Resume to Interview
by Abhishek Soni
08 Jul, 2026
12:30 PM
Zero to GenAI Developer: Amazon SDE Roadmap for 30L+ CTC


 18+ registered

