Installation of Ruby on Windows
Downloading and Installing Ruby
From rubyinstaller.org, you may download all versions of Ruby for Windows. Download the most recent version and follow the installation instructions.

Source: Installer
To begin, install the following:
- How to Begin with a License Agreement:

- Choosing an Installation Location:

- Choosing the components that will be installed:

- Extracting and Installing Files:

- Completion of Installation:

MYSYS2 Components Installation:
- Select what you want to install:

- Database updates and signing keys:


- Installation of Packages:

Perform a version check for Ruby on the command line to see if it was installed correctly:
ruby -v

You can also try this code with Online Ruby Compiler
You’ll get the ruby version as shown in the image below

Source: Ruby Version on windows
Installation of Ruby on Linux
Downloading and Installing Ruby
The following command (Ctrl+Alt+T) on the terminal can be used to download and install Ruby on Linux:
$ sudo apt install ruby-full
You can also try this code with Online Ruby Compiler
To begin, install the following:
- How to Begin Using Command:

- Acceptance of the Installation:


- Completion of Installation:

Perform a version check for Ruby using the following command on the terminal to see if it was installed correctly:
ruby --version
You can also try this code with Online Ruby Compiler
You’ll get the ruby version as shown in the image below

Source: Ruby Version on linux
Installation of Ruby on Mac
While installing Ruby in Mac, we need to keep in mind these things which are mentioned below:
- In a terminal, type the commands without the $ sign at the start.
- Ensure you have admin privileges and are running Mac OS (the newest version Catalina is optimal; upgrade your terminal from bash to zsh as recommended).
Perform the following steps to install:
Step 1: Installation of homebrew.
If you have homebrew installed, installing Rails (and a slew of other programmes) becomes a breeze. Enter the following command to see if you have it installed:
$ brew --version
You can also try this code with Online Ruby Compiler
You don't have homebrew if it throws an error. In that scenario, run the command below to install homebrew.
$ /bin/bash -c "$(curl -fsSL https://raw.githubusercontent.com/Homebrew/install/HEAD/install.sh)"
You can also try this code with Online Ruby Compiler
Step 2: Updating the homebrew.
Update your homebrew version and upgrade all the packages it installed by running the following command, even if you already had it installed.
$ brew update && brew upgrade
You can also try this code with Online Ruby Compiler
Run the following commands to see any difficulties with your homebrew. Follow the guidelines that have been provided.
$ brew doctor
You can also try this code with Online Ruby Compiler
Restart your computer to be on the safe side. It fixes problems with the terminal not restarting correctly.
Step 3: Install the Ruby version manager rbenv.
$ brew install rbenv ruby-build
You can also try this code with Online Ruby Compiler
Examine the output in the terminal and follow all of the instructions to the letter. If you receive a warning advising you to add export RUBY CONFIGURE OPTS="—with-openssl-dir=$ (brew --prefix openssl@1.1)" to /.zshrc (or /.bash_profile for earlier macOS), do so (change /.zshrc with /.bash_profile as needed).
Open /.zshrc with the command open. If the file /.zshrc does not exist, use touch /.zshrc to create it before opening it. Save the file with the line export RUBY CONFIGURE OPTS="—withopenssl-dir=$(brew —prefix openssl@1.1)" at the end (in a new line).
Process any proposed adjustments to /.zshrc in the same way, including inserting the export CPPFLAGS or LDFLAGS if instructed.
When you open a terminal, make sure rbenv is loaded. We'll assume you're using zsh as your terminal. Replace /.zshrc with /.bash profile in the following two commands if you're using a bash terminal.
$ echo 'if which rbenv > /dev/null; then eval "$(rbenv init -)"; fi' >> ~/.zshrc
You can also try this code with Online Ruby Compiler
Use the .zshrc script to run the script.
$ source ~/.zshrc
You can also try this code with Online Ruby Compiler
To be safe, restart your computer to ensure that any open terminals have been properly renewed (not required).
Ruby should be installed. This will not conflict with the Ruby version included with macOS. The first line's negative ell phrase lists the most recent stable versions. Pick one (I'm going with 3.0.1).
$ rbenv install -l
$ rbenv install 3.0.1
You can also try this code with Online Ruby Compiler
Make the Ruby version in rbenv the default Ruby.
$ rbenv global 3.0.1
You can also try this code with Online Ruby Compiler
Verify the version. 3.0.1 is the correct version.
$ ruby -v
You can also try this code with Online Ruby Compiler
Step 4: Installation of Rails.
Execute the command below.
$ gem install rails
You can also try this code with Online Ruby Compiler
If you receive a permission error, perform the commands below [replace mtirfan with your user name]:
$ sudo chown -R mtirfan /Users/mtirfan/.rbenv
$ gem install rails
You can also try this code with Online Ruby Compiler
rbenv should be manually updated.
$ rbenv rehash
You can also try this code with Online Ruby Compiler
Check the rails version.
$ rails -v
You can also try this code with Online Ruby Compiler
Here version of rails is shown in image below

Source: Rails version on mac
Step 5: Installation of Database.
SQLite is already installed on the Mac. The programme below instals a Ruby gem that allows Ruby to connect to SQLite.
$ gem install sqlite3
You can also try this code with Online Ruby Compiler
Step 6: Configure the Server.
Execute the command below. Follow all of the directions on the screen to the letter.
$ brew install yarn
You can also try this code with Online Ruby Compiler
Installation of SQLite3 on Windows
Perform the following steps to install SQLite3 on Windows:
1. Download the SQLite zip file from the official SQLite website.
2. Save the zip file to your computer.
3. Expand the zip file to create an SQLite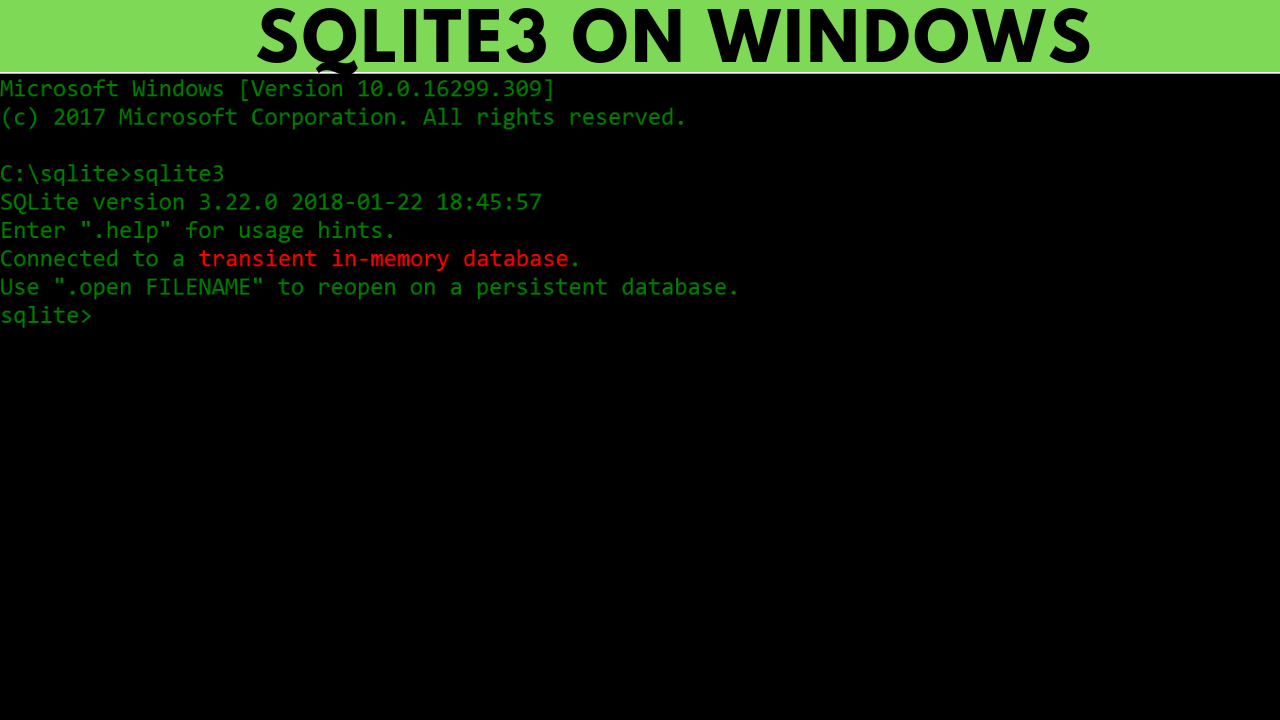 folder in C or D (or anywhere you choose).
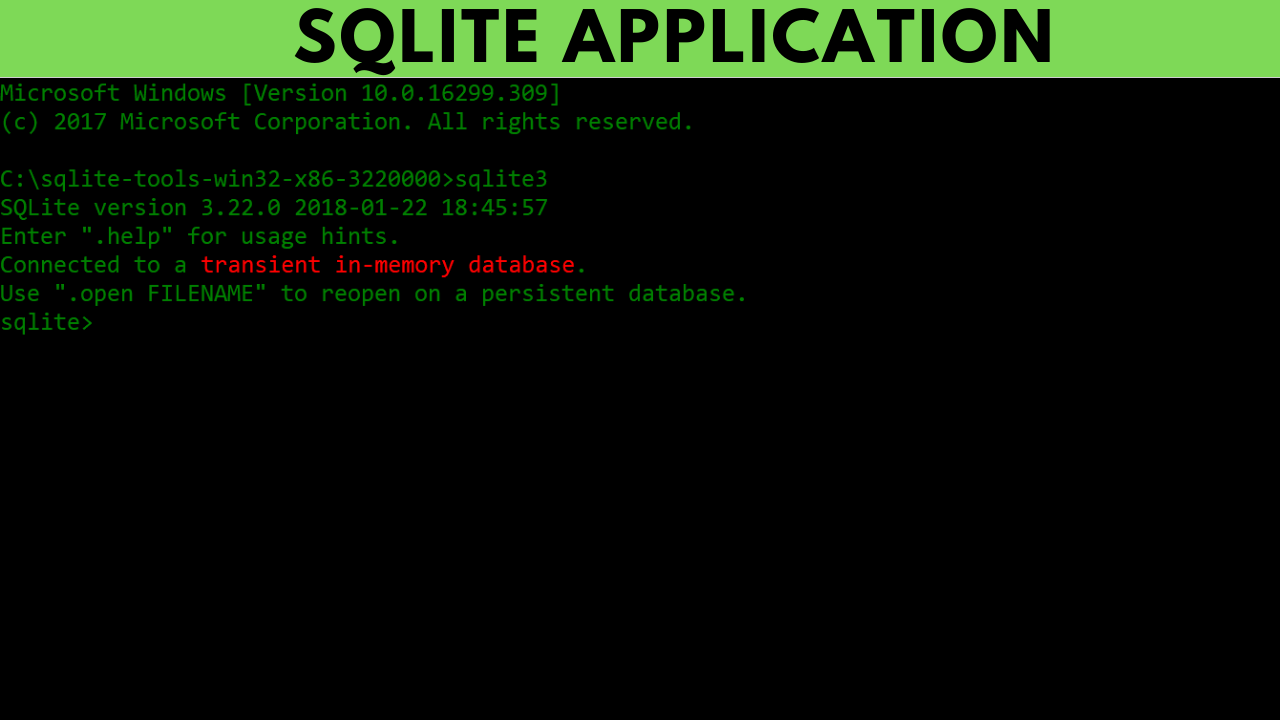
4. Open a command prompt and type the path of the SQLite folder that was created in the previous step. Then type in "sqlite3" and hit enter.
You can also open the .exe file straight from the location where you saved the SQLite package.

The SQLite application will open after clicking on the selected .exe file.
Installation of SQLite3 on Linux
Perform the following steps to install SQLite3 on Linux:
Open Terminal, execute the following command and then enter your password.
sudo apt-get install sqlite3 libsqlite3-dev
You can also try this code with Online Ruby Compiler

It will install automatically, and when it asks whether you want to continue (Y/N), type Y and hit enter. After a successful installation, we can verify it with the sqlite3 command.

Now that SQLite3 and Ruby are installed on your system, it's time to set up Rails. To do so, follow the instructions below:
Step 1: In the ruby terminal, type the following command:
$ gem install rails
You can also try this code with Online Ruby Compiler
Rails will be installed on both Windows and Linux platforms.
Step 2: Type the following command to see if rails is installed, and it should tell you what version it is.
$ rails --version
You can also try this code with Online Ruby Compiler
Step 3: Type the following command in the command line to create your first rails web application:
$ rails new project
You can also try this code with Online Ruby Compiler
where project denotes the name of your programme.
It will display something similar to this:

Step 4: It will establish a project Rails application. Then, using the following command, cd into that project:
$ cd project
You can also try this code with Online Ruby Compiler
Step 5: Type the following command to start your web server:
$ bin/rails server
You can also try this code with Online Ruby Compiler
Or type
$ rails server
You can also try this code with Online Ruby Compiler
Step 6: Now go to localhost 3000 and look for the following output:

Source: Server
Frequently Asked Questions
1. How to check whether Ruby is installed or not in the system?
By writing the following command in the command line, you can cross-check the installation of Ruby.
ruby --version
You can also try this code with Online Ruby Compiler
If ruby is not installed on your machine then on running the above command will give you the following output

2. What is homebrew in Mac, and why is it being used?
Homebrew is a free and open-source software package management system that makes installing software on Apple's macOS and Linux operating systems. The name implies creating software for the Mac-based on the user's preferences. The package manager, created by Max Howell, has gained popularity in the Ruby on Rails community and has received accolades for its extensibility. Homebrew is suggested because of its simplicity and interaction with the command line interface. Homebrew is a Software Freedom Conservancy-affiliated non-profit initiative managed entirely by unpaid volunteers.
Key takeaway
In this article, we have discussed how we can install Ruby on rails on different Operating systems. We have seen the steps to install Ruby on the system. We have seen how to do the set-up of Ruby. We have discussed different methods to establish and additional commands to use Ruby.
If you want to learn more about ruby on rails then you can check our archives blog on ruby where you’ll find many more interesting articles.


 9+ registered

