Do you think IIT Guwahati certified course can help you in your career?
Introduction
Texture Node Editor allows you to create textures by combining colors, patterns, and other textures in the same manner that you can write shaders with material nodes.
In this blog, we are going to learn about the Texture Node Editor in complete detail.
Texture Node Editor
Blender has a node-based texture generation system that allows you to create textures by combining colors, patterns, and other textures in the same manner that you can write shaders with material nodes. We can use texture nodes to create textures resulting from complex computations. Texture nodes produce generative textures and work similarly to their non-node-based equivalents.
Open the Texture Node editor to use texture nodes with the current texture.
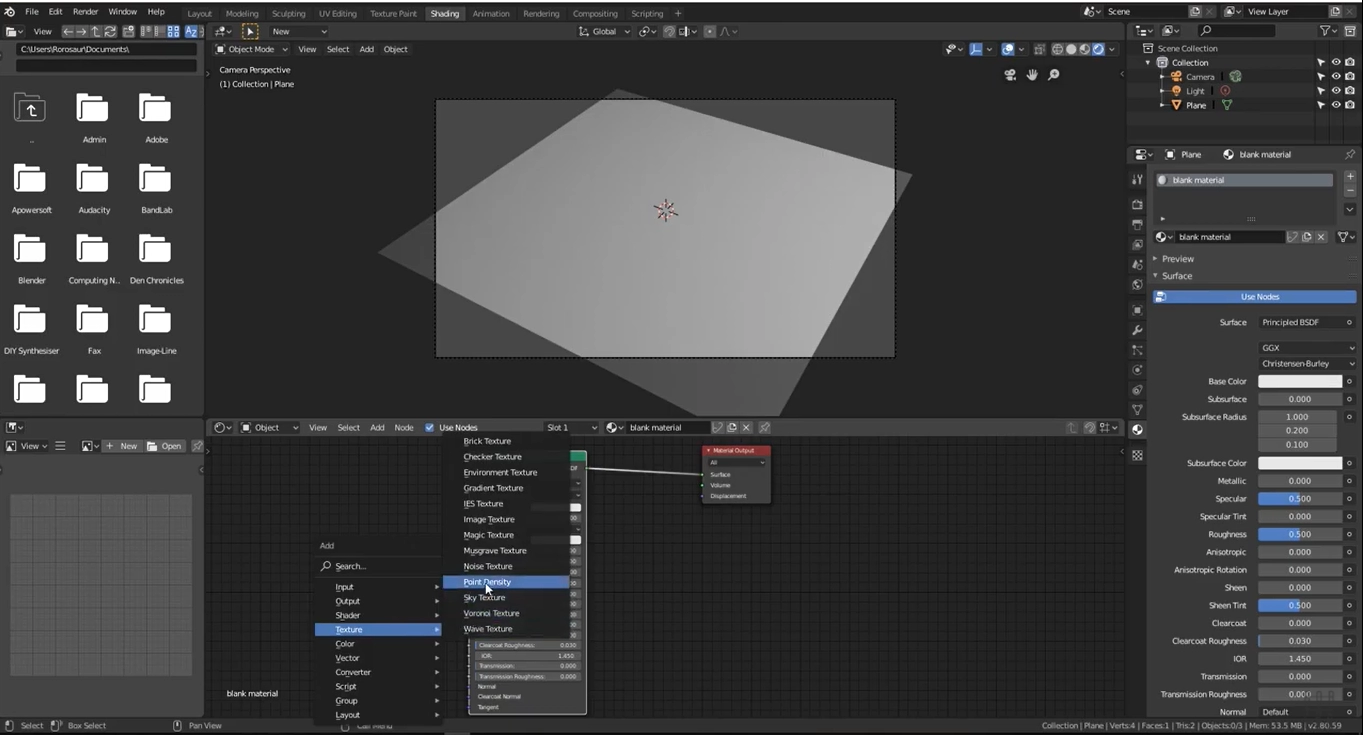
The New button(we can also use SHIFT+A buttons) in the Texture Node editor or the New button in the Texture panel can be used to generate a new texture. When a texture is selected, the Use Nodes option in the Texture Node editor can be used to change whether it is used as a conventional texture or as a node texture.
Creating a new texture node in the texture node editor
There are various types of texture nodes available as default in the texture node editor. These texture nodes have different looks that can be used to control the input of the shader.
For example, textures can control the material's base color or be used with roughness to show how shiny the material is.
A white-and-red checkerboard node connected to an Output named "Default" will display as the default node setup. The node setup can have multiple outputs for texturing nodes. In contrast, other node contexts can only have one active Output node.
Using a Variety of Outputs
Each texture created by texture nodes can have multiple outputs that can be used for various purposes. For example, a texture defines both a normal map and a diffuse (color) map. This can be accomplished by:
Making two texture slots with the identical texture data block in the texture list.
Fill in the Name text boxes of two Output nodes in the node tree with new names, such as "Diffuse" and "Normal" for the other.
A selector having names of the outputs is provided beneath the texture list view in the Texture panel. Change the menu entry for each entry in the Texture list to the desired result (e.g., set one to Diffuse and the other to Normal).
These named outputs may be used when the material is defined with material nodes. Texture Channels are unlikely to be employed in this situation. Instead, use Add Input Texture to enter the texture nodes into the material node tree. The output to use can then be selected inside the newly inserted texture node (e.g., Diffuse or Normal).
Frequently Asked Questions
What is the structure of nodes?
All nodes have the same basic structure: (a) Input connectors are on the left, (b) while output connectors are on the right. (c) Connectors that aren't used will usually be filled with useful default values.
Where do we use Blender's Node Editor?
Blender's Node Editor lets you assemble various processing blocks (nodes) into combinations that feed data to one another along with connections that you specify to produce complex effects. The Node Editor makes different kinds of processing blocks available, depending on which of the three kinds of effects you are producing.
How do I open texture nodes in Blender?
If you use Ctrl-Left to transition to the Compositing screen, a Node Editor will appear on the top half of the screen if you are on the default screen.
How do you mix nodes in a blender?
To make this curve, simply click on it, and a new control point will be added. You can bend the curve by dragging the point around. Suzanne feels a lot better now that the Mix node has combined these two effects equally.
Can Blender make gifs?
No, GIF isn't supported. While the encoding library (FFmpeg) used by Blender supports GIF encoding, it's unlikely to support for this format will ever be added.
Key Takeaways
In this article, we have extensively discussed the concepts of texture node editor. We started with the introduction of the texture node editor, how to use the texture node editor then concluded with the various output generated by the texture mode editor.
We hope that this blog has helped you enhance your knowledge regarding texture mode editor and if you would like to learn more AR/VR, check out our articles here. Do upvote our blog to help other ninjas grow.
For peeps out there who want to learn more about Data Structures, Algorithms, Power programming, JavaScript, or any other upskilling, please refer to guided paths on Coding Ninjas Studio. Enroll in our courses, go for mock tests and solve problems available and interview puzzles. Also, you can put your attention towards interview stuff- interview experiences and an interview bundle for placement preparations. Do upvote our blog to help other ninjas grow.


 9+ registered

