Do you think IIT Guwahati certified course can help you in your career?
Introduction👨🏫
An open-source configuration management tool called Chef uses the Ruby programming language to create fundamental building blocks like recipes and cookbooks. It is a tool that automates the conversion of infrastructure to code. It emphasizes developing code rather than employing a manual procedure.
The Chef doesn't assume anything about the current node's state. It obtains the machine's current state by using its mechanics. The Chef is the best tool to manage and implement cloud servers, storage, and software.
This blog will help you understand the whole concept of Chef Settings. Let's get started!
Notifications
To provide alerts when Chef Infra Client runs and InSpec compliance scans fail, Chef Automate notifications use Webhooks. Any service that has webhook integrations allows you to deliver notifications to Slack channels, Slack users, or other services. Every failure results in an alert. Set the ignore_failure attribute to true if you want to ignore a failure.
But by default, only Admins of Chef Automate may create and manage notifications.
Add a Slack Notification
Follow the given steps in chef settings to add a Slack notification for Chef Automate:
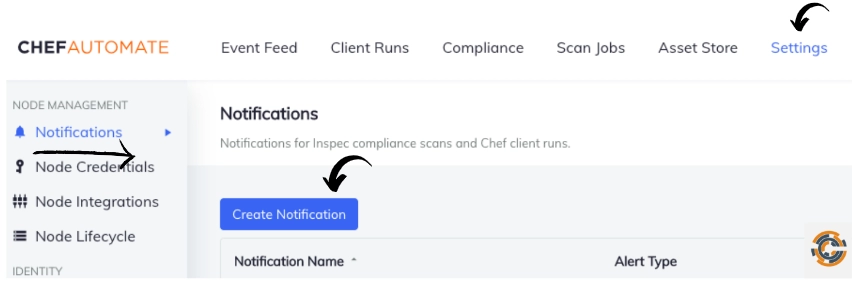
Navigate to the Notifications page in the Settings tab and click on the Create Notification button.
Select Slack and enter a unique name for the notification.
From the drop-down menu, select the failure type to be notified. Current options which will be available are Chef Infra Client run or InSpec scan.
With the help of What's this? Link generally opens an external Slack site and can get a Slack webhook address.
Choose a channel or user for the notification on the Slack page. After creating the new webhook, Slack will provide you with a webhook URL to copy. Use the Add Incoming WebHooks Integration button after entering a recipient.
After copying the URL, return to the Chef Automate page, and paste the URL into the Notifications form.
To test your Slack notification, click Send a test button. Navigate to the Slack Webhooks Integration page to double-check the recipient and URL if your Slack notification is missing.
To create the Slack notification, use the Save Notification button.
Add a Webhook Notifications
The process of adding webhook notifications using chef settings is discussed below.
Open the Settings option and navigate to the Notifications page in the sidebar.
After clicking the Create Notification button, select Webhooks and enter the unique notification name.
From the drop-down menu, select the failure type to be notified. Current options are Chef Infra Client run or InSpec scan.
Enter the webhook URL where the notification is supposed to be sent.
Click on the Send Test button to try out your webhook notification, and click on the Save Notification button to create the webhook notification.
You can visit this link to learn more about editing and deleting the notification.
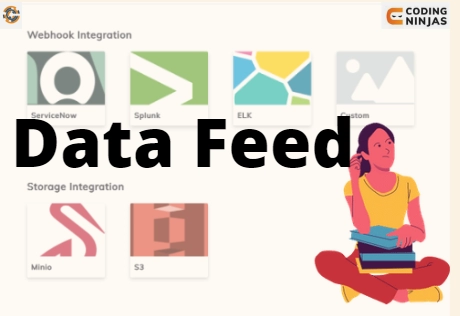
Data Feeds
Node data is sent to a third-party service by the Data Feed service, which might help update platforms for IT service management, external security dashboards, and configuration management databases. The following information is generally transmitted:
Ohai data that is gathered from each managed node - It includes hardware, OS, and installed program information.
Configuration data information of each managed node - This stores Runlists, Cookbooks, Recipes, and Chef Client Run status running against each node.
Compliance information about each node which shows the compliance state - This information comprises passed and failed controls for each profile that were executed against that node.
So are you wondering how the Data Feed operates? It's simply by doing the following:
The data-feed-service will compile client runs and compliance reports from the prior four hours and send this data to the registered destinations every four hours. Although it can be changed, the default time interval is four hours.
The aggregation will not occur in case there are no destinations.
The data aggregates and is sent in batches of 50 nodes at a time. The default batch amount is 50, but it is customizable.
By default, only Admin users of Chef Automate are allowed to create and manage Data Feeds.
You can find out more information at this link - Datafeed.
Data Lifecycle
Data Lifecycle controls how long events, service groups, runs on the Chef Infra Client, compliance reports, and scans in Chef Automate are kept on file. Data from the event feed service, compliance service, ingest service, and applications service are stored by Chef Automate in OpenSearch or PostgreSQL. Using the data lifecycle options, you can decide in the future to delete the data from Chef Automate.
Adjust any chef settings you want to update by going to Settings > Data Lifecycle.
After making changes, use the Save Changes button to apply your changes.
Users with data lifecycle:* IAM access are able to see the data lifecycle job statuses, configure jobs, or run jobs.
There are generally four sub-settings in the data lifecycle of chef settings. Let's discuss them in brief.
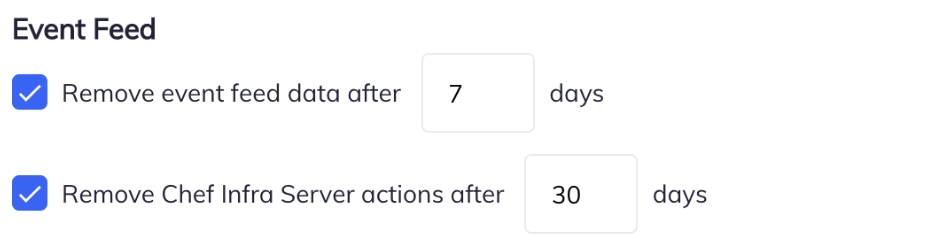
Event Feed
You can delete all event feed data and Chef Infra Server activities after a predetermined number of days using the Event Feed Data Lifecycle settings. By default, Chef Infra Server activities and event feed data are deleted after 30 days and 7 days, respectively.
Service Groups
You can mark health check reports as disconnected and have them automatically removed after a certain period of time using the Service Group Data Lifecycle settings. By default, health check reports are classified as disconnected after five minutes and are deleted seven days later.
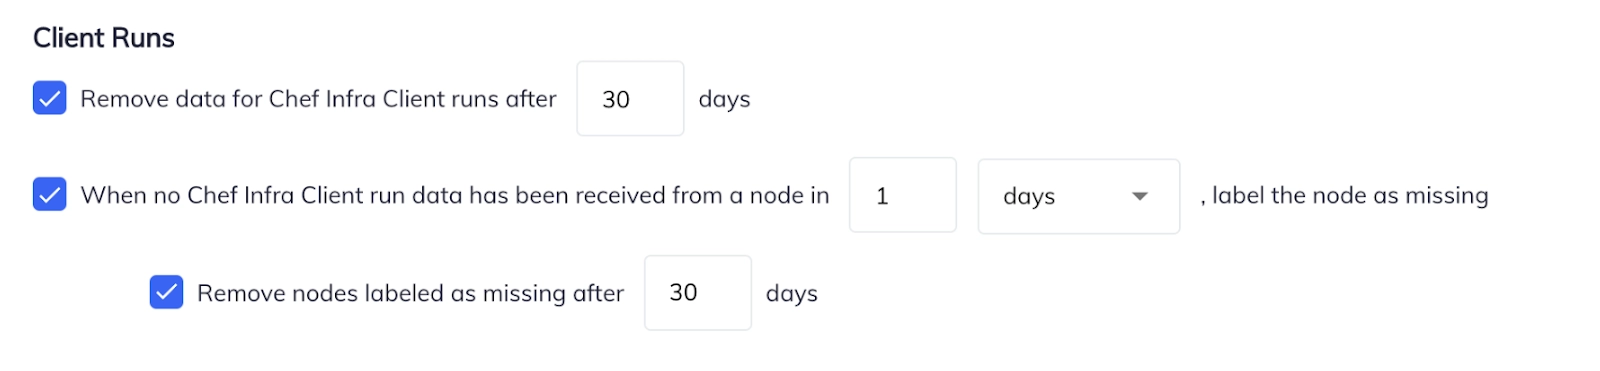
Client Runs
You can erase data after a predetermined number of days by using the Client Runs data lifecycle settings. Additionally, you can mark nodes as missing and have them automatically removed after a certain number of days. The default is to mark nodes as missing after one day, to remove nodes designated as missing after 30 days, and to remove Chef Infra Client run data after 30 days.
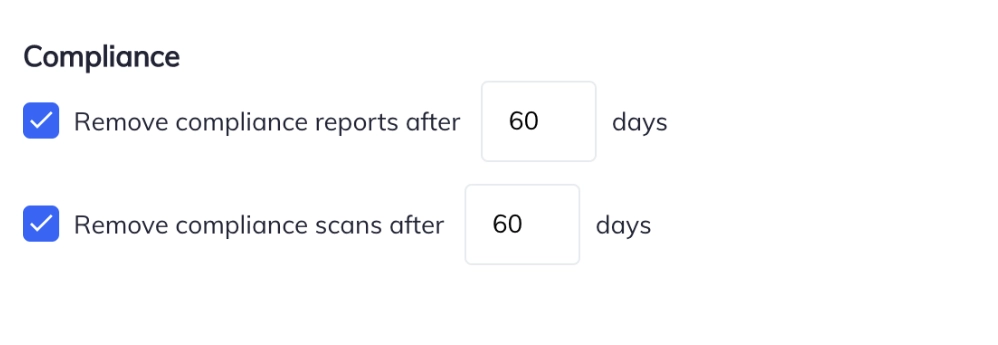
Compliance
You can delete compliance reports and compliance scans after a predetermined number of days using the Compliance data lifetime options. According to default settings, compliance scans and reports are deleted after 60 days.
You can find out more about Data Lifecycle in this link - Data Lifecycle.
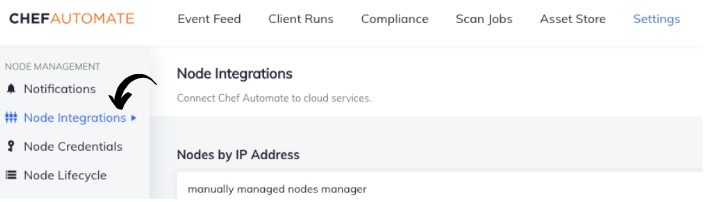
Node Integrations
By entering your login information and setting up a node manager, you can configure Chef Automate to detect and keep track of the nodes in your AWS EC2 and Azure accounts. Each instance in your account has a node reference created by Chef Automate. Using tags in your node manager—the values of which allow wildcard matching—associate your EC2 nd Azure instances with ssh and WinRM credentials.
Run scan jobs using your node manager as a reference, and all of a sudden, an inspec exec is being executed across all of your instances. Chef Automate checks your AWS or Azure account every two hours to see the status of all your nodes. It determines whether they are operating, stopped, or terminated and then changes Chef Automate as necessary.
The node management changes its status in Chef Automate if it discovers an instance that was once functioning and reachable but is no longer running (the node has been stopped, terminated, or is in a transition state).
Find out more about AWS EC2 Node Manager, AWS Credential-less Scanning with Chef Automate, and node_integration in this link.
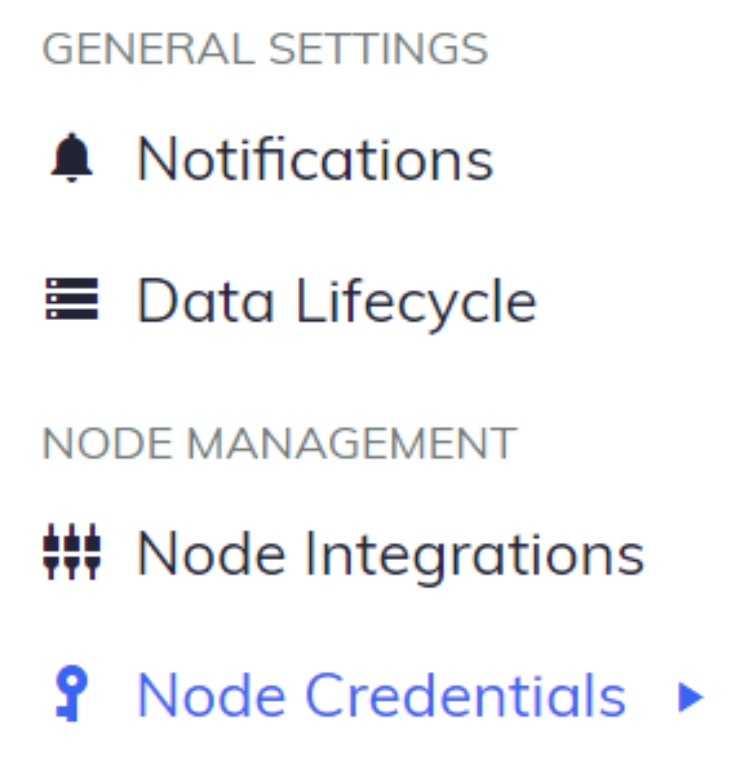
Node Credentials
For remote access to your nodes, you can add, edit, and delete SSH, WinRm, and Sudo credentials on the Chef Automate Credentials page.
In the Settings tab, Navigate to the Node Credentials page to manage your credentials.
Adding SSH, WinRM, and Sudo credentials are the first step in using the Chef Automate Compliance Scanner. Once the credentials are added, you'll be able to add nodes and create scan jobs.
You might need to set up multiple keys using the same SSH Private Key with various identities, depending on how you've configured your nodes. For instance, AWS EC2 Ubuntu nodes need the username root or ubuntu, whereas AWS EC2 Amazon Linux nodes need the username ec2-user.
Using two separate user names and the same SSH Private Key, the Credentials page allows you to save two alternative sets of credentials. Credentials with different content, however, can utilize the same key names; it may be best to adopt a naming pattern that specifies the key name and platform to distinguish between similar credentials to prevent confusion.
Identity and Access Management (IAM)projects allow for filtering and segregation of your data among your user base. To interact with projects, permission for the iam:projects action is required. Let us discuss some steps to manage the project.
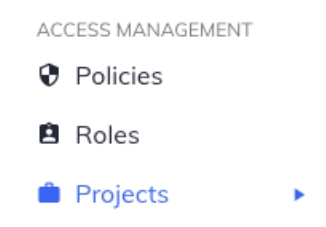
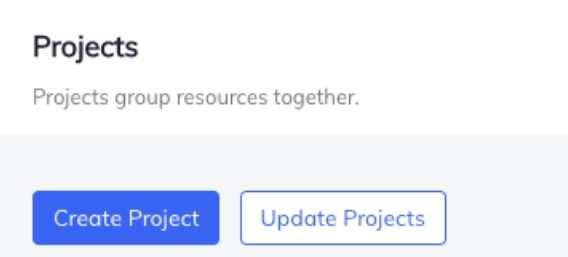
Creating Projects
To create the project, first, navigate to Projects in the Settings tab.
Then use the Create Project button, which opens a dialog box for entering the project's Name.
A project ID is automatically generated upon creation. If you want to change the project ID, use the Edit ID button.
When a project is created, three policies that control access to that project are also created. Those policies include Project Owner, Project Editor, and Project Viewer. Adding members to these policies will grant them access to the project.
Updating Projects
The status of the project ingests rules are shown on the Project List page (No rules, Edits pending, or Applied).
All projects must be updated for those pending edits to take effect if a project has pending edits from changes to ingest rules. Project updates will incorporate all outstanding adjustments and transfer ingested resources to the appropriate projects. For systems with a small number of nodes, this background procedure may take just a few minutes, while it may take many days for systems with many nodes.
When you update projects, all modifications will be implemented simultaneously. Use the Update Projects button by navigating to the Projects tab under the Chef Settings menu.
Deleting Projects
Only projects with zero ingest rules and no pending edits can be deleted using the chef settings. To delete a project, navigate to Projects in the Settings tab. Then open the menu at the end of the table row and select Delete Role.
User Profile
Users of Chef Automate can change their display name, password, and date/time format. Click on Profile from the drop-down menu by selecting the user symbol in the top navigation bar. To view the details, select Profile. Let's now understand how we can change a display name, date/time format, and reset the password.
Change a Display Name
Enter any preferred name and click Save to update or change the display name. An empty display name may cause an error.
Change the Date/Time Format
Choose one of the five date and time formats present in the drop-down menu. Click on the Save button to change the appearance of the date and time across Chef Automate.
Choose the date/time format and save it to see the changes in the interface.
Reset Password
You can reset the password of Chef Automate login from the Reset Password tab present in the Profile.
Fill up the Previous Password and the New Password and select Reset Password.
Frequently Asked Questions
What is Chef Automate?
It basically is a single dashboard to increase software delivery speed, and minimization of the risks included.
What is a node in Chef?
A node is nothing but any machine that the Chef server is currently managing. It can be attached to any network that can send and receive information.
What is the URL for a chef server?
Your system's FQDN is automatically used by our Chef Server as the Chef Server URL. Using the urls "https://10.33.33.33" and "https://10.33.33.33/version," we can access the Chef Server web interface and version information, respectively.
What port does Chef use?
The Chef Server uses ports 22, 443, and 8443.
On what language is Chef based?
Chef is based on Ruby Language.
Conclusion
In this blog, we learned about Chef settings in detail. We looked at the concepts involved in understanding the management of notifications, data feeds, data lifecycle, nodes, and projects. To enhance your knowledge, you can also visit these links.


 18+ registered

