Do you think IIT Guwahati certified course can help you in your career?
Introduction
From ancient times, everyone has been attracted to aesthetic arts. In the modern world, if something is not pleasant to our eyes, we term it as “boring”. In the world of programming, we seek these aesthetics. Well, do you know there is an open-source library which is dedicated to giving visual abilities to a programming language?
Cinder is an open-source library which provides visualisation ability to C++. This article will discuss how to work with the third dimension in Cinder. We will discuss using the third dimension in Cinder and doing 3D transformations. But before going forward, let’s have a quick intro to Cinder.
About Cinder
Cinder is a C++ library for creative coding. It provides visualisation abilities to C++. The cinder library helps with computational geometry, audio, video, and graphics inclusion. Cinder is cross-platform, with official support for macOS, Windows, Linux, iOS, and Windows UWP.
Cinder is a powerful, field-tested tool that can be used as a professional's primary tool. It is also suitable for learning and experimentation purposes.
The Third Dimension in Cinder
We will discuss the third dimension in Cinder in this article. For this, you must be comfortable with transformation and basic drawing with Cinder. You can refer to Graphics in Cinder for a rough idea about these concepts.
If you know how to do transformation and drawing, let’s go straight to working with the third dimension in Cinder. The functions used in this article are explained in Graphics in Cinder.
Let's start by using the ci::gl namespace.
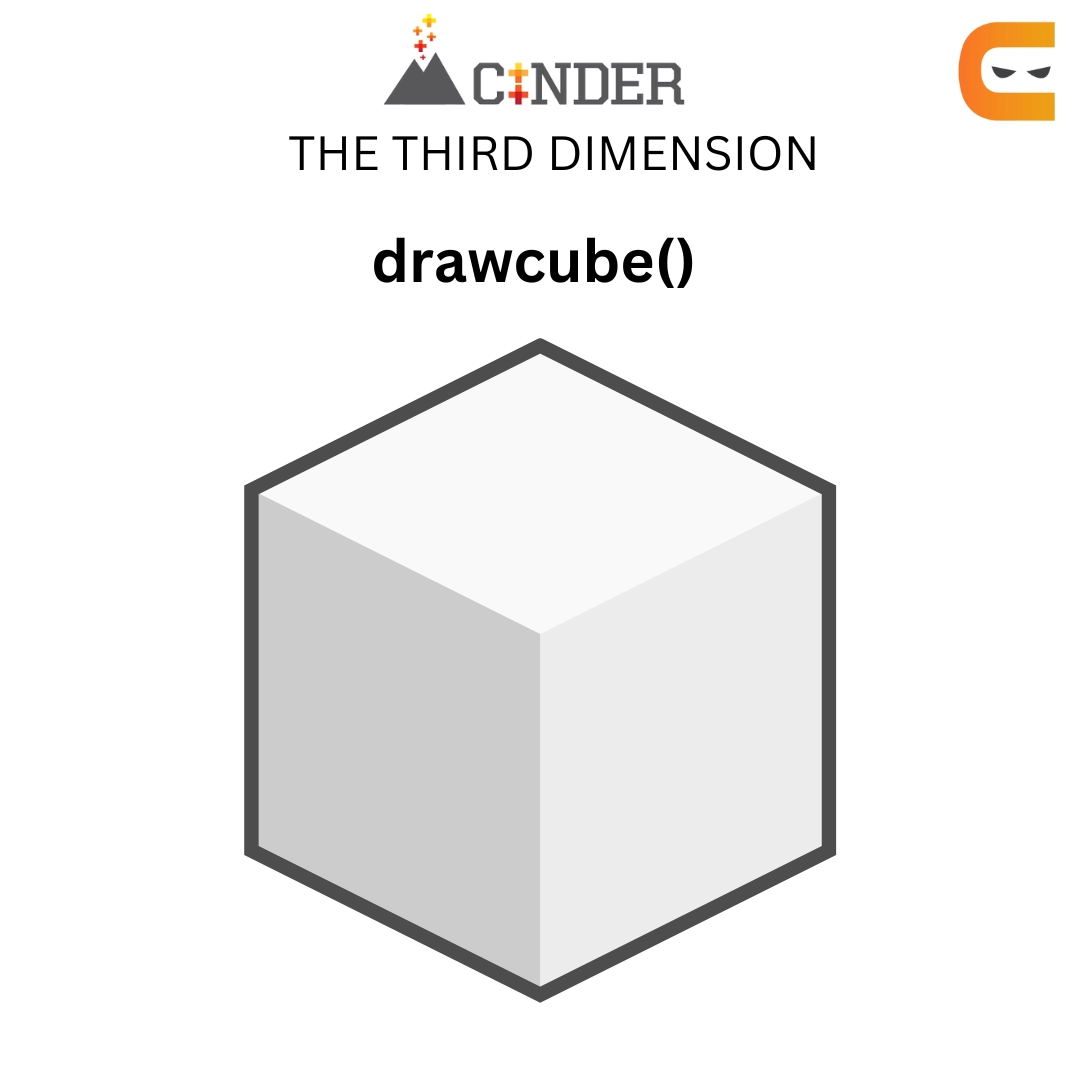
We have various 3D functions to draw various shapes. We will be using gl::drawcube() here first to draw our first 3D shape.
We can try making a cube by using the program below,
#include "cinder/app/App.h"
#include "cinder/app/RendererGl.h"
#include "cinder/gl/gl.h"

using namespace ci;
using namespace ci::app;

class BasicApp : public App
{
	  public:
	  void draw() override;
};

void BasicApp::draw()
{
	gl::clear();
	gl::drawCube( vec3(), vec3( 2 ) );
}

CINDER_APP( BasicApp, RendererGl )
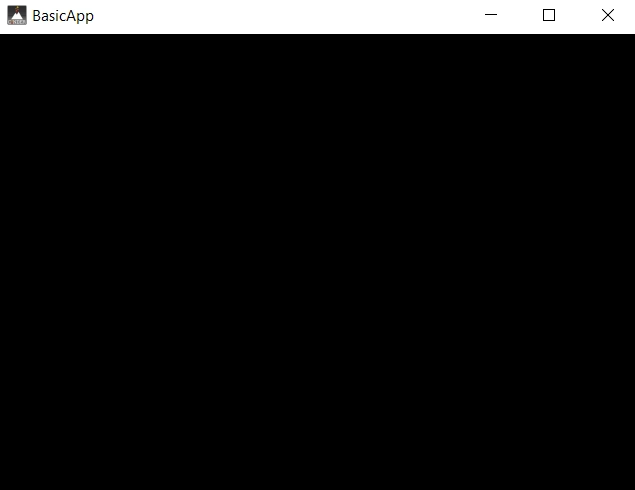
You can also try this code with Online C++ Compiler
The above program works well for 2D but won’t work for 3D. It is because the default Cinder program matches the app for windows in 2D. To draw in 3D, we must first establish a 3D coordinate system. The most straightforward method is to utilise a CameraPersp. This class allows us to establish a virtual camera by giving its position and the point at which it looks. We'll use CameraPersp::lookAt(vec3(3), vec3(0)) to position CameraPersp at (3, 3, 3). Now have it look at the origin (0, 0, 0).
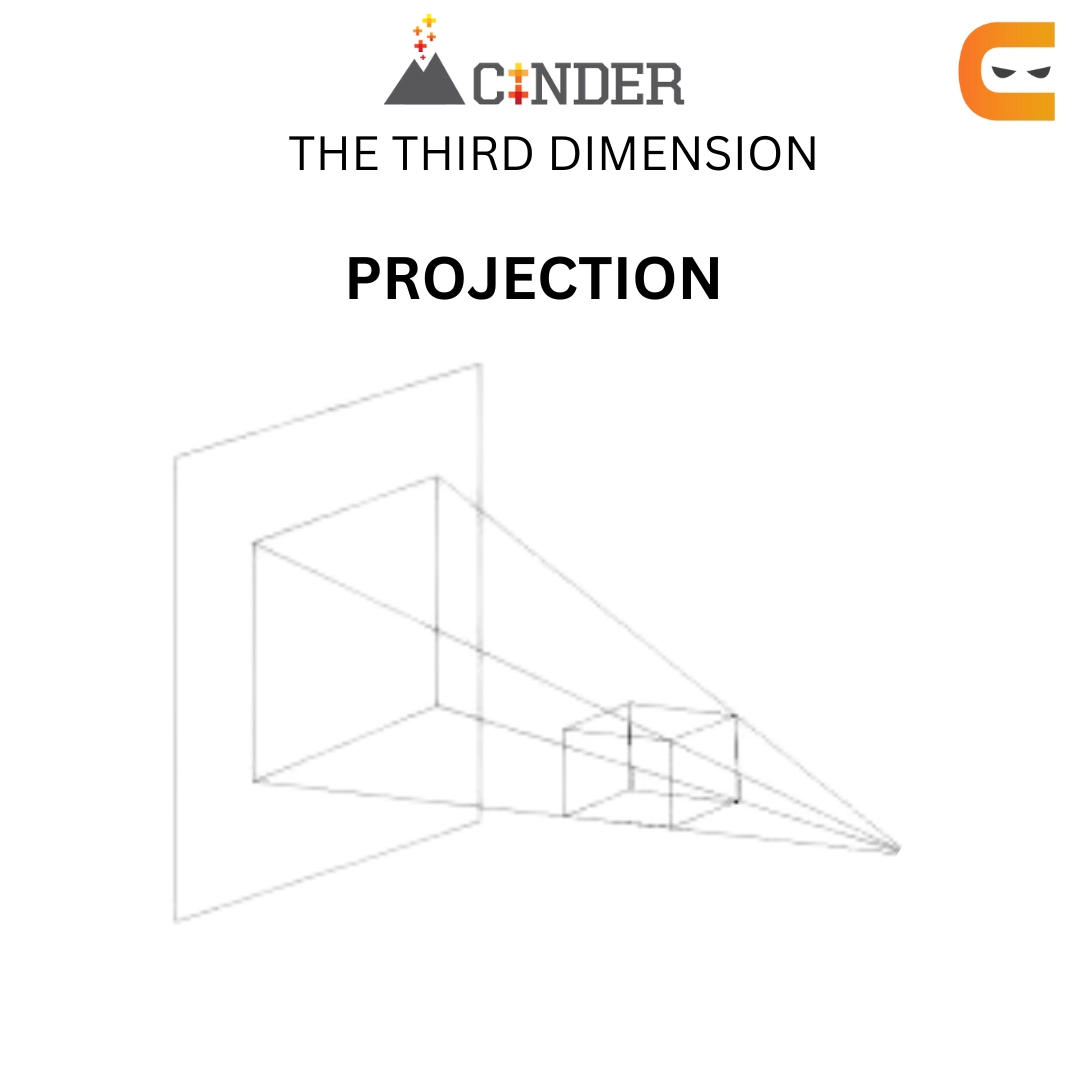
After constructing a CameraPersp, we must align our matrices in the 3D coordinate system. Cinder keeps a View matrix and a Projection matrix in addition to the previously stated Model matrix. The Model matrix is used to place an item in the world (more formally, the object-to-world-space transformation), whereas the View matrix is used to place our virtual "eye" in the world (the world-to-view-space transformation). When we call functions like CameraPersp::lookAt(), we are altering a View matrix, changing the position and orientation of the virtual world. Other factors influence how 3D is projected into a 2D image plane or screen. Aspect ratio, field-of-view, and clipping planes are examples of these. This data represents a Projection matrix when combined. Cinder's OpenGL Projection and View matrices are set by executing gl::setMatrices() and supplying a CameraPersp.
Well, we now know our mistake while making a cube. Let’s now try making a sphere in the third dimension in Cinder.
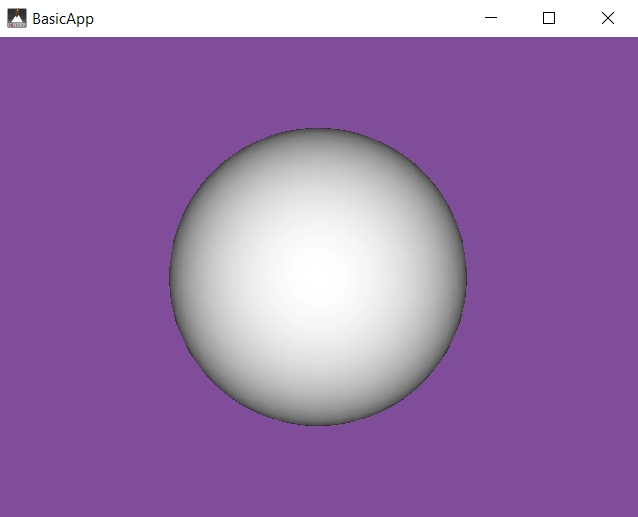
The below program will work fine for making a sphere.
In the above program, we are using CameraPersp and setMatrices(). It defines the 3D coordinate system and makes view, projection and model matrices. The Z-Buffer has also been enabled (known as the depth buffer). Z-Buffering is the typical technique for preventing fragments from drawing wrongly on top of each other. It employs a depth value per pixel to ensure that no pixel draws on top of a pixel it is "behind." If you do not implement Z-Buffer, you can encounter black spots on your sphere.
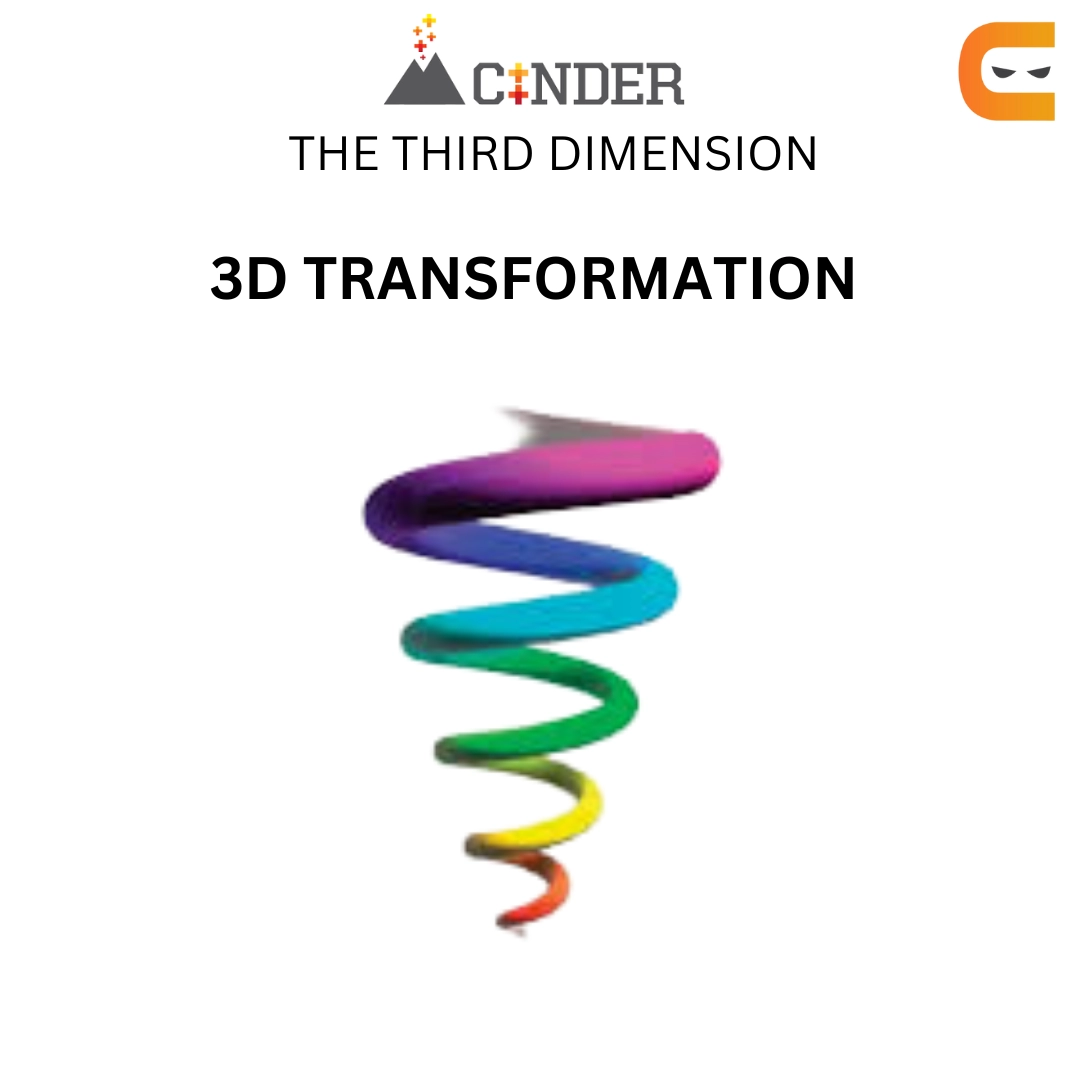
3D Transformation
We discussed the third dimension in Cinder. Now, we will be discussing how to implement it in 3D transformation. Our goal is to make the below spiral using 3D transformation. For this, we will be transforming multiple smaller spheres in a particular manner.
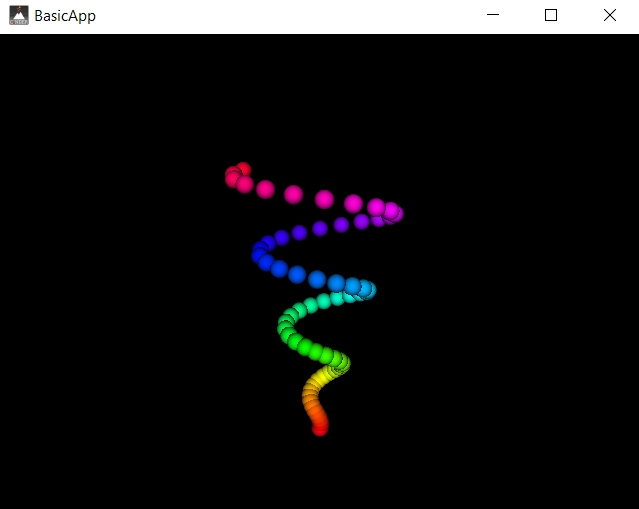
Have a look at the below program to understand how to do a 3D transformation of spheres into the above spiral.
In the above program, we first use the principle of making 3D spheres discussed above. Afterwards, we first define the parameter for constructing a spiral with the help of spheres. We then use the model matrix to place the spheres in a spiral manner. We are defining each sphere's translation offset, giving spheres the depth of each point of the spiral. We are colouring the spheres using the color() function to have a better similarity to our desired output.
Frequently Asked Questions
Why use Cinder?
The library is suitable for highly abstract projects, such as art installations, advertising campaigns, and other advanced animation work, because it combines Cinder with quick C++.
What are two types of surfaces in images in Cinder?
There are two types of surfaces, an 8-bit unsigned integer and a 32-bit floating point high dynamic range version.
What is TinderBox?
TinderBox is a program that comes with Cinder and makes it easier to start new projects. It has the ability to produce Xcode and Visual Studio projects.
What distinguishes Cinder from C++-based open frameworks?
Better performance is achieved by Cinder using system-specific libraries, whereas openFrameworks offers greater control over the underlying libraries.
What is the difference between GPU and Raster in graphics in Cinder?
GPU is a specialised hardware responsible for handling OpenGL-related graphics. Whereas, Raster is the pixel-based graphics, slower than GPU equivalents.
Conclusion
This article discussed the third dimension in Cinder. We discussed an intro about Cinder, how to work with the third dimension in Cinder and 3D transformation. Thus concluding our discussion of using the third dimension in Cinder.
We hope this blog has helped you enhance your knowledge about using the third dimension in Cinder. If you like to learn more, you can check out our articles:
If you have started your learning process and are looking for questions from tech giants like Amazon, Microsoft, Uber, etc. For placement preparations, you must look at the problems, interview experiences, and interview bundles.
Nevertheless, consider our paid courses to give your career an edge over others!


 18+ registered

