Render Passes
Render Passes (Arbitrary Output Variables) provide more control over your scenes for post-processing effects such as masking. These are accessible via the View Layer Properties tab. Passes such as Ambient Occlusion, Object ID, Material ID, Mist, and Alpha are essential for creating outstanding final renderings with depth and weight.
Enabling a Render Pass will immediately add a corresponding node socket to the Compositor's Render Layers node. The quantity and type of possible passes will differ depending on your render engine. Therefore take the time to become acquainted with the passes available in your preferred engine.
Source: Blender Docs
Compositor Nodes
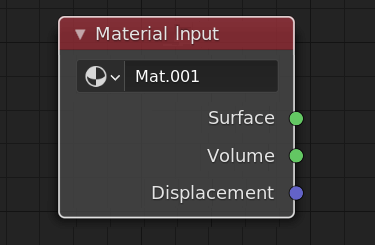
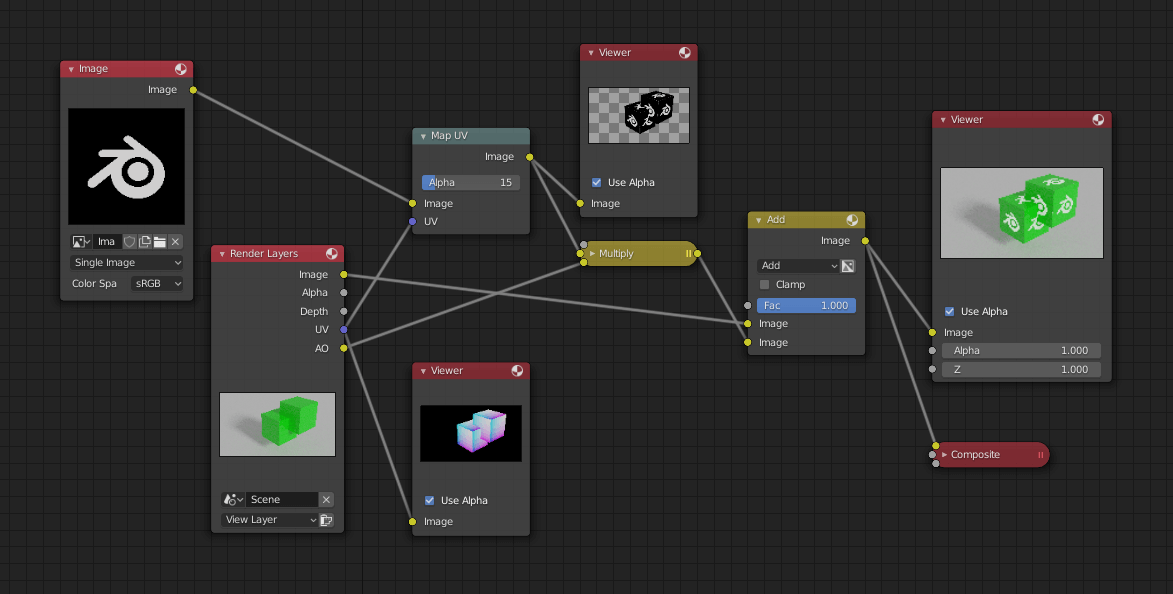
Input Nodes
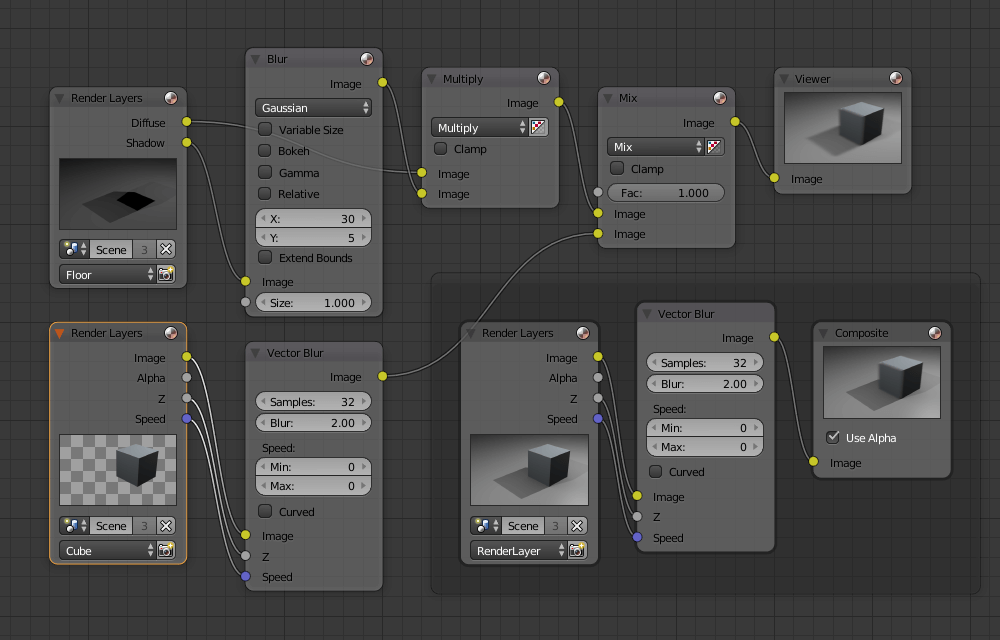
The composting process starts at the input nodes. The Render Layers node is the first node in a node tree containing the initial rendered image of your active scene after a local render. This node may accept different passes as inputs depending on the rendering engine you've selected. As an example, consider your alpha and depth channels and a mist render pass.
Source: Devtalk Blender
Color Nodes
Color nodes can change the color information, such as brightness, contrast, or gamma values. These nodes can make your image warmer or cooler, just as color correction layers in Photoshop or AfterEffects.
Convertor Nodes
As the name implies, Converter nodes can convert the colors and characteristics of input data and split them in color and value channels to be supplemented independently or combined.
The Color Ramp node is one of the most popular nodes found here, and it can aid with value mapping or alpha masking. However, it is recommended that you experiment with different render passes to see what results you can achieve. Using a Mix node with AOV and merged image and experimenting with the Blending mode, you may achieve stunning results that provide atmospheric effect and control to the value range of your final render.
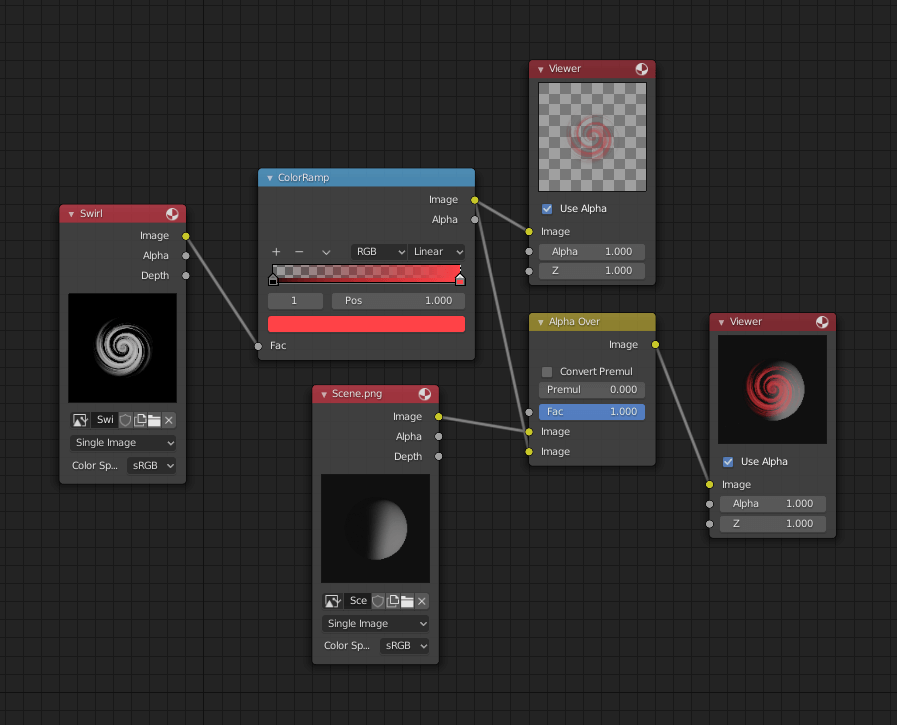
Source: Blender Docs
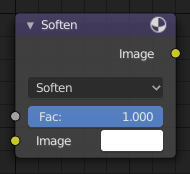
Filter Nodes
Filter nodes take pixels from input data and apply effects that highlight details, emphasizing beauty effects in the final image. Defocus provides the depth of field and bokeh-like effects, while the Denoiser can be used to remove any possible fireflies that may have persisted in your render.
Source: Blender Docs
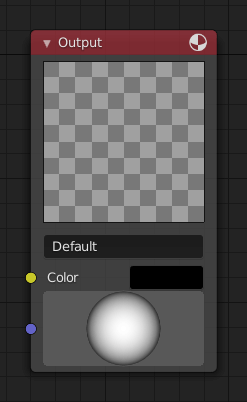
Output Nodes
The final phase in the rendering process is the output nodes. With your Compositor node and the File Output node, the results of your node tree will be rendered and exported. The Composite node is directly connected to the renderer, giving the final output. The output of this node is constantly updated whenever a new render is created, but it is designed to mirror the node tree you've developed.
The File Output node will write and export a picture to a specified file location as a single or sequence image based on the frame range supplied. This node will enable you to access your render passes (AOVs) and download them separately if you wish to do more with them after saving a .blend file to be rendered in Render Pool.
Source: Blender Docs
FAQs
What is the primary purpose of Compositor?
A Compositor is an excellent tool for streamlining your manufacturing process. There is no need to relocate your rendered material to another program to apply effects or re-render all of your work from frame 1. It can all be done in Blender alone.
What are Filter Nodes?
Filters manipulate the pixels of an image to highlight more information or provide a post-processing effect to the image.
What are Render Passes?
Render Passes are the numerous different outputs that a renderer can produce. All render outputs listed below are merged into a single output known as the Combined output. However, you can choose to output any of them as a separate pass.
How is composting offered by various video editors aside from blender?
Composting is a common feature in high-end commercial video editors. Some of these (for example, Adobe After Effects) use a layer-based compositing engine. Others, such as Apple Shake, The Foundry's Nuke, and eyeon fusion, use a more powerful node-based compositing engine.
Conclusion
This article extensively discussed Compositor, its usage, Various nodes, and Render Passes in Blender. For more such articles, visit our curated roadmaps here.
We hope that this blog has helped you enhance your knowledge regarding Compositor and if you would like to learn more, check out our article Passion for AR & VR.
To learn more, see Operating System, Unix File System, File System Routing, and File Input/Output.
Refer to our Guided Path on Coding Ninjas Studio to upskill yourself in Data Structures and Algorithms, Competitive Programming, JavaScript, System Design, and many more! If you want to test your competency in coding, you may check out the mock test series and participate in the contests hosted on Coding Ninjas Studio! But if you have just started your learning process and are looking for questions asked by tech giants like Amazon, Microsoft, Uber, etc; you must look at the problems, interview experiences, and interview bundle for placement preparations.
Nevertheless, you may consider our paid courses to give your career an edge over others!
Do upvote our blogs if you find them helpful and engaging!
Happy Learning!


 9+ registered

