Do you think IIT Guwahati certified course can help you in your career?
Introduction👨✈
This article will teach you to build a simple game using Unity's "AR Foundation". The game's goal will be to collect packages using a car you will control using your handheld device. Cool! Are you ready❓
So let us learn about creating the first game in Unity AR Foundation.💫
After successfully installing Unity, create a new project by selecting the "3D (URP)" template. Input a project name, save it at the desired location, and click on the "Create project" button.
Install the Required Frameworks✅
Follow the given steps to install the required frameworks.
1️⃣Click on "Windows" and select "Package Manager".
2️⃣Now, click on the "Packages: In Project" and select "Unity Registry.
3️⃣Now, find "AR Foundation" and install.
4️⃣Similarly, install "ARCore XR Plugin". After installation, you will see a green tick next to the version details of "AR Foundation" and "ARCore XR Plugin".
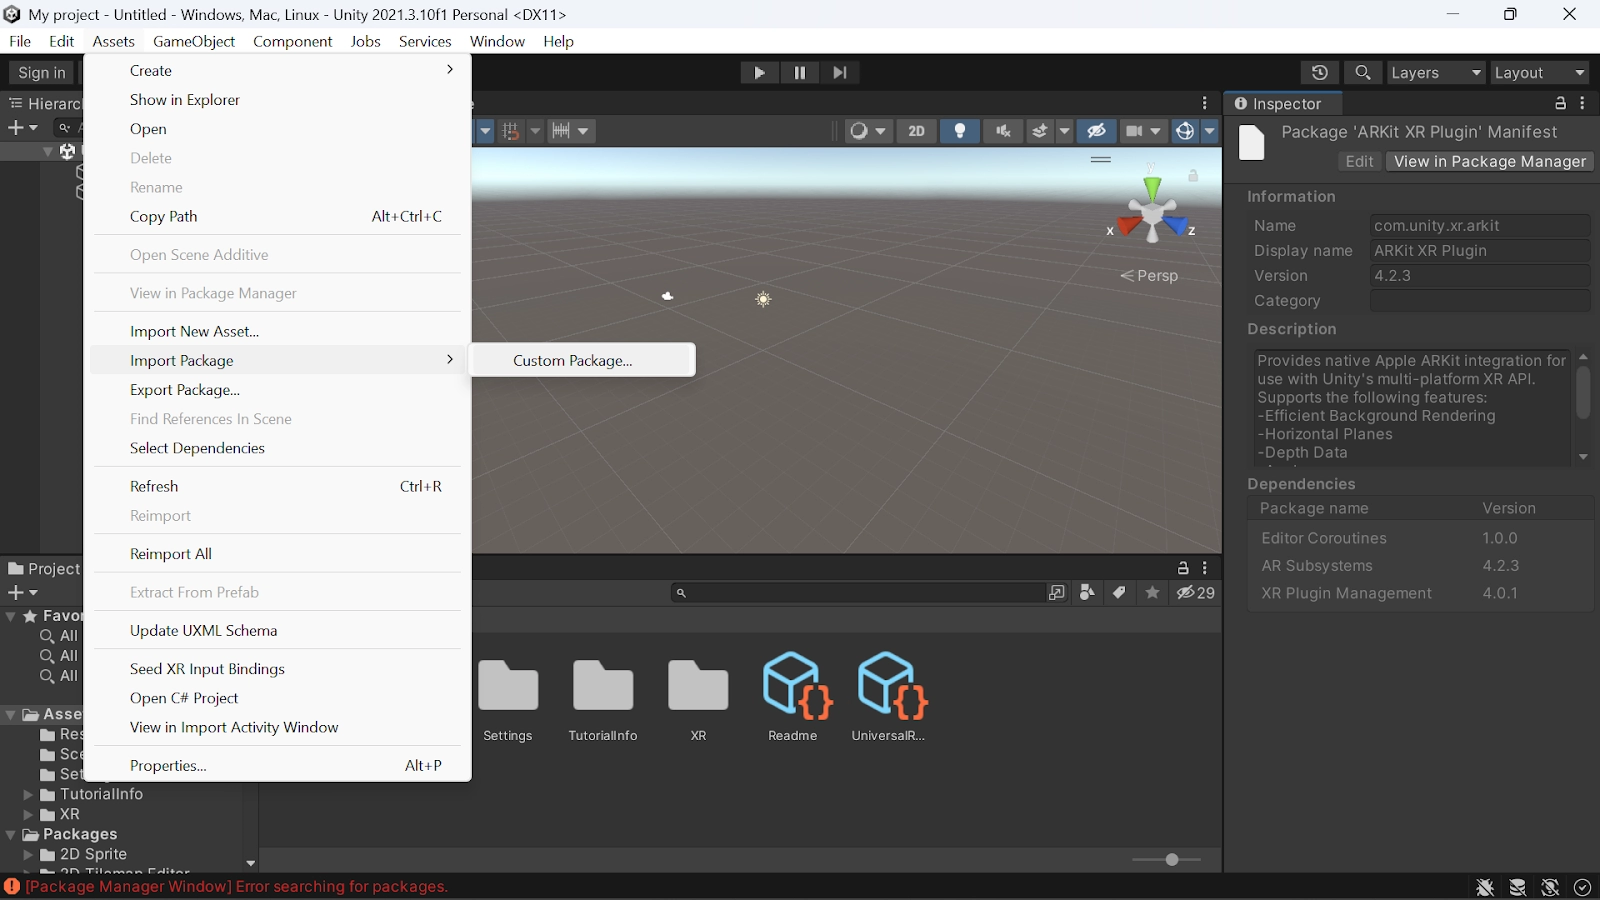
2️⃣Now, click on "Assets" and select "Import Package", then select "Custom Package...".
3️⃣Now select the downloaded starter package and click on "Open".
4️⃣In the "Import Unity Package" window, select "All" and then click on "Import".
Change Build Settings🚨
We will change the build platform to android since the application will run on android.
1️⃣Click on "File" and select "Build Settings…".
2️⃣In the "Build Settings" window, select "Android" in the "Platform" pane.
3️⃣Now, click on "Install with Unity Hub". After installation, click on "Switch Platform".
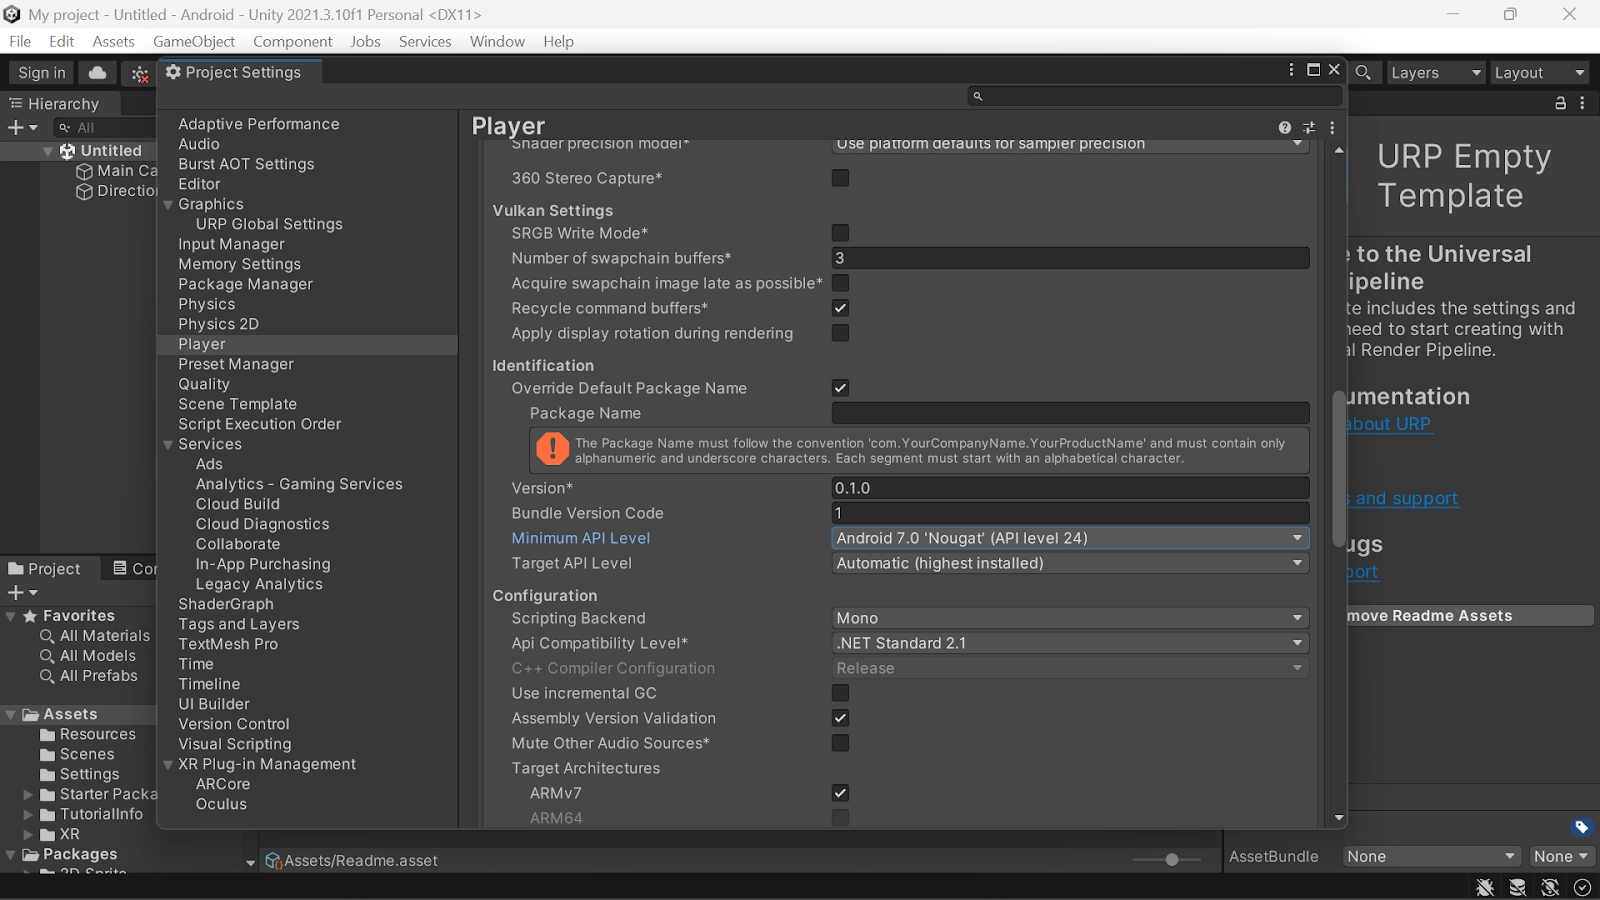
Change Project Settings🚨
We will configure the "AR Foundation" to initialise the XR systems on startup.
1️⃣Click on "Edit" and select "Project Settings…".
2️⃣Now, click on the"XR Plug-in Management" and enable "ARCore" in the Android tab.
3️⃣Now, go to the "Player" section.
4️⃣Now, under "Other Settings" in the android tab, select and remove "Vulkan" from "Graphics APIs".
5️⃣Now scroll down and find "Minimum API Level" and set the minimum API level to 24.
Add the Required Scene Elements➕
1️⃣In the "Hierarchy" pane, delete all the existing game objects.
2️⃣Now click on the plus icon in the "Hierarchy" pane to add the following "AR Foundation" objects.
➼Select "AR Session" and "AR Session Origin" from "XR".
➼Select "Directional Light" from the "Light".
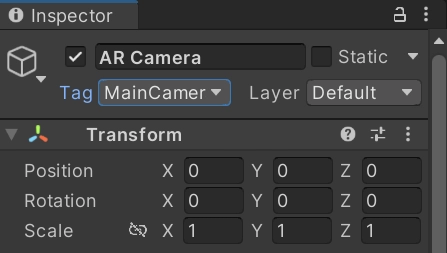
3️⃣In the "Hierarchy" pane, expand the "AR Session Origin" and select the "AR Camera" object. Now in the inspector, make sure its tag is "MainCamera".
Setup Rendering⚙️
1️⃣In the "Project" pane, go to the "Assets" folder, click on the "Settings" folder and select the "URP-Balanced-Renderer" asset.
2️⃣In the "Inspector" pane, click on the "Add Renderer Feature" and select "AR Background Renderer Feature". The "AR Background Renderer Feature" component will render the camera feed in your scene.
Verify the Setup
1️⃣Ensure that your device is plugged in and that ADB debugging is on.
2️⃣Click on "File" and select "Build And Run...". Now, the application will be uploaded to your device and start after its installation.
3️⃣Now, you should see the camera feed on your phone's screen.
Detect Planes in the Real World🛟
To detect planes and draw them to the scene, let us add an "ARPlaneManager" component, an "ARRaycastManager" component, and a "DrivingSurfaceManager" component and run the app.
Adding an ARPlaneManager Component➕
1️⃣Right-click on the "Hierarchy" pane and select "Create Empty".
2️⃣Now, you will see an empty "GameObject". Rename it to "Manager_Driving_Surface".
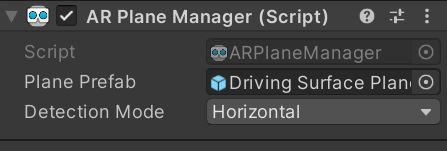
3️⃣Now select the "Manager_Driving_Surface". In the "Inspector" pane, click on "Add Component" and add "AR Plane Manager".
4️⃣Now, configure the "ARPlaneManager" by setting the "Plane Prefab" field. To configure, click the button next to "None (Game Object)" to bring up the "Select GameObject" window. Now, select the "Assets" tab and search for "Driving Surface Plane", and select it.
5️⃣In the "Detection Mode" field, change "Everything" to "Horizontal". After this configuration, the "ARPlaneManager" will only provide horizontal planes ideal for driving.
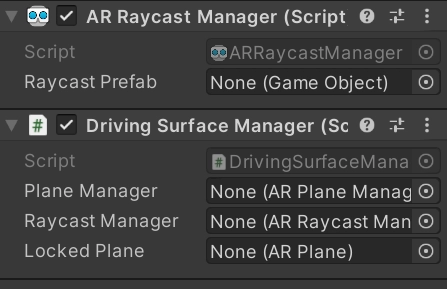
Adding an ARRaycastManager and DrivingSurfaceManager Component➕
📌In the "Hierarchy" pane, select "Manager_Driving_Surface". In the "Inspector" pane, click on "Add Component" and add "ARRaycastManager" and "DrivingSurfaceManager" components to your game object.
Run the App🚀
1️⃣Click on the "File" and select "Build and Run…" to test your changes.
2️⃣Point your device at a horizontal actual world surface. Try to move your device around to improve the ARCore's understanding of the actual world.
3️⃣When the "ARCore" detects a plane, you will see a dirt texture covering real-world surfaces. For each detected plane, the "ARPlaneManager" instantiates the given "Plane Prefab". The "Driving Surface Plane" prefab has an "ARPlaneMeshVisualizer" component which creates a mesh for a given "ARPlane".
Perform a Hit Test Against Detected Planes🎖
So far, we have programmed an application that can detect planes. The game's scene will reflect these planes. Let us add interactivity with these planes by creating an aiming reticle and a car that will drive on the detected plane's surface.
Add the Reticle➕
1️⃣In the "Project" pane, navigate to the "Starter Package" folder of the "Assets" folder.
2️⃣Drag the "Reticle Prefab" into the project's "Hierarchy" pane to place it into the scene.
3️⃣Now, select the reticle in the hierarchy.
4️⃣In the "Inspector" pane, click on the "Add Component". Add the "ReticleBehaviour" script.
5️⃣Add the dependency by clicking on the "Driving Surface Manager" chooser. In the "Scene" tab and pick the "Manager_Driving_Surface".
Edit the ReticleBehaviour and Test the Reticle🧨
📌Click on the "ReticleBehaviour" in the "Script" field.
📌It will highlight it in the "Project" pane.
📌Now open the ReticleBehaviour.cs file and add the following in the update() method.
/* Determine the centre of the screen*/
var screenCenter = Camera.main.ViewportToScreenPoint(new Vector3(0.5f, 0.5f));

/* Conduct a raycast*/
var hits = new List<ARRaycastHit>();
DrivingSurfaceManager.RaycastManager.Raycast(screenCenter, hits, TrackableType.PlaneWithinBounds);

/* Determine the intersection point of interest*/
CurrentPlane = null;
ARRaycastHit? hit = null;
if (hits.Length > 0){
	/* If you do not have a locked plane already.*/
	var lockedPlane = DrivingSurfaceManager.LockedPlane;
	hit = lockedPlane == null
	/* Use the first hit in `hits`.*/
	? hits[0]
	/* Else, use the locked plane if it's there.*/
	: hits.SingleOrDefault(x => x.trackableId == lockedPlane.trackableId);
}

/* If the hit has a value. Move GameObject to the location of the hit.*/
if (hit.HasValue){
	CurrentPlane = DrivingSurfaceManager.PlaneManager.GetPlane(hit.Value.trackableId);
	transform.position = hit.Value.pose.position;
}
Child.SetActive(CurrentPlane != null);
📌Now click on "File" and select "Build And Run…" to test the changes. When you point your device at a plane, you can see the reticle following your camera's movements.
Create a Car⚡
Let us add a CarManager to your scene
1️⃣In the "Hierarchy" pane, create a new empty "GameObject". Rename it to "Car_Spawner_Object" and select it.
2️⃣In the "Inspector" pane, click on the "Add Component" and add the "CarManager" component.
3️⃣Now, set up CarManager's dependencies as given below.
➼For the "Car Prefab" field in the "Assets" tab, select "Car Prefab".
➼For the "Reticle" field in the "Scene" tab, select "Reticle Prefab".
➼For the "Driving Surface Manager" field in the "Scene" tab, select "Manager_Driving_Surface".
Test Driving🚗
🔗Click on "File" and select "Build And Run…" to test the changes. Tap on a plane to see the small car appear at that location. This car will follow the reticle.
Add the Game Element⚙️
Now the player can control an entity in the scene. Let us give the player a destination. The player will drive to that destination.
1️⃣Create a new empty "GameObject" in the "Hierarchy" pane. Rename it to "Package_Spawner_Object" and select it.
2️⃣In the "Inspector" pane, click on the "Add Component" and add the "PackageSpawner" component.
3️⃣Now, set up PackageSpawner's dependencies as given below.
➼For the "Package Prefab" field in the "Assets" tab, select "Package Prefab".
➼For the "Driving Surface Manager" field in the "Scene" tab, select "Manager_Driving_Surface".
This PackageSpawner behaviour spawns a new package at a random location on a locked ARPlane if there isn't a package already.
Test the Game📱
1️⃣Click on "File" and select "Build And Run…" to test the changes. After you create a car, a package will spawn.
2️⃣Drive the car to the package.
3️⃣A new package will appear at a random location.
Cool! We hope you understand about creating the first game in Unity AR Foundation.
Frequently Asked Questions
What is Unity?
Unity is a cross-platform game engine developed by Unity Technologies. It primarily develops simulations and video games for computers, consoles and mobile devices.
What is Unity's AR Foundation?
It is a cross-platform framework that allows writing augmented reality experiences once and then building for iOS devices or android without making additional changes.
What is AR Foundation?
"AR Foundation" is the collection of "MonoBehaviours" and C# utilities for working with AR Subsystems.
What is the use of the ARCore XR Plugin?
"ARCore XR Plugin" provides native Google ARCore integration for use with Unity's multi-platform XR API.
Is Unity open source?
No, Unity is not open source. The basic version is free, but the commercial licenses have a price.
Conclusion
This article discussed creating the first game in Unity AR Foundation. In this game, we collected packages using a car that we controlled using a handheld device.
We hope this blog on creating the first game in Unity AR Foundation was helpful. You can refer to other similar articles as well -


 9+ registered

