Do you think IIT Guwahati certified course can help you in your career?
Introduction
Nodes have the option to send Chef Automate the run data. To start data collecting in Chef Automate, follow these two steps. An API token is a prerequisite. We have two choices: Create a new API token and include it in the Ingest policy as soon as possible, preferably when it gets created. The second choice is to migrate from Chef Automate 1 and use the current data collector token. Once we own an API token, we have two options: Set up our Chef Infra Server to direct traffic to Chef Automate. This approach to providing data to Chef Automate is advised if we use Chef Infra Server. Giving a try to the second option, we might also instruct Chef Infra Client to submit the information straight to Chef Automate.
Configure Infra Server to Send Data to Chef Automate
Chef Automate will get notifications from Chef Infra Server whenever an action is done. It gets done on a piece of equipment it manages when a user upgrades a role or publishes a cookbook to the Chef Infra Server. For example, ending Chef run data to Chef Automate also does this. Set the value of the data collection proxy attribute on the Chef Infra Server to "yes" to ask for run data from connected Chef Infra Clients.
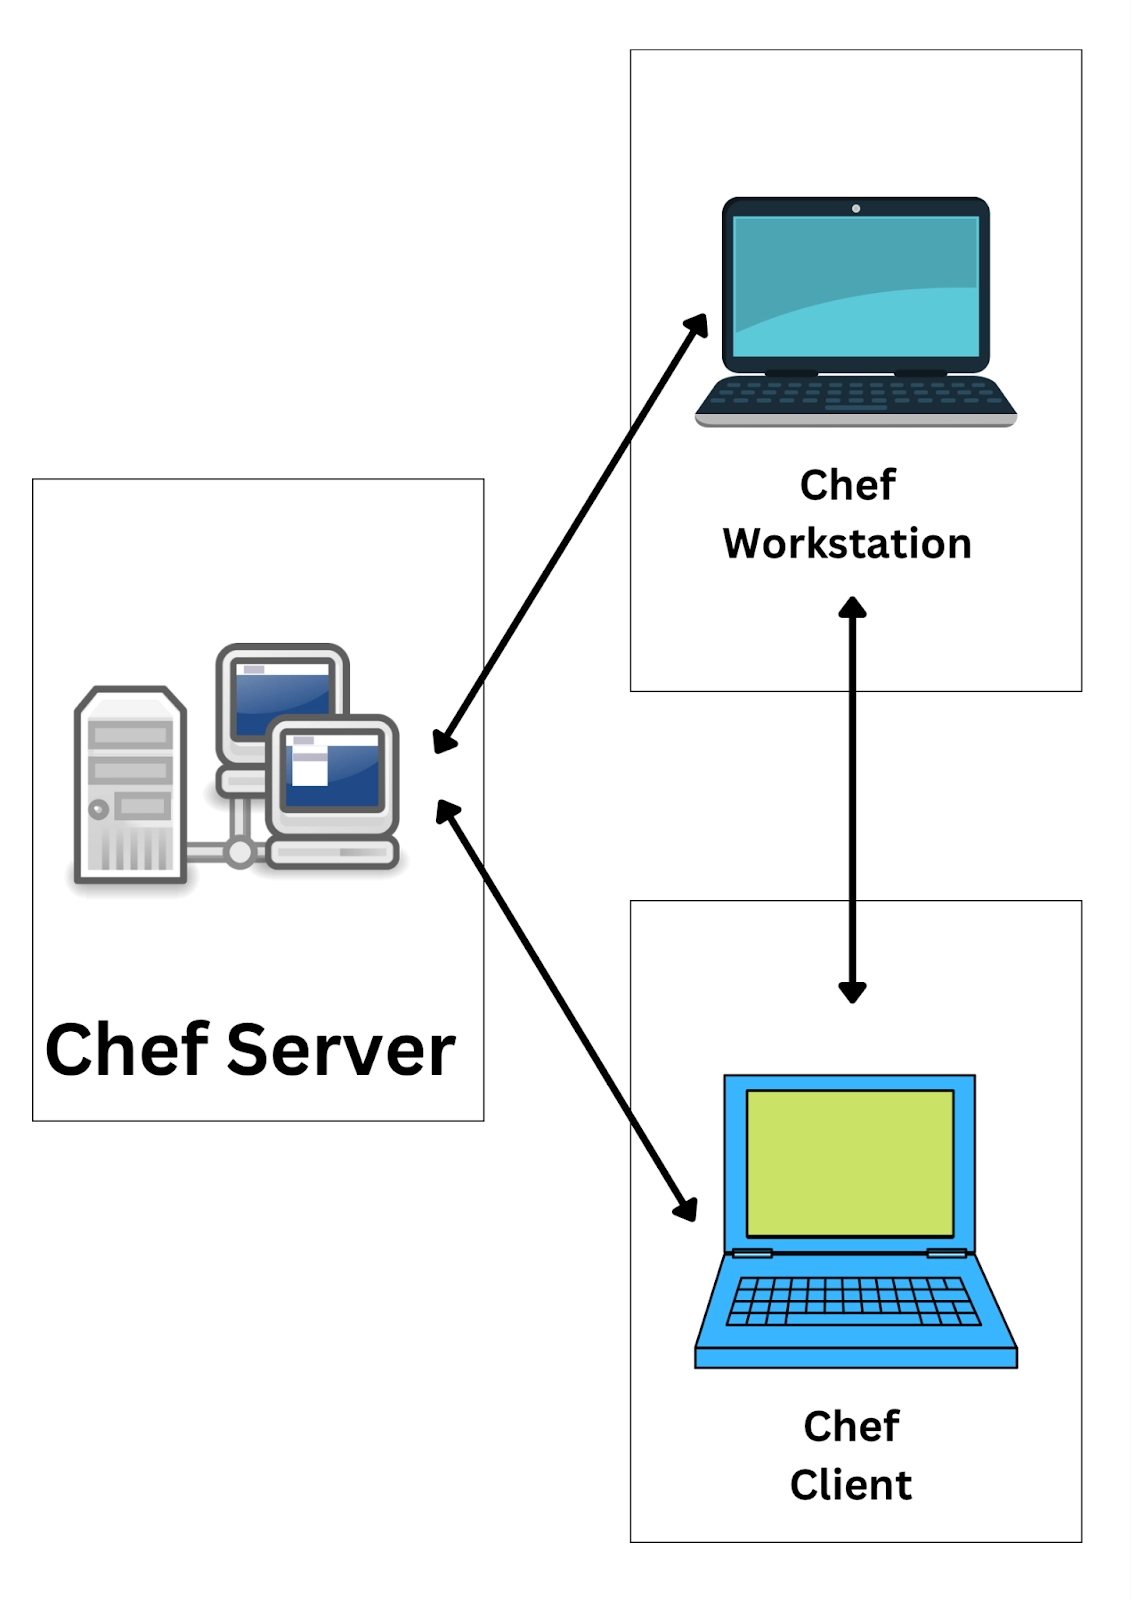
Setting Up Data Collection in Chef
To learn about Data Collection in Chef, we will read about setting up data collection in Chef Infra Server.
Deployed with the Chef Automate Installer
Now we will see about Configuring Data Collection in Chef Infra Server that was Installed Using the Chef Automate Installer.
In this stage, a standalone Chef Infra Server installed via the Chef Automate Installer is connected to a different Chef Automate server to collect data.
Add the external automatic configuration settings by opening the "config.toml" file:
[global.v1.external.automate]
  enable = true
  node = "https://<automate server url>"
[global.v1.external.automate.auth]
  token = "<data-collector token>"
[global.v1.external.automate.ssl]
  server_name = "<server name from the automate server ssl cert>"
  root_cert = """<pem format root CA cert>
"""
[auth_n.v1.sys.service]
  a1_data_collector_token = "<data-collector token>"
[erchef.v1.sys.data_collector]
   enabled = true
Then we have to run the chef-automate config patch config.toml next.
On Chef Infra Server 12.14 and Above
We will utilise the set-secret command to prevent the API token from existing in plaintext in a file. We will do it rather than explicitly setting the token in "/etc/opscode/chef-server.rb," as was the case in earlier iterations of the Chef Infra Server:
sudo chef-server-ctl set-secret data_collector token '<API_TOKEN_FROM_STEP_1>'
sudo chef-server-ctl restart nginx
sudo chef-server-ctl restart opscode-erchef


Next, add the following configuration to "/etc/opscode/chef-server.rb" to configure the Chef Infra Server for data collection forwarding:


data_collector['root_url'] = 'https://automate.example.com/data-collector/v0/'
# Adding for Chef Infra Client run forwarding
data_collector['proxy'] = true
# Adding for compliance scanning
profiles['root_url'] = 'https://automate.example.com'
# Saving and closing the file
To apply the changes, run:
sudo chef-server-ctl reconfigure
Setting Up Chef Infra Client
We can set up the Chef Infra Client without the Chef Infra Server. We will read about them below.
Through the Chef Infra Server
Now we will read about Setting Up Chef Infra Client to Send Compliance Scan Data. It will be through the Chef Infra Server to Chef Automate.
Now that the Chef Infra Server gets set up for data gathering, we can use the Audit Cookbook to activate Compliance Scanning on the Chef Infra Clients.
Create the audit cookbook's attributes as follows:
default['audit']['reporter'] = 'chef-server-automate'
default['audit']['fetcher'] = 'chef-server'
default['audit']['profiles'].push(
  'name': 'cis-centos7-level2',
  'compliance': 'user-name/cis-centos7-level2' # in the ui for automate, this value is the identifier for the profile
)
default['audit']['interval'] = {
  'enabled': true
  'time': 1440  # the default value is here, which is once a day
}
Data will be fetched and reported to and from Chef Automate via the Chef Infra Server by any node with audit::default in its run list. The audit cookbook has a complete range of configuration choices.
Without using the Chef Infra Server
We can set up the Chef Infra Clients to communicate their run data straight to Chef Automate. We can do it by carrying out the following if we do not utilise a Chef Infra Server in the environment. For example, if we simply use chef-solo:
Add the "trusted_certs" directory to the Chef Automate SSL certificate.
Set up Chef Infra Client to use Chef Automate's Data Collector endpoint and API token.
Add Certificate to Directory
Keep in mind that only self-signed SSL certificates need to finish this process. If an SSL certificate gets used, a recognised certificate authority has signed that. We may skip this step.
Any node that wishes to send data to Chef Automate must have HOSTNAME.crt, a self-signed SSL certificate, in the "/etc/chef/trusted_certs" directory. SSL certificates are kept in this directory when a node is booted using chef-client.
To download the certificate to the workstation, use knife ssl fetch and input the URL for the Chef Automate server. By using scp or rsync on the infrastructure nodes. That will send data directly to the Chef Automate server. The downloaded cert files may then be copied from the ".chef/trusted_certs" directory to the "/etc/chef/trusted_certs" directory.
Configure Infra Client to Use Data Collector Endpoint
A version of Chef 12.12.15 or later is required. The data collector function of the Chef Infra Client is used to send nodes and converged data to Chef Automate. This capability is supported by Chef-Solo in both the default and legacy modes. If we want to provide node, converge. We should modify the Chef setup or config for compliance data to Chef Automate. These are the client.rb, solo.rb, or add a config file in a suitable directory, such as "client.d", to include the following configuration:
Setting Up Infra Client to Send Compliance Scan Data Directly
We can implement Compliance Scanning using the Audit Cookbook now that the Chef Infra Client has been set up for data collecting.
Create the audit cookbook's attributes as follows:
default['audit']['reporter'] = 'chef-automate'
default['audit']['fetcher'] = 'chef-automate'
default['audit']['token'] = '<API_TOKEN_FROM_STEP_1>'
default['audit']['profiles'].push(
  'name': 'cis-centos7-level2',
  'compliance': 'user-name/cis-centos7-level2' # in the UI for automate. This value is the identifier for the profile
)
default['audit']['interval'] = {
  'enabled': true
  'time': 1440  # once a day, the default value
}
Any node with audit::default in its run list will fetch and report data straight to and from Chef Automate. The audit cookbook should be consulted for a complete list of configuration choices.
Troubleshooting
The user interface occasionally fails to display data. If none of those organisations is affiliated with any nodes, they will not appear on the Chef Automate Nodes tab. A node is not connected to Automate before a Chef Infra Client run is concluded. Roles, cookbooks, recipes, attributes, resources, node names, and environments fall under this category. However, they are not highlighted in the user interface. This will keep the user interface (UI) focused on the cluster's nodes.
Frequently Asked Questions
What is Chef automation?
With the help of the enterprise platform Chef Automate, developers, operations, and security engineers can collaborate easily to provide infrastructure and application modifications at the speed of business.
What can Chef automate do?
For the automation of infrastructure, applications, and security and compliance, Chef Automate offers a single dashboard and analytics, as well as Chef Habitat and Chef InSpec. Software delivery time is significantly improved with Chef Automate, which also reduces risk while boosting productivity and efficiency.
Why is Chef used in DevOps?
For the automation of infrastructure, applications, and security and compliance, Chef Automate offers a single dashboard and analytics, as well as Chef Habitat and Chef InSpec. Software delivery time is significantly improved with Chef Automate, which also reduces risk while boosting productivity and efficiency.
Conclusion
In the article, we came to know about data collection in Chef. It acts as a catalyst to automate the processes in Chef. We also read about setting up and configuring Chef Infra Server. Found out ways to troubleshoot common problems arising. Visit our blogs on Chef to find out more. Go inside to find out how to configure the Chef infra server and manage the Chef infra server. If you want to dive deeper, find out about Chef Habitat Installation and Common Terms related to Chef InSpec. Explore Coding Ninjas Studio to find more exciting stuff. Happy Coding!


 8+ registered

