Do you think IIT Guwahati certified course can help you in your career?
Introduction
Some web applications have forms that require you to upload files. These files could be anything ranging from text files to PDFs. The profile picture you put on social media websites is also an example of file uploading. Flask comes with several essential tools and capabilities that make developing web applications easier. Creating a file uploading feature in our web application using Python Flask is simple. From this article, we will be learning fie uploading in Flask. Let us dive in.
File Uploading in Flask
The process of sending binary or regular files to a server is known as file uploading. Flask makes it simple for us to upload files. Each uploaded file is first saved on a temporary location on the server and then saved to its final location.
For uploading a file using Flask, we need to keep the following steps in mind:
1. A <form> tag is marked with enctype=multipart/form-data and an <input type=file> is placed in that form.
2. The application accesses the file from the files dictionary on the request object. That is, the server-side flask script fetches the file from the request object using request.files[] Object.
3. Use the save() method to save the file permanently somewhere on the filesystem.
Example code for File Uploading
First, let us write the code for main.py: In the following code snippet, we have imported the necessary libraries for file uploading. We have imported os for File Manipulations like get paths and rename.
import os
from flask import Flask, flash, request, redirect, render_template
from werkzeug.utils import secure_filename

app=Flask(__name__)
app.secret_key = "secret key"
app.config[‘MAX_CONTENT_PATH’]specifies the maximum size of the file to be uploaded in bytes. In the following code will allow below 16MB contents only:
From the following code, we see: - We first use the os.getcwd() to get the absolute path to the working directory in a string. - We then join this absolute path string to the ‘uploads’ string and assign it to the variable UPLOAD_FOLDER. - os.path.isdir() is used to check whether the specified path is an existing directory or not. If the uploads folder does not exist, a new folder will be made using os.mkdir() function. - app.config[‘UPLOAD_FOLDER’] defines path for the upload folder. So, we assign the value of UPLOAD_FOLDER variable to app.config[‘UPLOAD_FOLDER’].
path = os.getcwd()
UPLOAD_FOLDER = os.path.join(path, 'uploads')

if not os.path.isdir(UPLOAD_FOLDER):
    os.mkdir(UPLOAD_FOLDER)

app.config['UPLOAD_FOLDER'] = UPLOAD_FOLDER
We assigned the set of all the allowed extensions for file upload in the ALLOWED_EXTENSIONS variable in the code below. The allowed_file() function will check whether the file uploaded is of the required extension.
ALLOWED_EXTENSIONS = set(['txt', 'pdf', 'png', 'jpg', 'jpeg', 'gif'])

def allowed_file(filename):
    return '.' in filename and filename.rsplit('.', 1)[1].lower() in ALLOWED_EXTENSIONS
In the following code, we observe: - upload_form() will render the index.html to the root route(‘/’). - the upload_file() will first check whether it is a post request or not. - It will then check whether the input name ‘file’ exists or not. If it does not exist, a flash message ‘No file part’ will pop up, and the request will be redirected to the root route. - request.files[‘file’] will provide the selected file, which will be assigned to the file variable. - If no file is selected, the flash message will be ‘No file selected for uploading’. - The secure version of the file name will be assigned to the variable filename and saved to the location. - If the file is of required extension, the file will be uploaded, and a success message will be flashed. Otherwise, the message flashes 'Allowed file types are txt, pdf, png, jpg, jpeg, gif'.
@app.route('/')
def upload_form():
    return render_template('index.html')

@app.route('/', methods=['POST'])
def upload_file():
    if request.method == 'POST':

        if 'file' not in request.files:
            flash('No file part')
            return redirect(request.url)

        file = request.files['file']

        if file.filename == '':
            flash('No file selected for uploading')
            return redirect(request.url)

        if file and allowed_file(file.filename):
            filename = secure_filename(file.filename)
            file.save(os.path.join(app.config['UPLOAD_FOLDER'], filename))
            flash('File successfully uploaded')
            return redirect('/')
        else:
            flash('Allowed file types are txt, pdf, png, jpg, jpeg, gif')
            return redirect(request.url)


if __name__ == "__main__":
    app.run(host='127.0.0.1',port=5000)
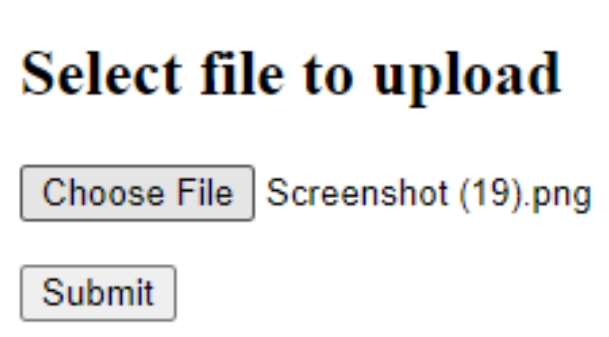
Now let us make the template for our file uploading code in index.html: - get_flashed_messages() will render the flash messages from flash() from main.py - form will post request to the root route (/) - the input type and name of the form input is ‘file’ - when file gets selected, submit button will be clicked
Why do we use the secure_filename() function while saving the uploaded file?
The name of the target file can be hard-coded or available from the filename property of file] request.files object. However, it is recommended that the secure_filename() function be used to obtain a secure version of it.
What does os.getcwd() do, and when can it be used for file uploading?
os.getcwd() produces a string containing the absolute path to the working directory in which Python is now operating. "Get current working directory" is abbreviated as "getcwd." You can use this to make the path for file upload.
Why do we limit the extensions that are allowed for file uploading?
If the server is transmitting the data directly to the client, you don't want your users to be able to upload everything. This way, you can ensure that users cannot submit HTML files that could lead to XSS issues (Cross-Site Scripting). Also, if the server executes.php files, make sure to disable them.
Conclusion
From this article, we learned about file uploading in Flask, how to code it, and what are the options, functions, and steps we can use to make a file uploading feature in our Python Flask web application. But this is not enough; you need something extra to excel in web development truly. If you want to learn more about web development, you can read our articlesor take our highly curated Web Development course.


 8+ registered

