


Introduction
A server-side web application framework is Ruby on rails or rails, written in programming language ruby under the MIT License. It provides a default structure for a database for a website. While making websites, we want our users to upload the files on our site. This can be made easy by using ruby on rails. We will try to make a simple and small ruby on the rails project which will teach about file uploading.
For starting with creating the model, we need to make a basic structure of rail application.
rails new testfileWe need to install gem files before starting application development.
gem install carrierwave
gem install bootstrap-sass
We will add the two gems displayed below in gemfile at the bottom and run the following command in the console.

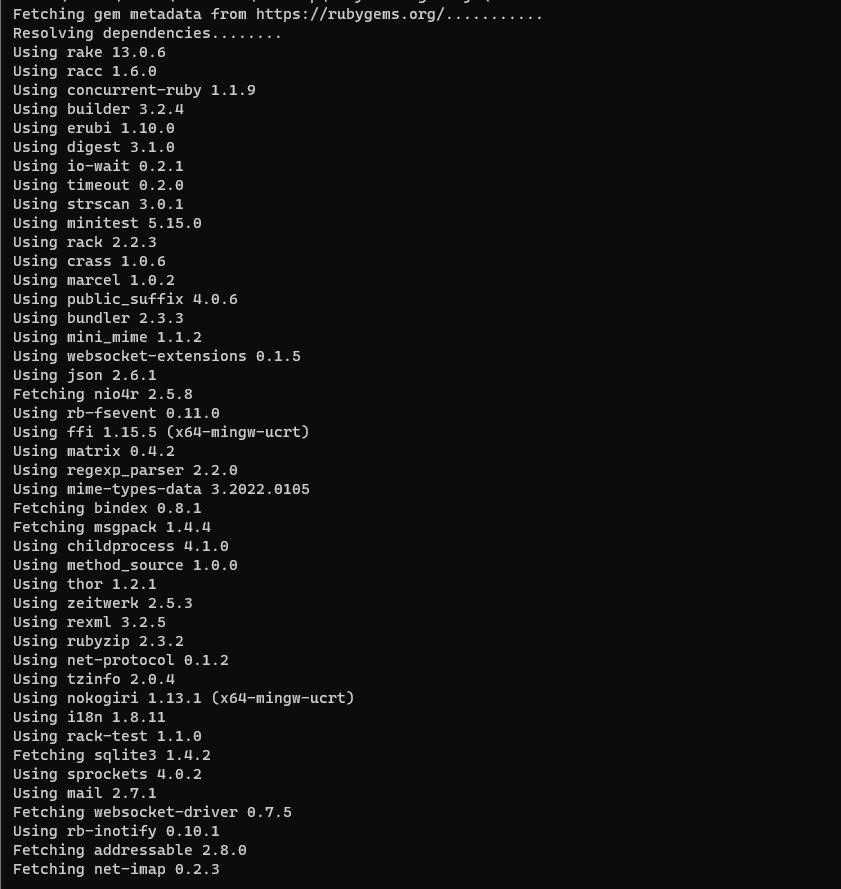
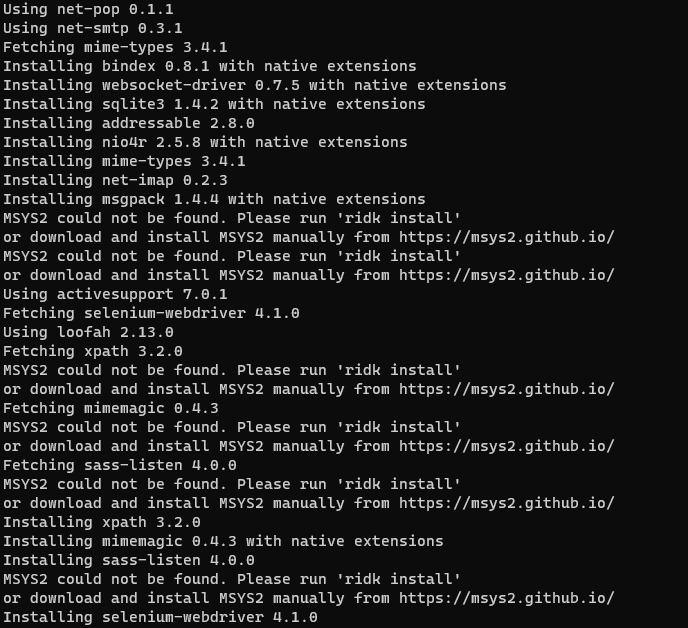
bundle installOutput-
Creating the model for file uploading
With two strings as ‘name’ and ‘attachment’, we need to create a model as shown below −
rails g model introduction name:string attachment:stringFor creating database migration we will run the following command-
rake db:migrateWe will then generate the controller by running the below command-
rails g controller Introductions index new create destroyNow our basic setup is ready. Now we will create an uploader which is provided by carrierwave gem. It tells how to handle files to carrierwave.
For creating an uploader, use this command -
rails g uploader attachmentNow open the introduction model, which is placed at app/models/introduction.rb and call the uploader as shown below -
class Introduction < ActiveRecord::Base
   mount_uploader :attachment, AttachmentUploader # Tells rails to use this uploader for this model.
   validates :name, presence: true # Make sure the owner's name is present.
end
Now we will modify config/routes.db before working on the controller in the following way-
CarrierWaveExample::Application.routes.draw do
   resources :introductions, only: [:index, :new, :create, :destroy]
   root "introductions#index"
endNow we will work with the controller by editing it as shown below-
class IntroductionsController < ApplicationController
   def index
      @introductions = Introduction.all
   end

   def new
      @introduction = Introduction.new
   end

   def create
      @introduction = Introduction.new(introduction_params)

      if @introduction.save
         redirect_to introductions_path, notice: "The introduction #{@introduction.name} has been uploaded."
      else
         render "new"
      end

   end

   def destroy
      @introduction = Introduction.find(params[:id])
      @introduction.destroy
      redirect_to introductions_path, notice: "The introduction #{@introduction.name} has been deleted."
   end

   private
      def introduction_params
      params.require(:introduction).permit(:name, :attachment)
   end

endLet's add bootstrap implementation in css file-app/assets/stylesheets/introductions.css.scss
@import "bootstrap";Now open up app/views/layouts/application.html.erb and add codes as shown below −
<!DOCTYPE html>
<html>

   <head>
      <title>Coding Ninjas</title>
      <%= stylesheet_link_tag "application", media: "all", "data-turbolinks-track" => true %>
      <%= javascript_include_tag "application", "data-turbolinks-track" => true %>
      <%= csrf_meta_tags %>
   </head>

   <body>
      <div class = "container" style = "padding-top:20px;">
         <%= yield %>
      </div>
   </body>


</html>
For setting up the index view we will write this code -
<% if !flash[:notice].blank? %>
   <div class = "alert alert-info">
      <%= flash[:notice] %>
   </div>
<% end %>


<br />


<%= link_to "New Introduction", new_introduction_path, class: "btn btn-primary" %>
<br />
<br />


<table class = "table table-bordered table-striped">
   <thead>.
      <tr>
         <th>Name</th>
         <th>Download Link</th>
         <th> </th>
      </tr>
   </thead>

   <tbody>
      <% @introductions.each do |introduction| %>

         <tr>
            <td><%= introduction.name %></td>
            <td><%= link_to "Download Introduction", introduction.attachment_url %></td>
            <td><%= button_to "Delete", introduction, method: :delete, class: "btn btn-danger", confirm: "Are you sure that you wish to delete #{introduction.name}?" %></td>
         </tr>

      <% end %>
   </tbody>

</table>
Now we will add our form code in new.html.erb file -
<% if !@introduction.errors.empty? %>
<div class = "alert alert-error">
<ul>
<% @introduction.errors.full_messages.each do |msg| %>
<li><%= msg %></li>
<% end %>
</ul>
</div>
<% end %>
<div class = "well">
<%= form_for @introduction, html: { multipart: true } do |f| %>
<%= f.label :name %>
<%= f.text_field :name %>
<%= f.label :attachment %>
<%= f.file_field :attachment %>
<%= f.submit "Save", class: "btn btn-primary" %>
<% end %>
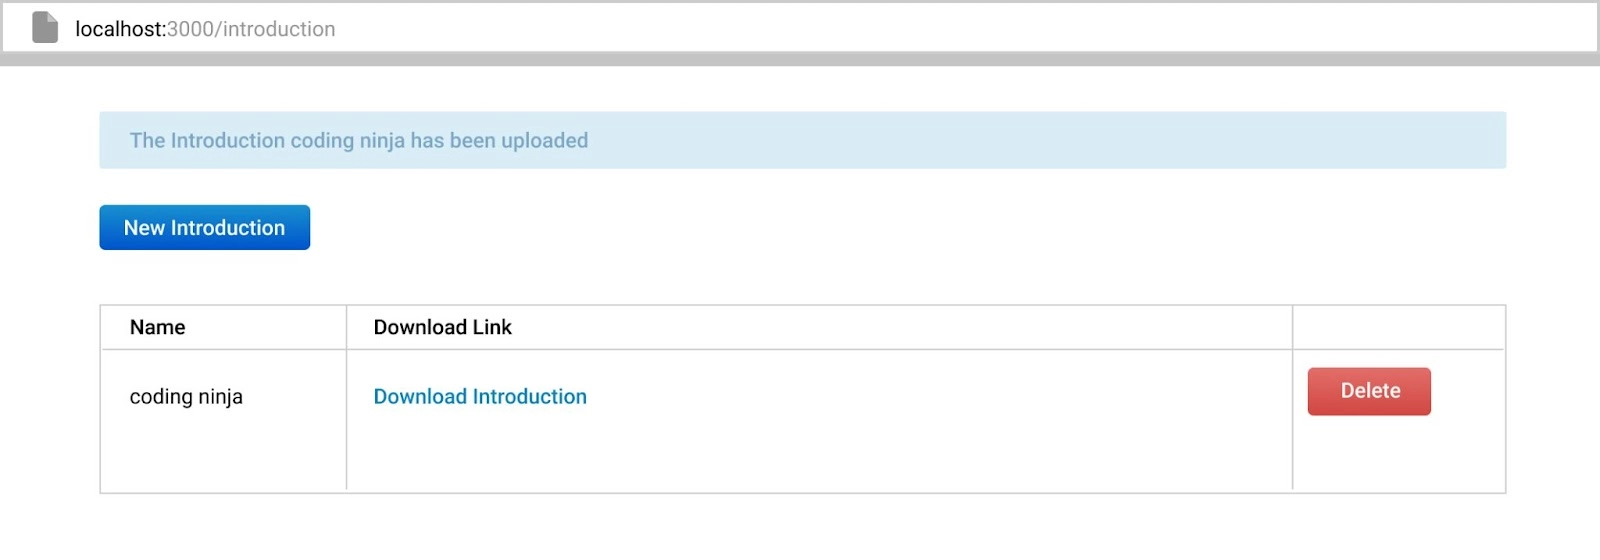
</div>Now we will open our browser. After that, we will type http://localhost:3000 to see the output.
Output-
We will now define a file type constraint that means all types of files are allowed or accepted. for this, we will modify the app/uploaders/attachment_uploader.rb file by adding the following Code-
class AttachmentUploader < CarrierWave::Uploader::Base
   storage :file

   def store_dir
      "uploads/#{model.class.to_s.underscore}/#{mounted_as}/#{model.id}"
   end

   def extension_white_list
      %w(pdf doc htm html docx)
   end
endOutput-

Now we will go to http://localhost:3000 again, and will find an error message on giving the wrong format input file.


 8+ registered

