


Introduction
The use of an external image editor can save a lot of trouble in many sets of circumstances & mainly, we’ll learn about UV mapping and reloading images in a blender. In this blog, we will learn about image editors in Blender.
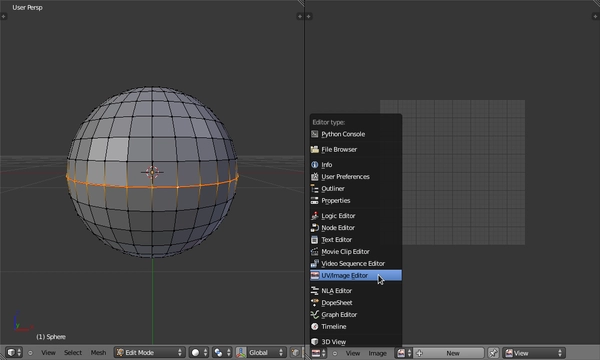
Image Editor
Image edit, modify or generate internally to the blender; in this place, view rendered images, edit images being used as textures and learn how to perform UV mapping of meshes to texture images
Source: ConceptArtEmpire
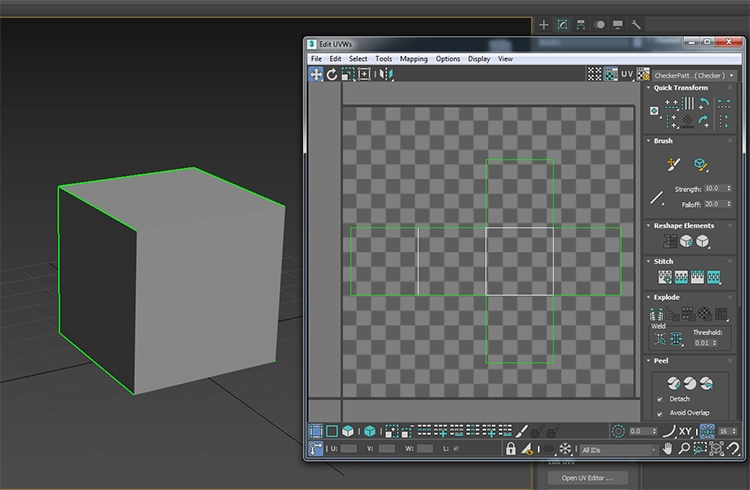
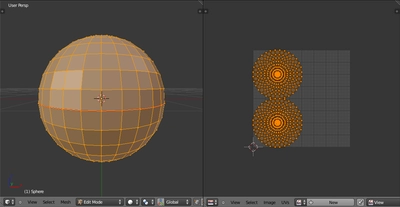
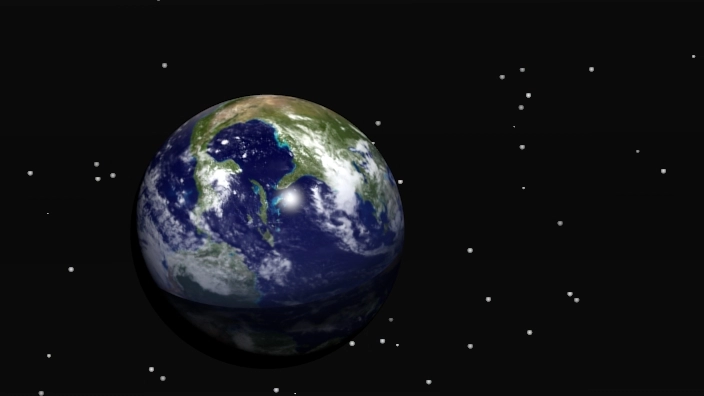
UV refers to the 2D model processing; the letters “U” & “V” denote the axes of 2D texture because the letters “X”, ”Y”, & ”Z” denote the 3D model. UV mapping refers to the technique used to ‘wrap’ a 2D image texture onto a 3D mesh.
Source: Blender
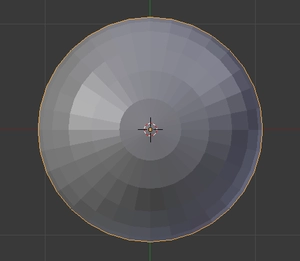
In this image, we can easily see the “stretching” (technically called mapping) of the 3D part (XYZ) onto a 2D plane (i.e. the UV map).
Viewing Render result

Source: Wikibooks
We can easily see a different options menu in the window header in this image.
- “Render result--- entry in the image-selection menu.”
- “View--- only relevant to editable images, not the render result.”
- “Slot--- select from any of 8 numbered slots. Each slot can hold a separate Render Result image.”
- “RenderLayer and Combined--- view different render layers and render passes.”
The rightmost group of four icons makes an advance malfunction of the image into RGB channels with/without alpha transparency layer, alpha on its own, and Z (depth) buffer.
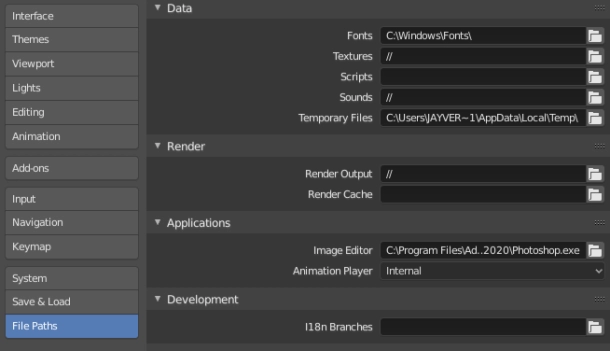
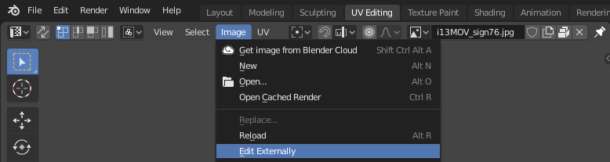
Viewing/Editing Texture Images

Source: Wikibooks
- In this window header, we select another image or create a new one. Now the editing context, the menu becomes useful:
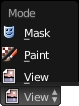
Source: Wikibooks
The “Paint” menu is used to paint an image.
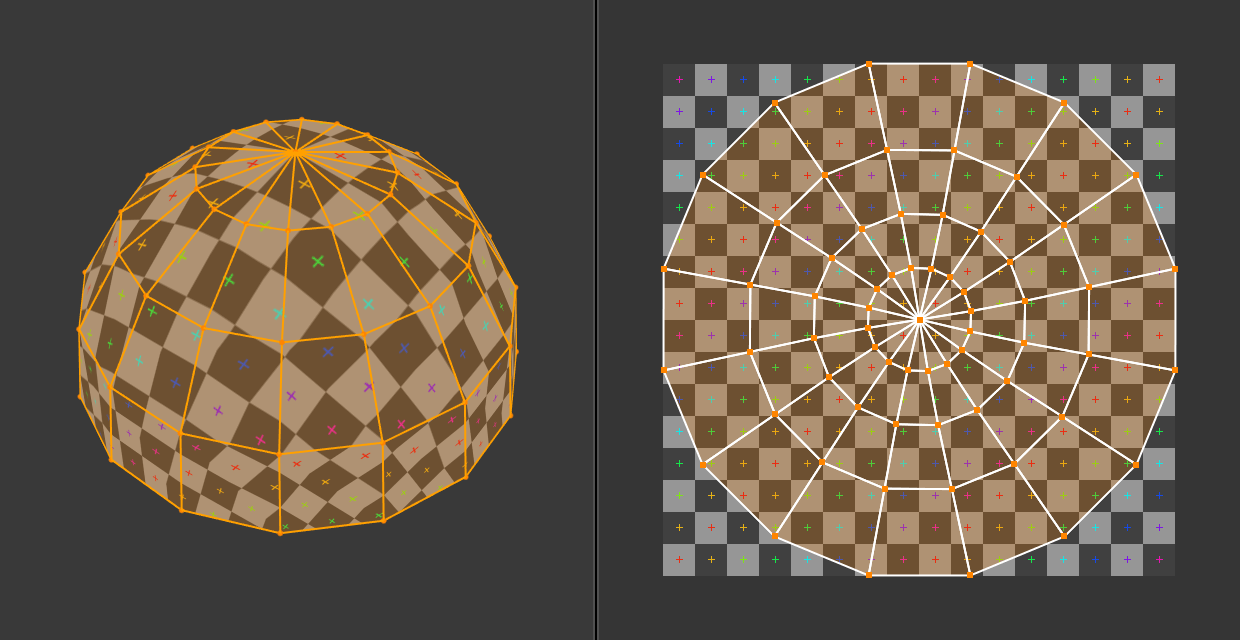
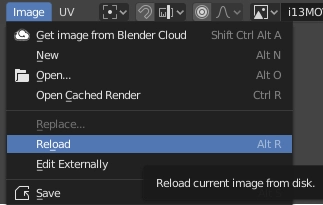
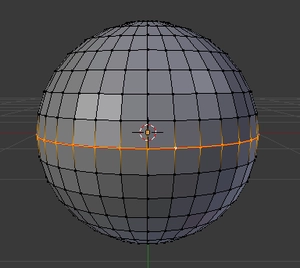
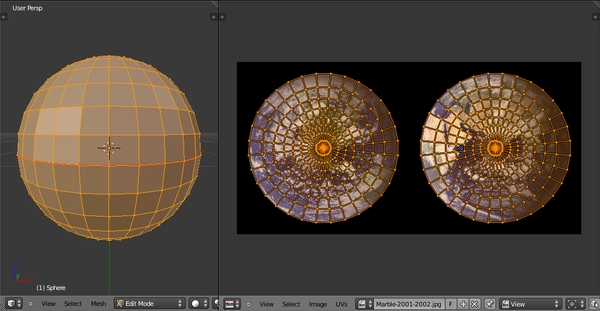
UV Mapping

Source: Wikibooks
This window header selects a texture image and goes into Edit mode on a mesh in the 3D View window.


 9+ registered

