


Introduction
For accessing the materials, a username or password is not required in various phases, making them not a secure option for resources.
Spring Security's RESTful web services may be accessed in several ways, one of which is to employ basic authentication. A username and password will be transmitted along with the request for primary authentication. One can access the resource by entering the credentials for login and password.
Another more sophisticated type of authentication is called "Digest Authentication." Here it generates a password digest and sends it across the network. The server is not given access to the actual password.
Another advanced type of authentication is OAuth (Open Authorization), or OAuth2.
Basic Authentication with Spring Security
Let's examine the implementation of basic authentication in web services.
Step 1: Updating pom.xml
Add the spring-boot-starter-security to pom.xml by opening it. It automatically sets up the bare minimum of security for us.
@Configuration
@EnableWebSecurity
public class CustomWebSecurityConfigurerAdapter extends WebSecurityConfigurerAdapter {


    @Autowired
    private MyBasicAuthenticationEntryPoint authenticationEntryPoint;


    @Autowired
    public void configureGlobal(AuthenticationManagerBuilder auth) throws Exception {
        auth.inMemoryAuthentication()
          .withUser("anxynms").password(passwordEncoder().encode("user1Pass"))
          .authorities("ROLE_USER");
    }


    @Override
    protected void configure(HttpSecurity http) throws Exception {
        http.authorizeRequests()
          .antMatchers("/securityNone").permitAll()
          .anyRequest().authenticated()
          .and()
          .httpBasic()
          .authenticationEntryPoint(authenticationEntryPoint);


        http.addFilterAfter(new CustomFilter(),
          BasicAuthenticationFilter.class);
    }


    @Bean
    public PasswordEncoder passwordEncoder() {
        return new BCryptPasswordEncoder();
    }
}
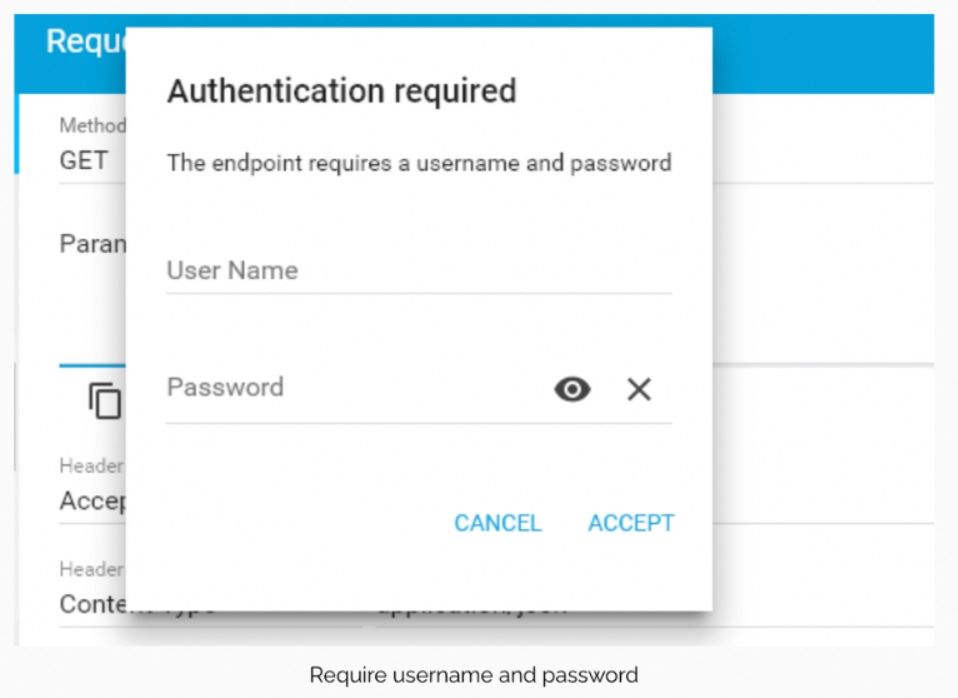
Step 2: Receive Password
We receive a password in the log once the server is restarted. The password will be different every time the server starts up.
curl -i --user userl:user1Pass
http://localhost:8080/spring-security-rest-basic-auth/api/foos/1
Step 3: Logging the password
Take note of the password in the log and copy it.
<http-basic entry-point-ref="myBasicAuthenticationEntryPoint"/>
@Component
public class MyBasicAuthenticationEntryPoint extends BasicAuthenticationEntryPoint {

    @Override
    public void commence(
      HttpServletRequest request, HttpServletResponse response, AuthenticationException authEx)
      throws IOException, ServletException {
        response.addHeader("WWW-Authenticate", "Basic realm="" + getRealmName() + """);
        response.setStatus(HttpServletResponse.SC_UNAUTHORIZED);
        PrintWriter writer = response.getWriter();
        writer.println("HTTP Status 401 - " + authEx.getMessage());
    }

    @Override
    public void afterPropertiesSet() throws Exception {
        setRealmName("anxynms");
        super.afterPropertiesSet();
    }
}
Step 4: Sending Post Request
Send a POST request while the REST Client Postman is open. To create a user, we are submitting a POST.
-
Please enter the URI for users at localhost:8080.
-
Choose the raw radio option by clicking the Body tab.
-
Choose JSON as the media type (application/json).
-
Name and date of birth should be provided.
-
The Send button should be clicked.
HTTP/1.1 401 Unauthorized
Server: Apache-Coyote/1.1
Set-Cookie: JSESSIONID=E5A8D3C16B65A0A007CFAACAEEE6916B; Path=/spring-security-mvc-basic-auth/; HttpOnly
WWW-Authenticate: Basic realm="Spring Security Application"
Content-Type: text/html;charset=utf-8
It provides the Status: 401 Unauthorized response.
Step 5: Final Authorization
Select the Authorization tab in the REST client Postman, then carry out the steps listed below:
-
Make your choice of Basic Auth as the authentication type.
-
A username must be provided "User" is the typical username.
-
Put the password you copied from the log into the box provided.
-
By pressing the Send button.
HTTP/1.1 200 OK
Server: Apache-Coyote/1.1
Set-Cookie: JSESSIONID=301225C7AE7C74B0892887389996785D; Path=/spring-security-mvc-basic-auth/; HttpOnly
Content-Type: text/html;charset=ISO-8859-1
Content-Language: en-US
Content-Length: 90
Date: Thur, 22 Sept 2022 17:21:03 GMT
The Status: 201 Created is shown. The password keeps changing every time we restart the server, which is a drawback. Configuring the username and password in the application.properties file will solve this issue.
The following application characteristics are included:
spring.security.user.name = anxynms
spring.security.user.password = password
Go to Postman now and attempt to submit a POST request. Status: 401 Unauthorized will now be returned. It's a result of the outdated password we're currently using. Because of this, we must replace the current login and password. Please enter the username and password that we set up in the properties file. We received the following: 201 created.


 8+ registered

