Do you think IIT Guwahati certified course can help you in your career?
Introduction
Salt is an open-source tool used to manage the configuration of servers and systems. If we have many machines in our network, manually handling their configuration becomes too complicated. Salt helps us by allowing us to simply declare the desired config and leave implementation details to Salt.
Environments are used in most software development processes. Different environments have different data, files, users, etc. For example - we can have different environments for dev, testing, Q/A, production, etc.
Salt allows us to serve files to minions using Salt File Servers. This means we can distribute a number of different files across all the minions that need them. Since we are likely using environments during development, it will also mean that we need different files in different environments. Salt offers in-built support for environments in its file server configuration.
In this blog, we will see how we can set up different environments in Salt file servers and how to request files from a specific environment.
Setting Up Environments
We will set up environments in Salt File Server and provide dummy data for them. For this article, we will use only 2 environments - base and prod. The base is the default Salt environment.
Changing the master config file
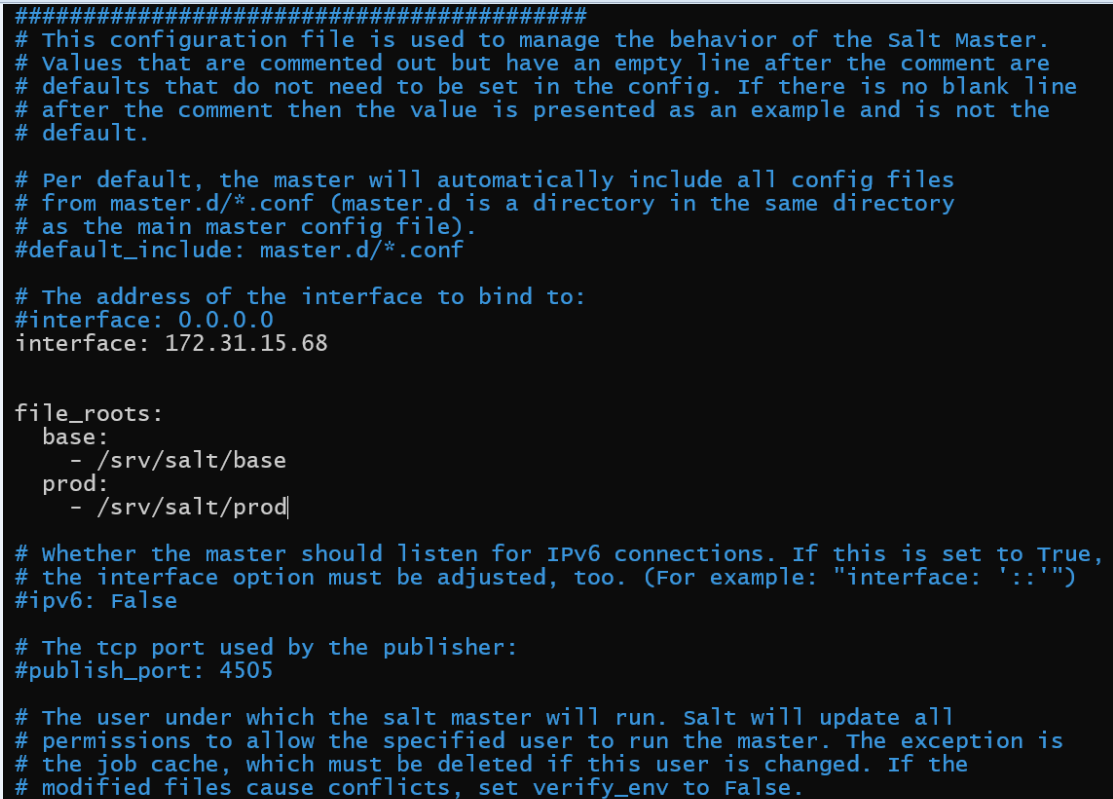
Step 1: First, we will edit the master config file.
To do this, go to the /etc/salt directory on the master machine. This can be done using the following command.
cd /etc/salt
Step 2: Open the master file in the text editor of your choice. We are using nano. Make sure to use sudo in case you face permission errors. Use the following command to open nano.
If you already had a file_roots entry in your master file, replace it with this one. This entry of file_roots will set up two environments - base and prod. If we request a file in the base environment, Salt will check the /srv/salt/base folder. If we request a file in the prod environment, Salt will check the/srv/salt/prod folder.
This allows us to have different file trees for each environment. Make sure you restart the salt-master to load these changes. You can use this command to do so.
sudo systemctl restart salt-master
Setting up Dummy Files
Now, we will set up a single dummy file for each environment, ninja.txt. The file will be named the same for both environments but will have different data.
Step 1: Go to /srv/salt folder. Salt should have automatically created the directories for you.
Step 2: We will go into each directory, create a ninja.txt file, and write different data. You can run the following commands to do so.
cd base
sudo touch ninja.txt
sudo nano ninja.txt
This will open the nano editor. You can write any data you want in the file.
Step 3: Now, do the same thing for the prod folder.
cd prod
sudo touch ninja.txt
sudo nano ninja.txt
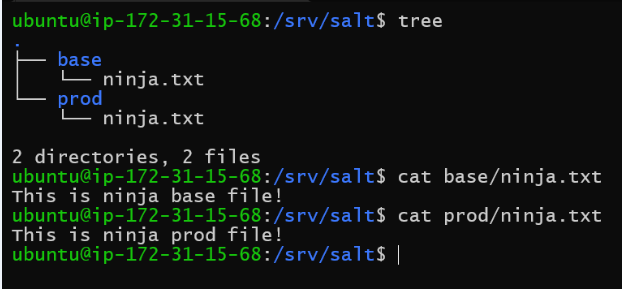
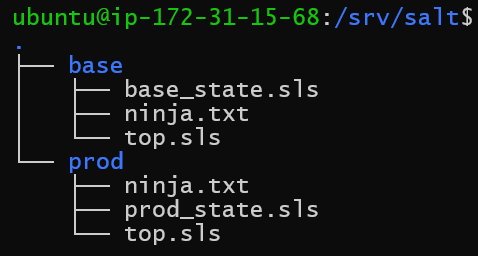
Once again, you can write anything you wish. However, make it different than the base/ninja.txt file so we can differentiate them later. Our final directory structure should look like this.
Our base/ninja.txt has the data "This is ninja base file!" and prod/ninja.txt has the data "This is ninja prod file!".
Requesting Files
Now, let's see the various ways to request files in different environments. But first - what happens if we don't specify any environment?
No Environment Specified
We run the cp.get_file command and don't specify an environment.
sudo salt '*' cp.get_file salt://ninja.txt ~/ninja.txt
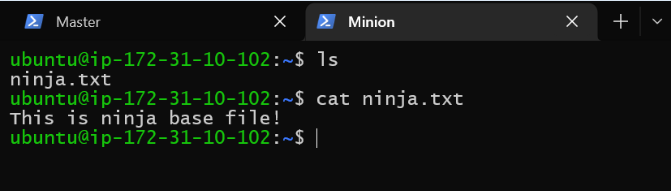
We receive a successful output. Let's see which file was sent to the minion.
We see that minion received the base/ninja.txt file. This is correct since base is the default environment of Salt.
Specify environment in Query String
(If you are following along with the tutorial, make sure you delete old ninja.txt files before requesting new ones)
We can specify the environment in the file's Salt URL. For a file ninja.txt in the prod environment, we can write its salt URL as:
salt://ninja.txt?saltenv=prod
This will look for the ninja.txt file in the prod environment.
Let's run the cp.get_file command using this salt URL.
sudo salt '*' cp.get_file salt://ninja.txt?saltenv=prod ~/ninja.txt
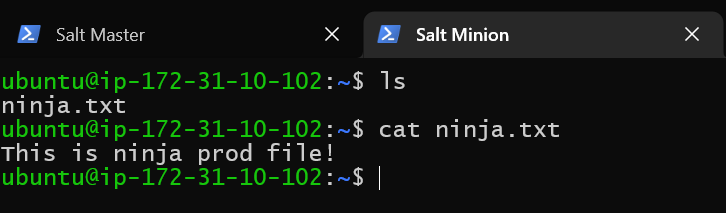
We receive a successful response. Let's check on minion which file has been sent.
We see that we've received the prod file.
Parameter to cp.get_file Command
This is a way similar to the above method. Instead of passing saltenv in the query string, we can pass it as a parameter to the cp.get_file command. Our command would thus look like this:
sudo salt '*' cp.get_file salt://ninja.txt saltenv=prod ~/ninja.txt
We see that we receive the prod file.
Using States
Salt States are configuration documents that tell Salt about the desired configuration of a minion node. For example, we can use Salt states to tell salt that:
Minions must have apache software installed.
Minions must have an index.html file present in /home/ubuntu/htmlFiles location.
Minions should have apache2 service running.
And many more things. Salt states are written in SLS files (SaLt State Files). They are written (by default) in YAML format. You can read about the YAML format in our article here - Brief About YAML.
We won't be going into depth about states here. We will just use a simple state file to ensure that a file (ninja.txt) is present on our minion. Here are some points to remember about states and state files:
State files are saved with an extension .sls
We can have multiple state files.
Each environment can have its own state file -i.e., a different .sls file for prod and base.
The top-level state file for each environment is called top.sls. This name is fixed, and this is the file that Salt will look for when we tell it to apply a particular state.
State files can reference each other. For example, in my top.sls I can say - Apply the states present in base_state.sls file.
Now, let's create some dummy state files.
Our folder structure will remain the same. We will add a top.sls file to /srv/salt/base and /srv/salt/prod. The top.sls file in the base folder will specify what state should be applied to the minion in the base environment. The top.sls in the prod folder will specify the same for minions in the prod environment.
top.sls for /srv/salt/base folder:
base:
  '*':
    - base_state
This says - for the base environment, for all minions (all is specified by '*', if we wanted to apply it to a particular minion, we can write the minion name), apply the state present in base_state.sls file.
This tells Salt to get the file from the salt URL salt://ninja.txt, and place it in /home/ubuntu/base_ninja.txt. Thus we will not use the original name of the file. Instead, it will be called base_ninja.txt.
top.sls for /srv/salt/prod folder:
prod:
  '*':
    - prod_state
This says - for prod environment, for all minions (all is specified by '*', if we wanted to apply it to a particular minion, we can write the minion name), apply the state present in prod_state.sls file.
This tells Salt to get the file from the salt URL salt://ninja.txt, and place it in /home/ubuntu/prod_ninja.txt. Thus we will not use the original name of the file. Instead, it will be called prod_ninja.txt.
We can verify if the correct environment has been applied without opening the file by choosing different file names for base and prod environments.
The file structure should be the one shown in the following image.
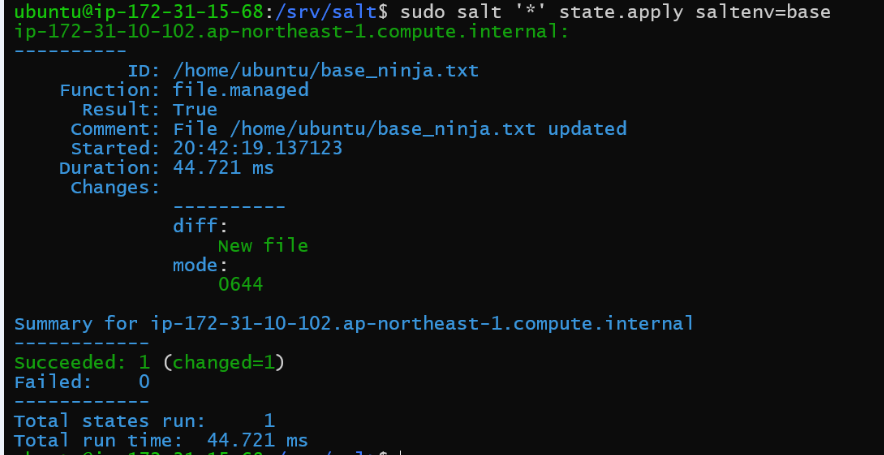
Now, let's apply the state. Run the following command.
sudo salt '*' state.apply saltenv=base
This will apply the state in the base environment.
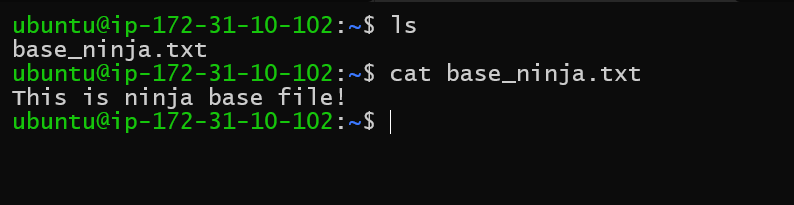
We see a successful output. The minion tells us what changes have been made. Let's check in minion now.
We see we have the correct file with the correct data.
Now let's try with the prod environment. Run the following command.
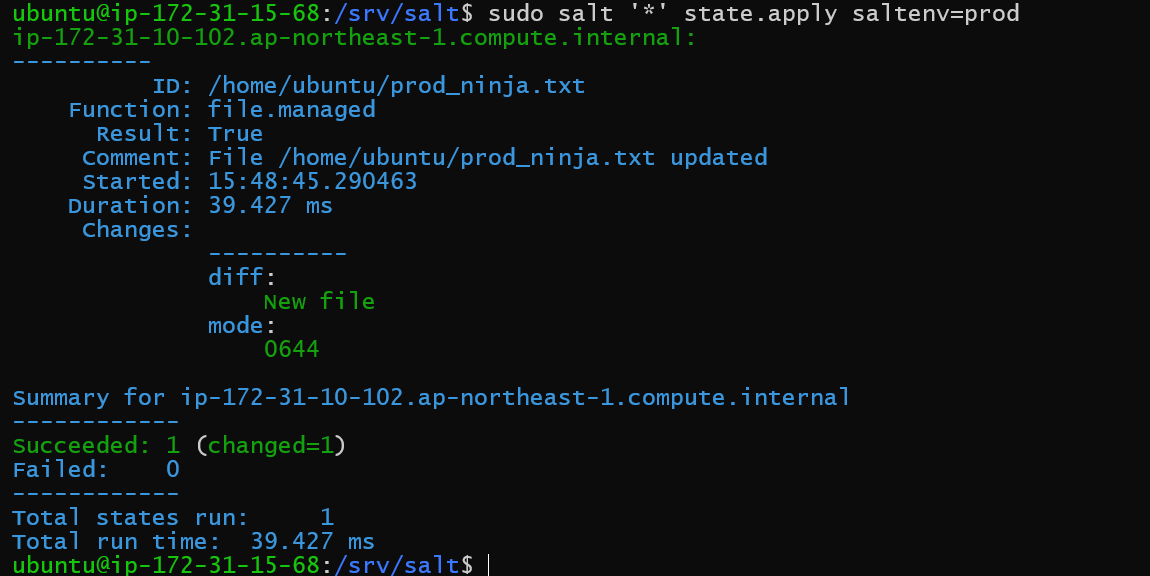
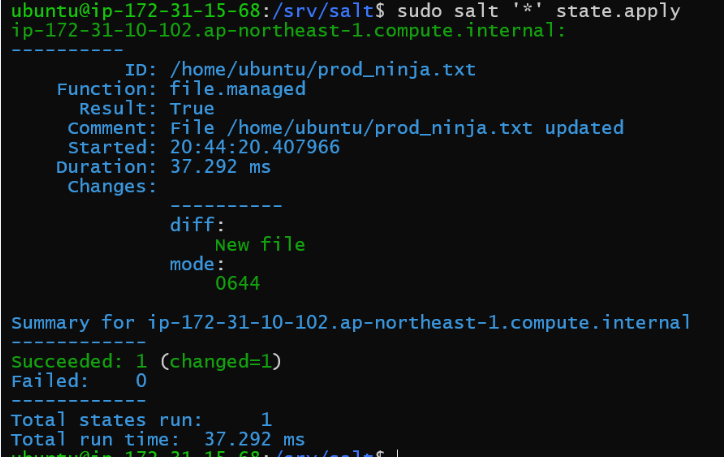
sudo salt '*' state.apply saltenv=prod
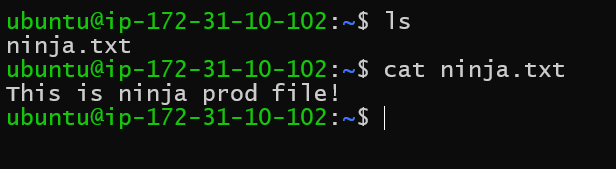
We get a successful output once more. Let's check in minion now.
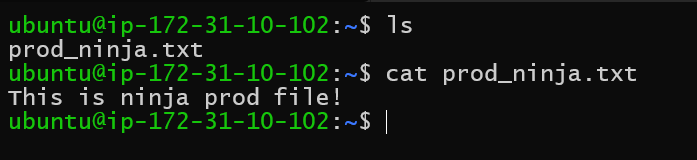
We get the correct file with the correct data.
States and Defining Environment in Minion Config
We can also define the environment of a particular minion in its config file. After that, we won't have to enter the saltenv variable when we apply states.
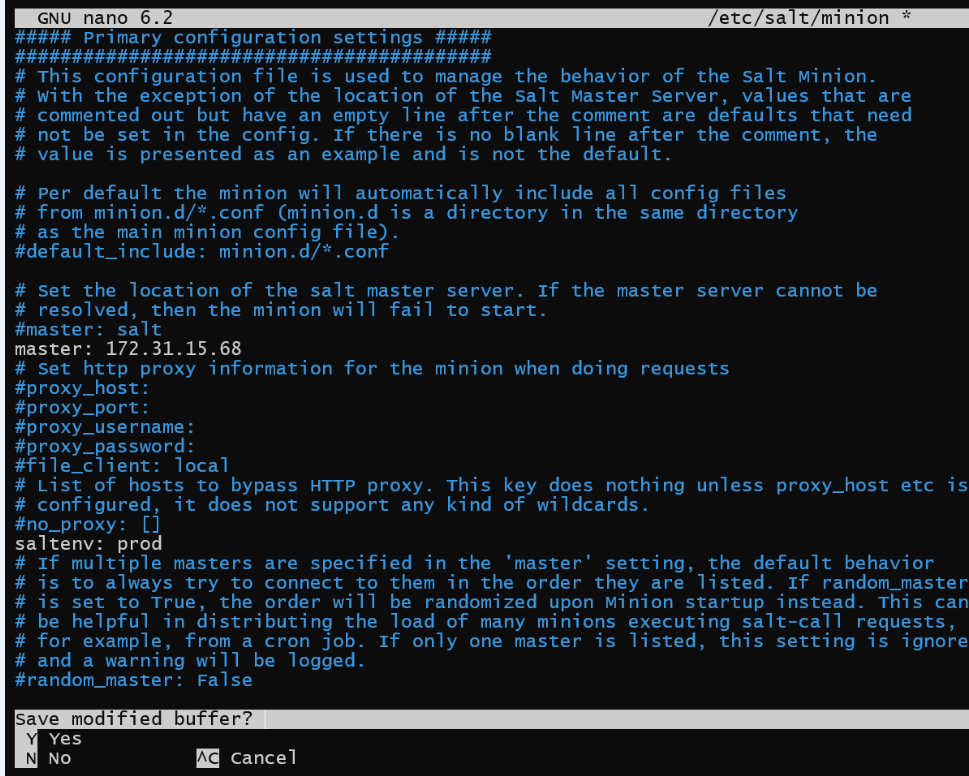
Go to the /etc/salt/minion file in the minion machine. Add the following line to it:
saltenv: prod
Restart salt-minion by using the following command.
sudo systemctl restart salt-minion
Now, go back to the master machine and enter the command:
sudo salt '*' state.apply
Notice that we haven't specified the environment.
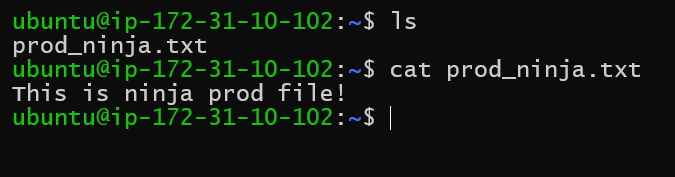
Even without specifying the environment, the prod_ninja.txt file has been deployed. This means that Salt has correctly gotten the environment from the minion's config file.
It has the correct data as well.
Frequently Asked Questions
What if the environment isn't specified in the state command or minion config file?
In this case, salt will merge all the top.sls files, it finds and apply all the states. In our example, this will result in base_ninja.txt and prod_ninja.txt files both being present.
Which environments should I create in Salt?
The number of environments and their nature depends on your use case. The most common environments include development (dev), testing (test), quality assurance (qa), staging (staging), and production (prod). Different teams may have more or less than these.
Can I use formats other than YAML for salt state files?
Yes, you may use other formats. But to use other formats, you must go into salt configuration settings and change the renderer being used. The default renderer is built for YAML files. Others exist, such as for salt files written in Python.
Conclusion
This blog has explored what environments are and how we can set up different environments in Salt File servers. We have seen the multiple ways of requesting files from different environments in Salt - using the query string, command parameter, states, and finally, using minion config file.
We hope you leave this article with a broader knowledge of Salt, file servers, and configuration management. You should read our other articles about these topics as well, such as


 6+ registered

