Salt Installation
Salt can be installed on different operating systems like Linux, Windows, and macOS. In this section of the blog, we will see how we can install Salt in different operating systems.
Salt-master must be installed on the node that will administer the other nodes, i.e. the node that will issue commands to the other nodes. The Salt-minion service must then be installed on the nodes that will be managed by the Salt-master.
Installation on Linux-based OS
The bootstrap script is suggested for Linux-based operating systems, but you can manually install Salt using the instructions for each operating system.
Let’s see the bootstrap script method for installing Salt.
Bootstrap Installation
The Salt Bootstrap project keeps a Bash shell script that may be used to install Salt on any Linux/Unix platform. The script installs the salt-master and salt-minion system packages and automatically activates Salt services.
Steps for installing Salt:
1. Using the following command, get the install script:
curl -o bootstrap-salt.sh -L https://bootstrap.saltproject.io
2. To make the bootstrap script executable, run the following command:
chmod +x bootstrap-salt.sh
3. To install Salt services, run the bash script using the following command:
./bootstrap-salt.sh -M
Note: You can refer to the documentation to get the steps for manually installing the salt service on your system.
Manual install directions by operating system
Windows or MacOS installation
You can directly download the installation file on windows or macOS and run it on your system to install the Salt service. Visit the below mentioned link to get the installation file for your operating system.
Steps for installing Salt in Windows Operating System:
1. Visit the following link to download the package file.
2. You will see the following screen. Download the EXE package of your choice and run it on your system.

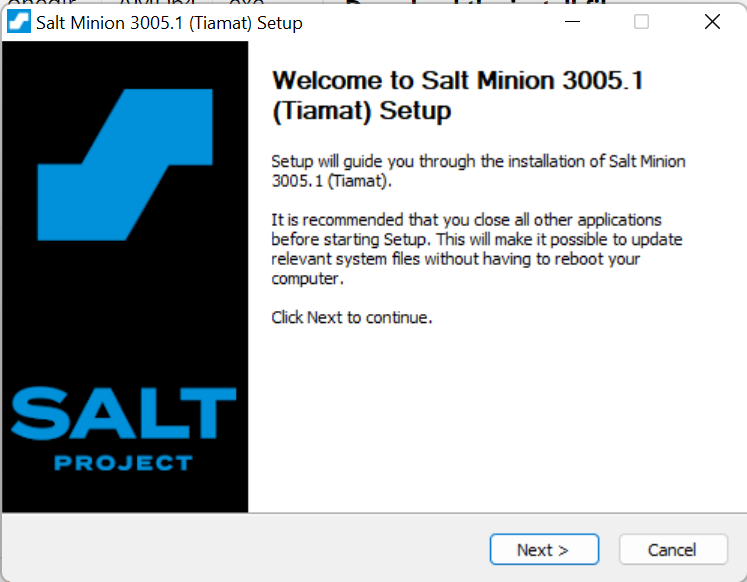
3. After running the file. You will see the following screen. Just click on the Next button.
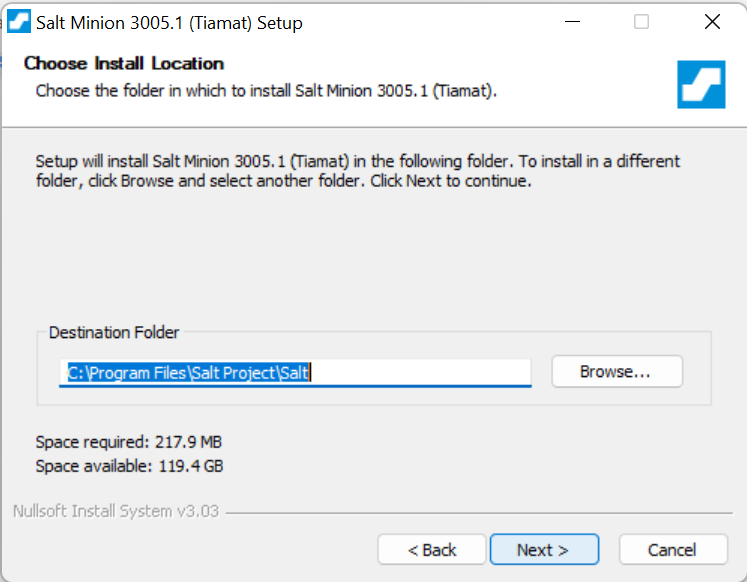
4. Accept the licence agreement and click on next. After that you will be asked to enter the install location. Just let it be the default location and click on Next.
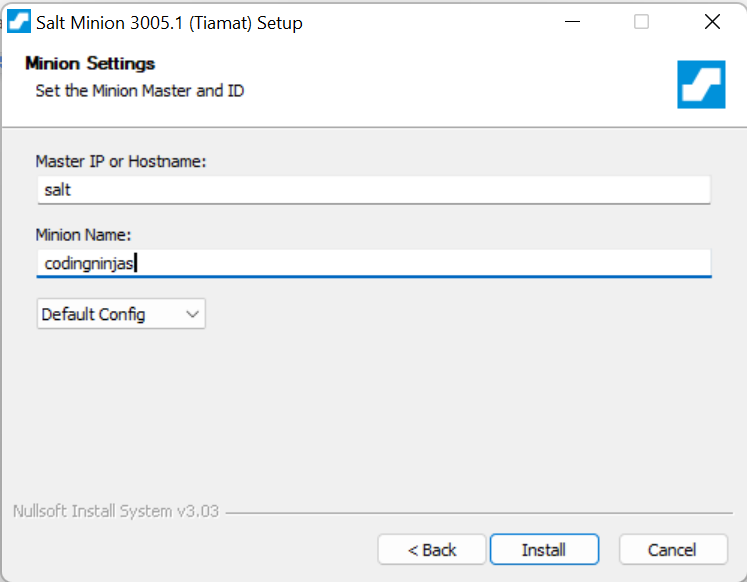
5. On the next screen you will be asked to enter the master and minion name. Fill in the details and click on Install.
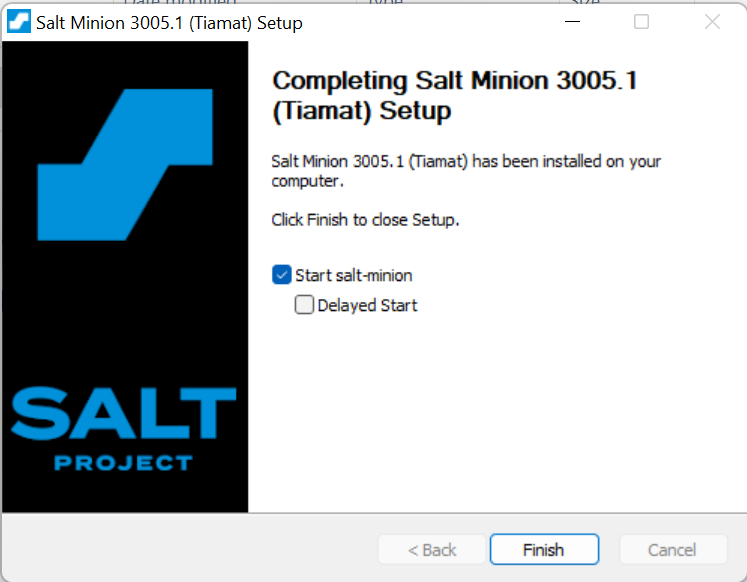
6. Congratulations! You have successfully installed Salt on your system.
Steps for installing Salt in macOS:
1. Visit the following link to download the package file.
2. Run the downloaded file and follow the on screen instructions to install Salt on your system.
3. After installation, set the Salt master location and Salt minion ID, changing the placeholder content with your own details:
sudo salt-config -i yourminionname -m yoursaltmaster
4. Run the following command to start the minion service.
sudo launchctl start com.saltstack.salt.minion
5. Congratulations!! You have successfully installed Salt on your system.
6. If you want to stop the minion service. You can run the following command.
sudo launchctl stop com.saltstack.salt.minion
Configuration
After installing Salt on your system, you need to configure it. So, that it can function properly.
We need to configure the Salt minions to connect to the Salt master's DNS/hostname or IP address.
Master configuration
The salt-master service has preset server settings. All of the commented settings are present in the default master YAML configuration at /etc/salt/master. Custom settings in YAML can be added to /etc/salt/master.d/ as .conf files on the Salt master.
Salt master network settings
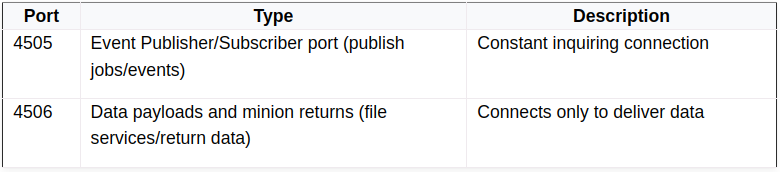
By default, the master binds to all accessible network interfaces and listens on ports 4505 and 4506.
This example overrides the default settings:
# The network interface to bind to
interface: 192.0.2.20

# The Request/Reply port
ret_port: 3006

# The publish port
publish_port: 3005
Salt master process management
The master threads out worker processes with the worker_threads setting to manage the salt-minion return calls. The processes' default worker limit is five. Three workers are the bare minimum.
An example settings in a master configuration file:
worker_threads: 4
Basic minion configuration
By default, the salt-minion service includes DNS/hostname configuration. All of the commented settings are included in the default minion YAML configuration in /etc/salt/minion. You can add custom YAML settings to /etc/salt/minion.d/ as .conf files on the minion.
Connecting to the Salt master
The minions default to assuming that the Salt master may be resolved in DNS using the hostname salt.
An example of a setting that overrides the master default:
master: 192.0.2.20
Declaring the minion ID
Unless expressly configured, the salt-minion will identify itself to the master by the system's hostname:
We can change the name by adding the following line in /etc/salt/minion.d/id.conf file
id: ninja_1
Starting the Service
In this section of the blog, we will see how we can start the Salt service on our system. First, we need to start the salt-master after that we can start salt-minion.
The most common approach to start Salt processes is with systemctl. When you call the process directly, the active logs will be displayed in the foreground.
Using systemctl
Use the following command to start salt-master and salt-minion using systemctl:
systemctl start salt-master
systemctl start salt-minion
Starting in the foreground
We can also start the salt-master and salt-minion in foreground using the below mentioned command:
salt-master
salt-minion
The next step is to accept the keys for salt-minion.
Accepting the keys
Salt uses two types of keys RSA and AES. The RSA keys are the foundation of Salt's authentication and encryption mechanism.
The master also delivers a rotating AES key, which is used to encrypt and decode Salt master messages. The returned AES key is encrypted using the Salt minion's public key and may thus be decoded only by the same Salt minion.
Accepting the key
When a new minion checks in, the key is placed in Unaccepted keys and will remain there until it is accepted.
To check the current state of key management, use salt-key:
The output will look something like this:
Unaccepted Keys:
cn1
Accepted Keys:
web1
Rejected:
To accept keys, run:
salt-key -a cn1
You can accept all keys at once using the below command:
salt-key -A
Deleting keys
To delete an accepted key run the following command:
salt-key -d web1
We can also delete all of the accepted keys at once, using the following command:
salt-key -D
Frequently Asked Questions
What is a Salt Master?
Salt's central concept is that of a Master who commands one or more Minions. The Central Management System is the Master. The Salt minion communicates with the Salt Master via instructions and configurations when run on managed systems. The Salt Master's operating system is Linux, but any other system can be a minion.
What is a Minion?
Salt minions are the servers that power your apps and services. These are the managed systems that respond to Salt Master orders. The Salt master can send directives to specific minions by utilising the ID issued to each one.
What is SaltStack used for?
SaltStack, often known as Salt, is a solution for configuration management and orchestration. It makes use of a central repository to provide new servers and other IT infrastructure, modify existing ones, and install the software in IT environments such as real and virtual servers, as well as the cloud.
Conclusion
In this blog, we discussed the requirements for installing salt in our system. After that, we saw the steps to install the salt service in our system. We also saw the steps for configuring salt service. Lastly we talked about how we can start the service in our system.
If you think this blog has helped you enhance your knowledge about the above question, and if you want to learn more, check out our articles.
🔥 About Salt Engine
🔥 About Salt Mine
🔥 Job Management In Salt
🔥 Salt as a Cloud Controller
And many more on our Coding Ninjas Studio.
Visit our website to read more such blogs. Make sure that you enroll in the courses we provide, take mock tests, solve problems available, and interview puzzles. Also, you can pay attention to interview stuff- interview experiences and an interview bundle for placement preparations.
Please upvote our blog to help other ninjas grow.
Happy Learning!


 9+ registered

