Do you think IIT Guwahati certified course can help you in your career?
Introduction💻
GWT (Google web toolkit) is an open-source development toolkit provided by google for developing browser-based, complex Ajax applications. We can even develop Rich Internet Applications (RIA) in Java using GWT, which will then be compiled into Javascript and cross-browser compliant.
Advantages of GWT🤔
Java script projects are hard to maintain when compared to Java projects. But we need Javascript to run the RIA in the browser. So GWT combines both the above advantages.
GWT is almost similar to the swing package of Java and AWT.
Each browser has its own set of problems; therefore, supporting all of them in the market is challenging. So, GWT solved this problem by creating optimized javascript code for each browser.
Limitations of GWT🤔
When Java is compiling into javascript to run on the browser, it will run only if enabled. Otherwise, it will not work.
Search engines do not index the web pages created by GWT since these web applications are generally dynamic.
If you have a UI designer who can create HTML pages, this will not work; hence you will need to implement whatever designer created again in GWT.
We have seen everything about GWT; let's go through one of its widgets, the GWT FileUpload Widget.
GWT FileUpload Widget🧑🏻💻
The HTML <input type = 'file'> element is wrapped by FileUpload widget. We use this widget with FormPanel if we want it to be submitted to the server.
Class Declaration
We can use the following code to declare a GWT CheckBox class(com.google.gwt.user.client.ui.FileUpload),
public class FileUpload
  extends Widget
      implements HasName, HasChangeHandlers
You can also try this code with Online Java Compiler
The given below is the default CSS style rule that is applied to all the textBox widgets. This CSS style rule can be overridden as per your requirements.
.gwt-FileUpload {}
You can also try this code with Online Java Compiler
Creates a FileUpload widget that wraps an existing <input type='file'> element.
protected void prepareCell(int row, int column)
Verifies that a cell in the table is valid.
void setEnabled(boolean enabled)
Sets whether this widget is enabled.
Inherited Methods🎯
Following are the classes from which this class inherits methods −
com.google.gwt.user.client.ui.UIObject
com.google.gwt.user.client.ui.Widget
java.lang.Object
GWT FileUpload Widget Example💻
We will now go through the easy steps to show the usage of the GWT FileUpload Widget. You need to modify files ‘GWTProjectOne.css’, ‘GWTProjectOne.gwt.xml’, ‘GWTProjectOne.html’, and ‘GWTProjectOne.java’ by changing the with the below code.
The Eclipse IDE and file structure will look something like this -
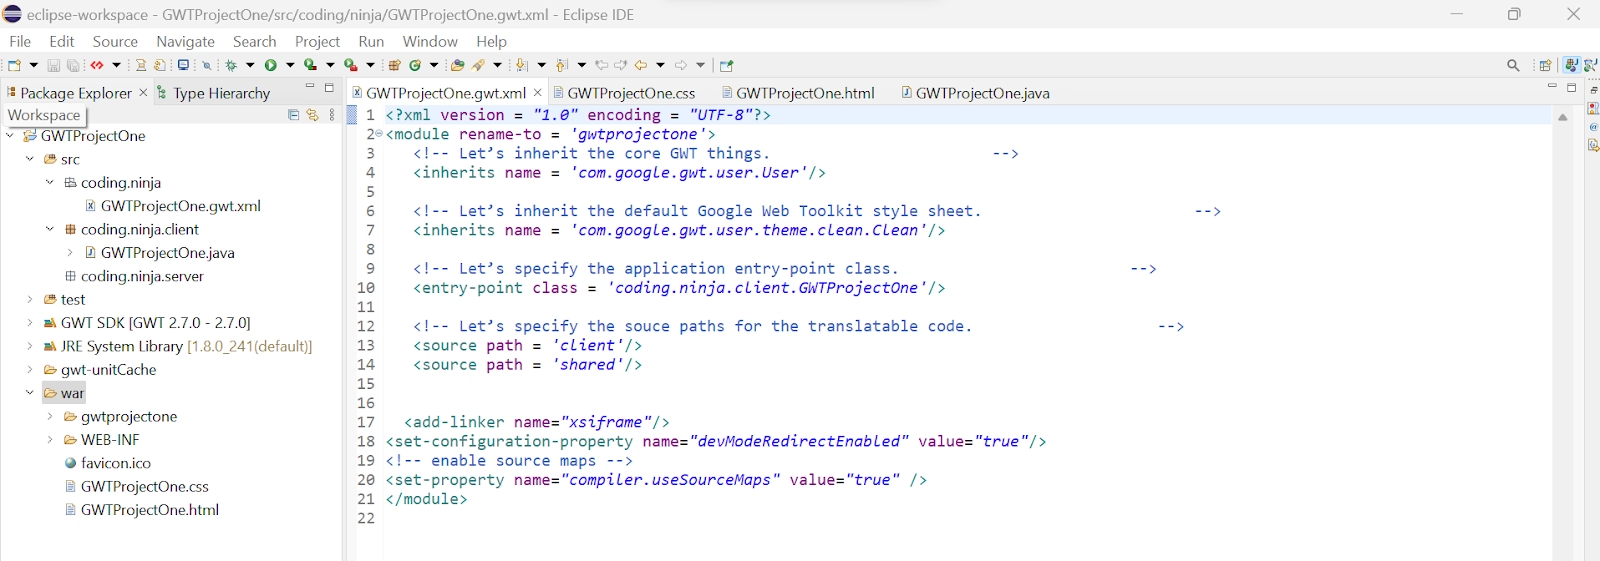
GWTProjectOne.gwt.xml
<?xml version = "1.0" encoding = "UTF-8"?>
<module rename-to = 'gwtprojectone'>
  <!-- Let's inherit the core GWT things. -->
  <inherits name = 'com.google.gwt.user.User'/>

  <!-- Let's inherit the default Google Web Toolkit style sheet. -->
  <inherits name = 'com.google.gwt.user.theme.clean.Clean'/>

  <!-- Let's specify the application entry-point class. -->
  <entry-point class = 'coding.ninja.client.GWTProjectOne'/>

  <!-- Let's specify the souce paths for the translatable code. -->
  <source path = 'client'/>
  <source path = 'shared'/>


  <add-linker name="xsiframe"/>
<set-configuration-property name="devModeRedirectEnabled" value="true"/>
<!-- enable source maps -->
<set-property name="compiler.useSourceMaps" value="true" />
</module>
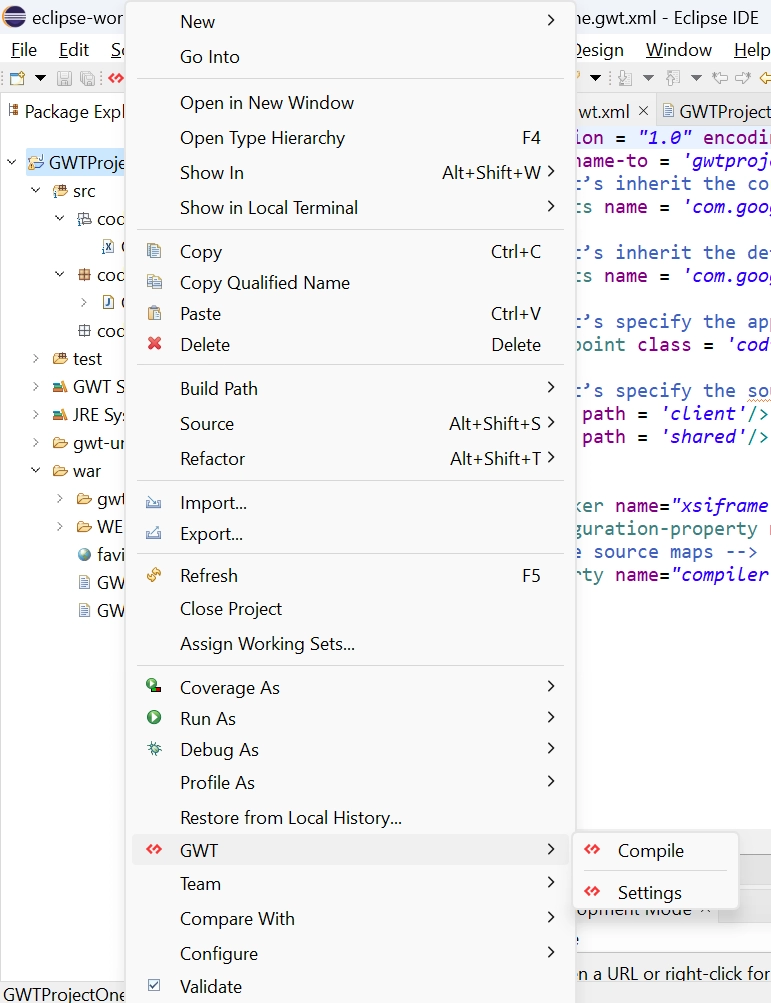
After modifying all the files, right-click the project, go to GWT and then select compile button. And then, you will see one dialog box where you have to again click on compile button.
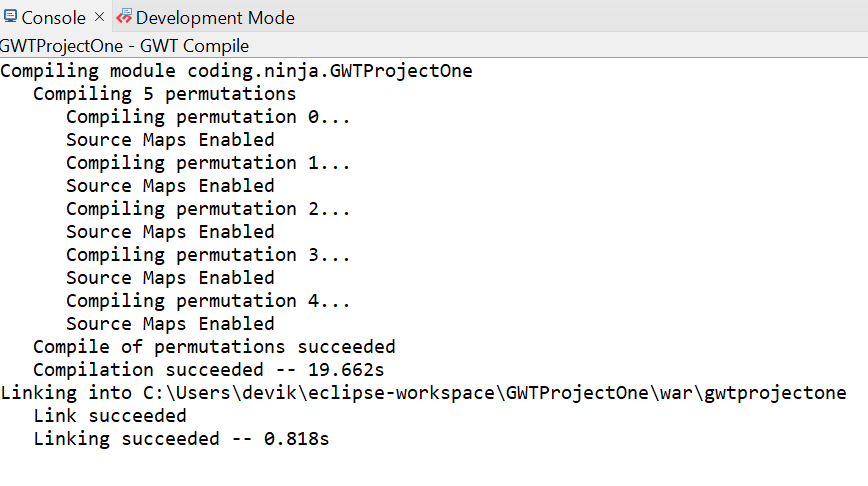
And after clicking it, you will see the following output in the console.
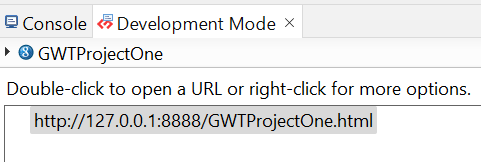
Now click on the dropdown button of the run button and select the project you want to run that is, in our case, GWTProjectOne.
After clicking, you will see the following outputs in the console and development mode tab.
After clicking on the link in development mode, you will see the output of the code.
Output
After clicking on the "Choose file" button, the file explorer folder will open. Select a file from the folder and click on "select" then, you will be able to see the file's name beside the "Choose file" button.
We hope you have completely understood the GWT FileUpload Widget. 😁
Frequently Asked Questions
What is the google web toolkit?
GWT (Google web toolkit) is an open-source development toolkit provided by google for developing browser-based, complex Ajax applications.
What is an uploader widget?
The Upload widget from Cloudinary is a comprehensive, interactive user interface that allows users to upload files to your website or application from various sources.
What do you mean by CSS?
The language used to describe how Web pages are presented, including their colors, design, and fonts, is called CSS.
What is GWT weight?
The maximum weight of cargo that a vessel can carry is known as its gross weight tonnage (GWT).
What is Constructor in Java?
A Constructor in Java is a unique method that initializes the object.
Conclusion
In this blog, we went through GWT FileUpload Widget. We saw class declaration, CSS style rules, constructors, and inherited methods. At last, we will see an example of the GWT FileUpload Widget and if you would like to learn more, check out our articles on-


 9+ registered

