Do you think IIT Guwahati certified course can help you in your career?
Introduction
GWT (Google web toolkit) is an open-source development toolkit provided by google for developing browser-based, complex Ajax applications. We can even develop Rich Internet Applications (RIA) in Java using GWT, which will then be compiled into Javascript and cross-browser compliant.
Advantages of GWT
Java script projects are hard to maintain when compared to Java projects. But we need Javascript to run the RIA in the browser. So GWT combines both the above advantages.
GWT is almost similar to the swing package of Java and AWT.
Each browser has its own set of problems; therefore, supporting all of them in the market is challenging. So, GWT solved this problem by creating optimized javascript code for each browser.
Limitations of GWT
When Java is compiling into javascript to run on the browser, it will run only if enabled. Otherwise, it will not work.
Search engines do not index the web pages created by GWT since these web applications are generally dynamic.
If you have a UI designer who can create HTML pages, this will not work; hence you will need to implement whatever designer created again in GWT.
After getting all the information about GWT, we will go through each step of the GWT environment setup in this blog.
GWT Installation
GWT is based on Java; therefore, the GWT environment setup starts by installing JDK(Java Development Kit). Below are the system requirement for GWT installation.
JDK
1.6 or above
DISK SPACE
No minimum requirement.
MEMORY
No minimum requirement.
OPERATING SYSTEM
No minimum requirement.
Installing Java Development Kit
Installing JDK includes four steps that need to be completed for the GWT environment setup.
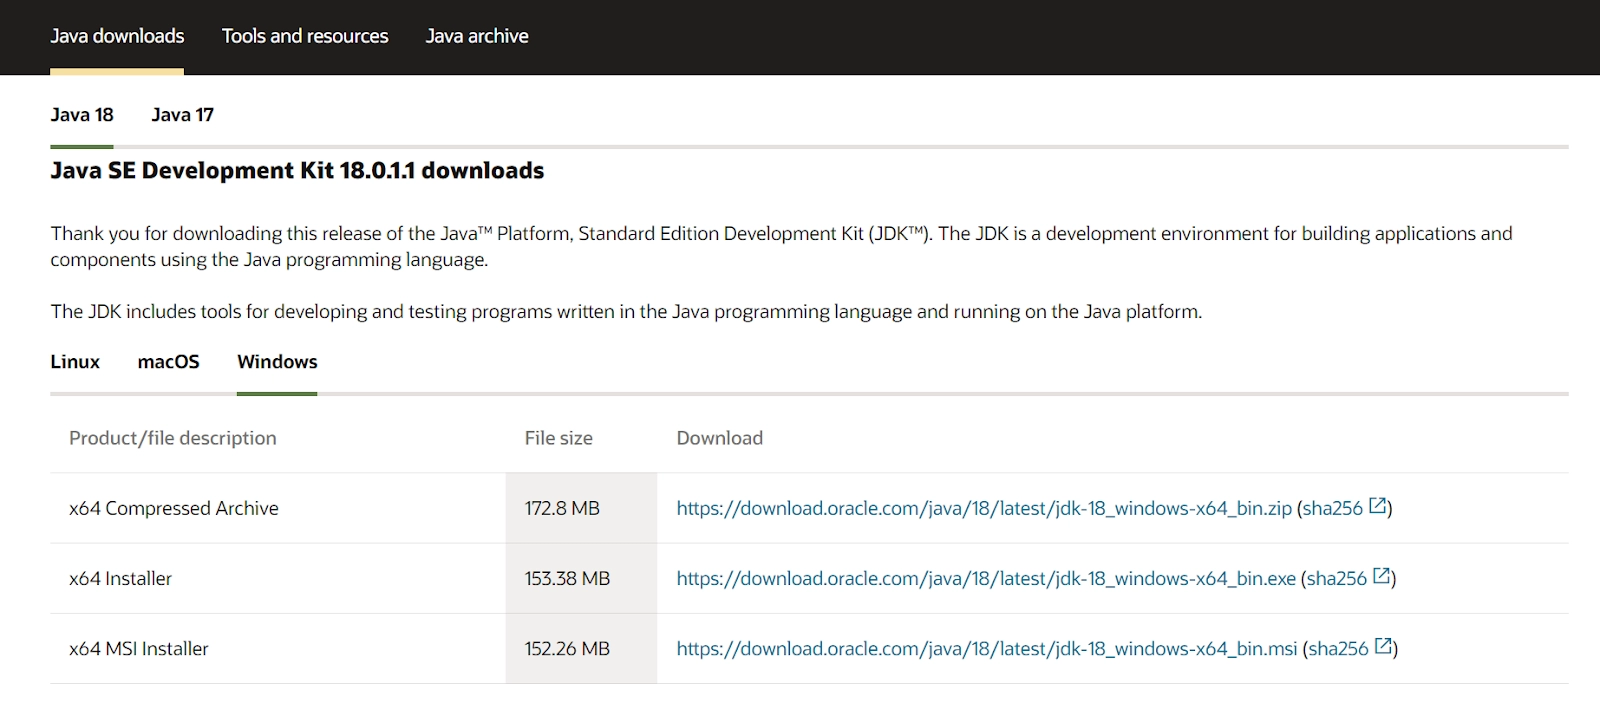
Now choose the JDK according to your operating system, for example, "Windows x64" (for 64-bit Windows OS) or "Windows x86”
Install JDK and JRE
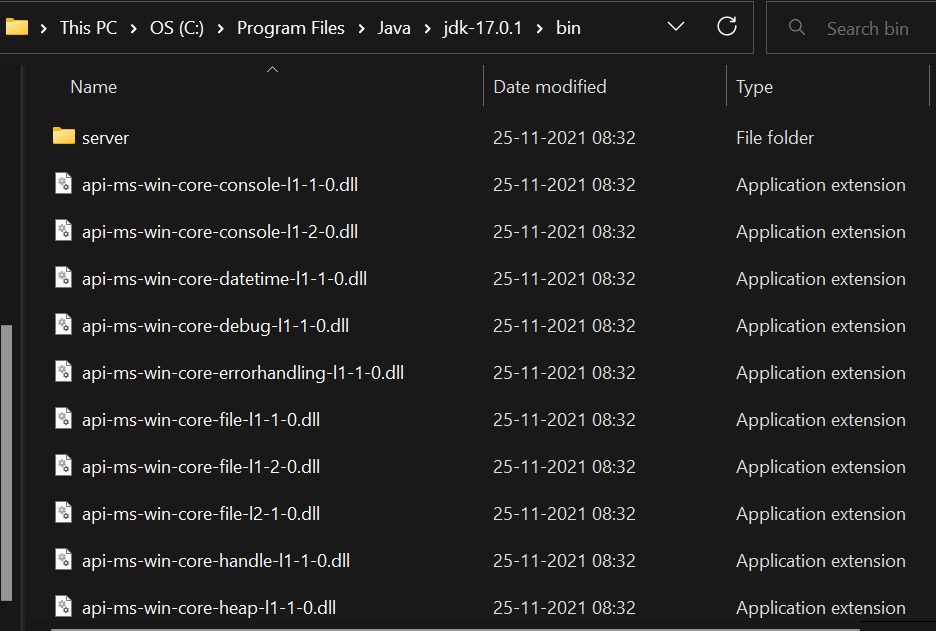
Now that we have successfully downloaded the JDK files, we will have to install them on the system. After successfully running the installer, both JDK and JRE files will be downloaded. The default path for the JDK and JRE files is “C:\Program Files\Java\.”
You can verify the location of the JDK and JRE files using the file explorer.
Note: Note down the version of JDK and JRE. It will be useful in the future.
Set the Path
After installing the JDK and JRE files, we will have to set the path for them. Follow the following steps to set the path for the files.
In the control panel, go to ‘System settings’ and select the advanced system settings options.
Now select the environment variables button.
Now, we will have to add another variable in the system variable section. Carefully click on the new button and add the following credentials.
Note: Be very careful while adding these values as there is no undo button. Double-check before you submit.
Verify the JDK Installation
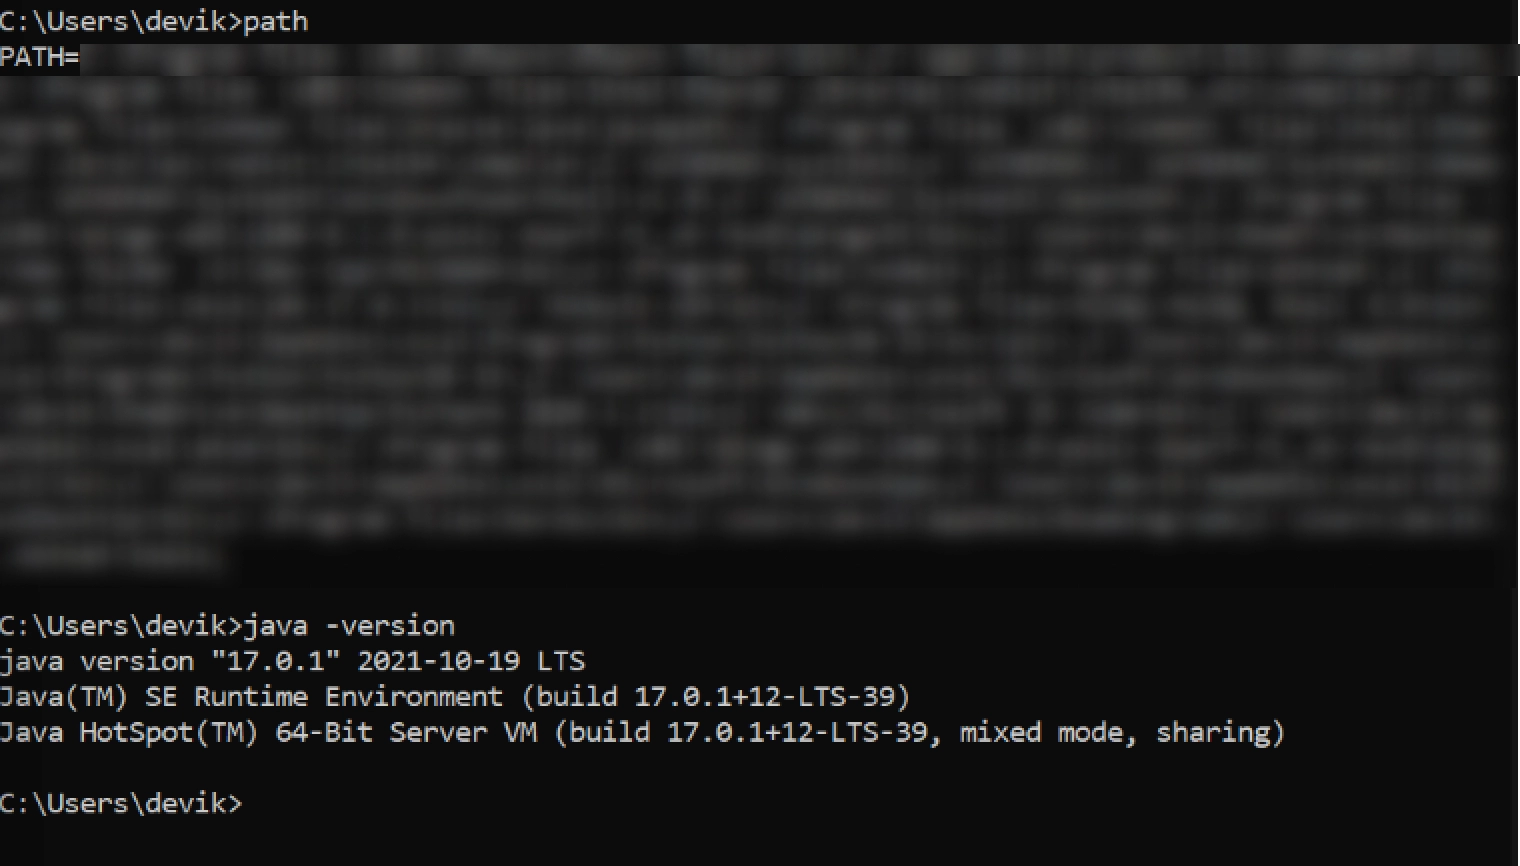
Now we can finally verify the JDK version using the command prompt. We need to type the following command to print out the path,
// Display the PATH entries

prompt>path
PATH=c:\Program Files\Java\jdk1.8.0_xx\bin;[other entries...]
And the following command to print the JDK and JRE version,
// Display the JRE version

prompt>java -version
java version "1.8.0_xx"
Java(TM) SE Runtime Environment (build 1.8.0_xx-b13)
Java HotSpot(TM) 64-Bit Server VM (build 25.5-b02, mixed mode)
 // Display the JDK version
The output will look something like this.
Install Eclipse IDE
The second step of GWT environment setup is installing Eclipse IDE.
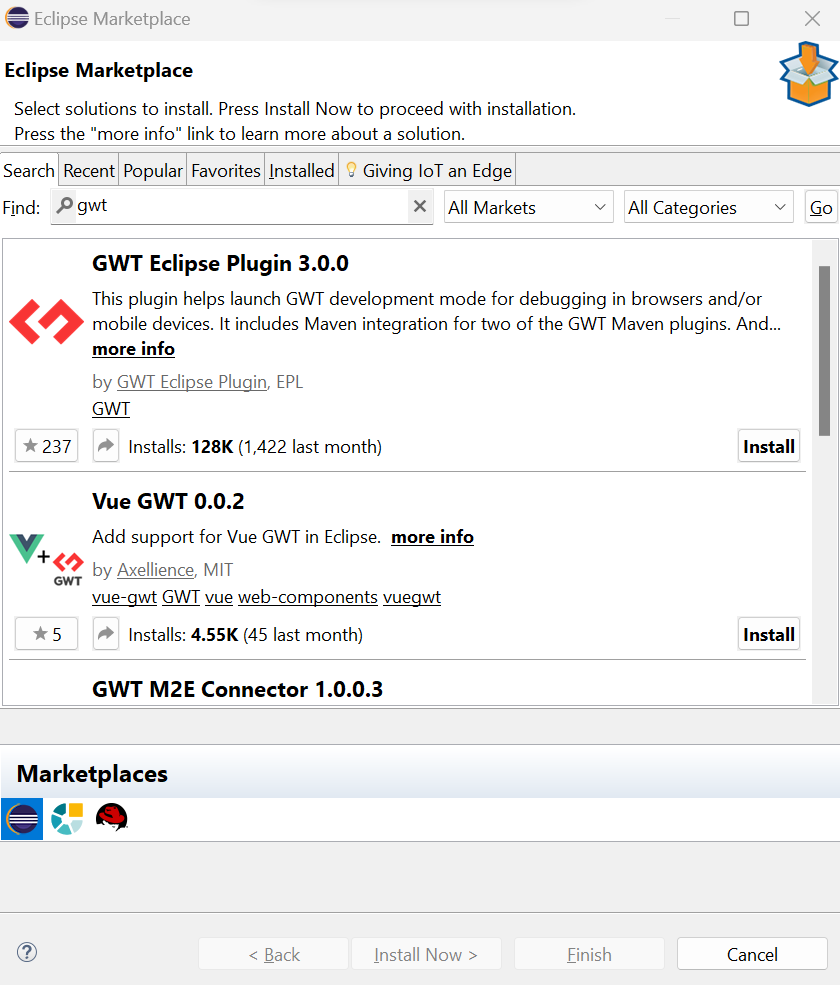
Now download the google plugin for Eclipse IDE marketplace and install it.
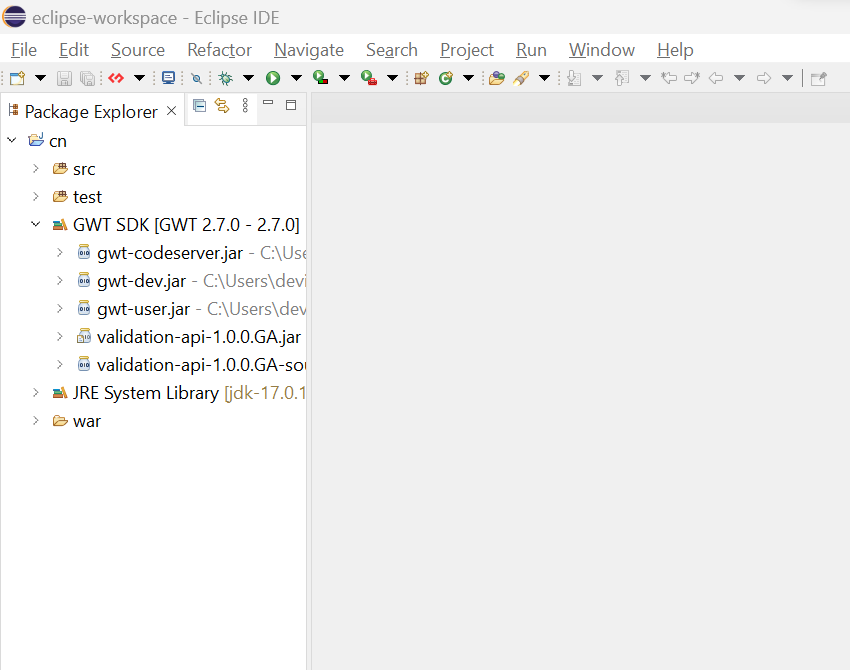
After successfully installing, it will look like the following.
Setup Apache
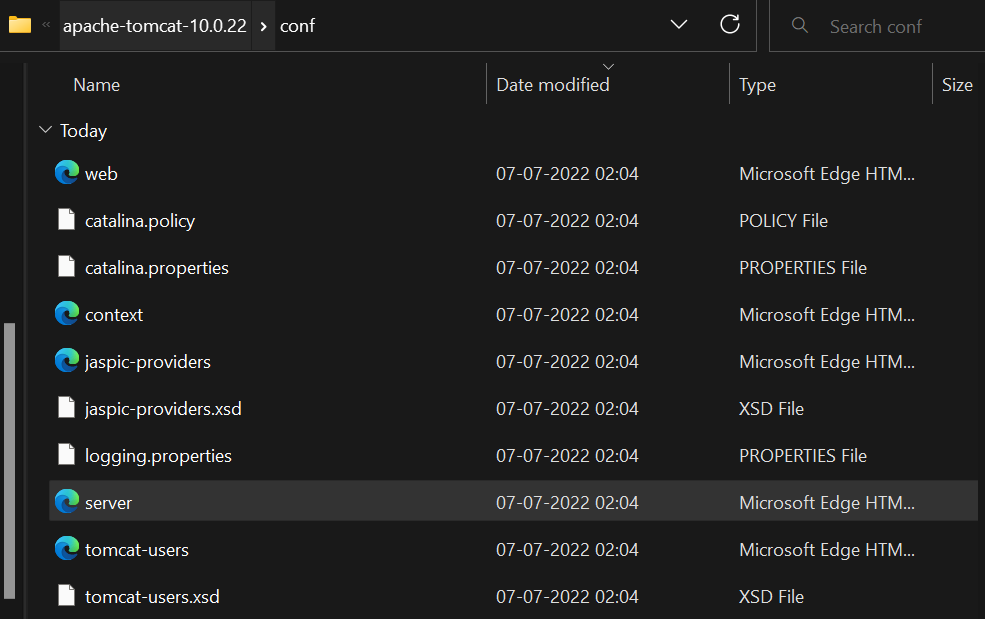
The last step of GWT environment setup is to set up apache.
Download Apache's latest version from here and then run the Apache.
Now select the version you want to install. We have chosen tomcat 10.
And then click on the link to download. After installation is completed, unzip the folder.
Then locate the server.xml file which is inside the conf folder in the folder where you can see the connection port by default is 8080.
Now open the web.xml file which exists inside the conf directory and find the below code. After finding change the listing value from false to true in text editor.
Now open the context.xml file and locate the following lines and change the value from “false” to “true” in each instance for implementing the auto-reload function.
And then open the command prompt and move to the bin directory of your tomcat server and type startup and then hit enter. Now you can go to http://localhost:8080/ to access the server.
We hope you completed the GWT environment set up in your system as well.😁
Frequently Asked Questions🤔
What is the google web toolkit?
GWT (Google web toolkit) is an open-source development toolkit provided by google for developing browser-based, complex Ajax applications.
What is an IDE?
IDE is an integrated development environment. It is a software application that provides comprehensive facilities to programmers for software development.
What is JDK?
JDK is a java development kit. It is the distribution of java technology by oracle corporation. It implements java virtual and Java language specifications.
What is the advantage of developing a web application in GWT?
We can develop GWT apps in Java, and the advantages of developing in Java are auto-complete, refactoring, debugging, code reuse, etc.
What are the tools used by Java for development?
Tools used by Java for development are Netbeans, Eclipse, JUnit, Maven, etc., which are also used for developing Rich Internet Applications.
Conclusion 🙋🏻♀️
In this blog, we learned everything about GWT Environment Setup. We went through GWT installation, see how to install JDK, and then eclipse and if you would like to learn more, check out our articles on-


 9+ registered

