Do you think IIT Guwahati certified course can help you in your career?
Introduction 👨🎓
GWT (Google Web Toolkit) is an open-source Java framework for making software development easy. Google provides GWT for developing browser-based, complex Ajax applications. We can even develop Rich Internet Applications (RIA) in Java using GWT, which will then be compiled into Javascript and cross-browser compliant.
Benefits of GWT🧐
Javascript projects are hard to maintain when compared to Java projects. But we need Javascript to run the RIA(Rich Internet Application) in the browser. So GWT combines both Java and Javascript.
GWT is almost similar to the swing package of Java and AWT(Abstract Window Toolkit).
Each browser has its own set of problems; therefore, supporting all of them in the market is challenging. So, GWT solves this problem by creating optimized Javascript code for each browser.
This was all about GWT; now, let's go through one of its widgets, the GWT button widget.
For representing the standard button, we use the Button widget.
Class Declaration
We can use the following code to declare a GWT Button class (com.google.gwt.user.client.ui.Button),
public class Button extends ButtonBase
CSS Style Rules
The GWT Button class comes equipped with the following CSS (Cascading Style Sheets) Style rules.
.gwt-Button {}
Although users may choose to override the CSS according to their requirements.
Constructors of GWT Button Widget🧑🏻💻
The GWT Button comes equipped with various constructors. Let us discuss some of these in this section. Button Widget consists of four constructors-
Constructor
Purpose
Button()
This constructor creates a new button without any caption.
Button(Element E)
When a subclass wants to use the existing element explicitly, then this constructor is invoked.
Button(SafeHtml sh) or Button(java.lang.String s)
This constructor is invoked to create a button with a given HTML caption.
Button(SafeHtml sh, ClickHandler c) or Button(java.lang.String s, ClickHandler c)
To create a new button with specified HTML caption and click listener button class is called with these parameters.
Methods of GWT Button Widget 📝
The GWT Button also consists of three class methods. Let us look at the GWT Button class methods-
void click()- This method is equivalent to the action when the user clicks the button.
protected ButtonElement getButtonElement()- This method is called to get the underlying button element.
static Button wrap(Element e)-This method is called to create a button widget wrapped into an existing button element.
Inherited Methods💻
The GWT Button class inherits the following Java classes,
java.lang.Object
com.google.gwt.user.client.ui.Widget
com.google.gwt.user.client.ui.UIObject
com.google.gwt.user.client.ui.FocusWidget
com.google.gwt.user.client.ui.ButtonBase
java.lang.Object
GWT Button Widget Example👩💻
In this section, we will go through the simple steps to show the usage of the GWT button widget. Here you need to modify files ‘GWTProjectOne.css’, ‘GWTProjectOne.gwt.xml’, ‘GWTProjectOne.html’, and ‘GWTProjectOne.java’ by changing the code with the below code
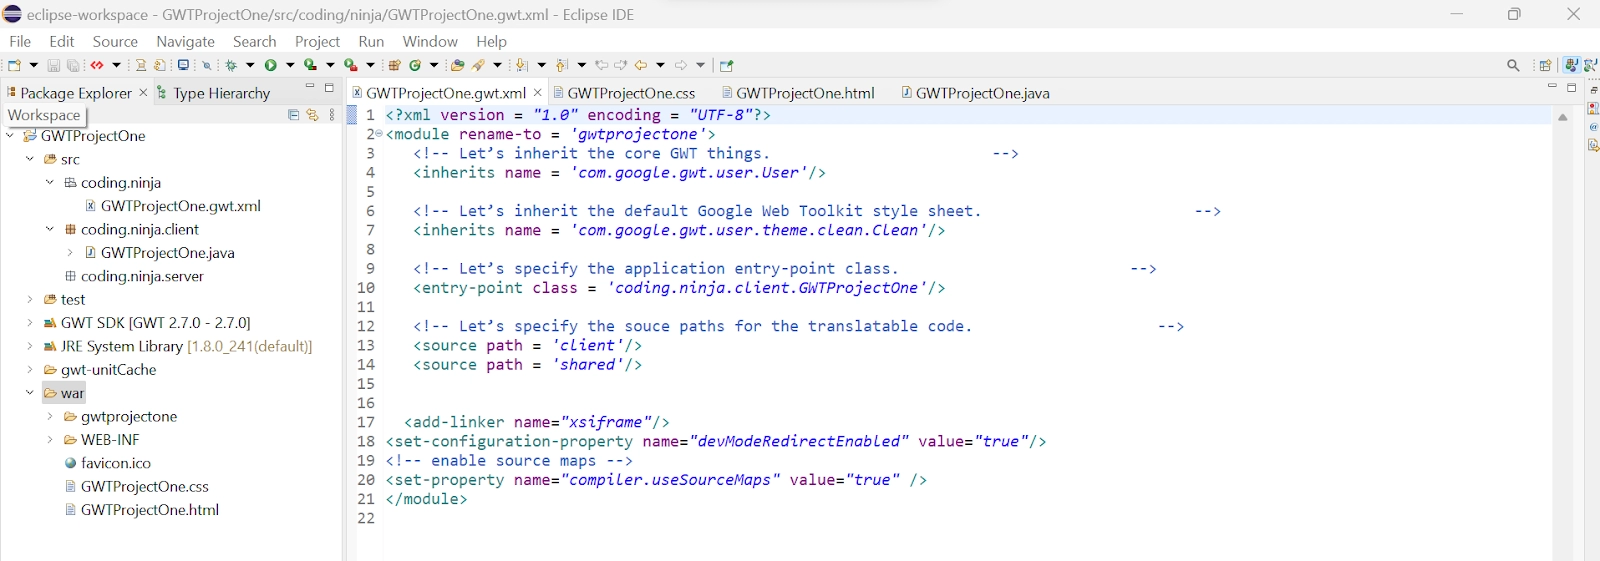
The Eclipse IDE and file structure will look something like this -
GWTProjectOne.gwt.xml
<?xml version = "1.0" encoding = "UTF-8"?>
<module rename-to = 'gwtprojectone'>

   <!-- Inherit the core Web Toolkit stuff. -->
   <inherits name = 'com.google.gwt.user.User'/>

   <!-- Inherit the default GWT style sheet. -->
   <inherits name = 'com.google.gwt.user.theme.clean.Clean'/>

   <!-- Specify the app entry point class. -->
   <entry-point class = 'com.codingninjas.client.GwtProjectOne'/>

   <!-- Specify the paths for translatable code -->
   <source path = 'client'/>
   <source path = 'shared'/>
</module>
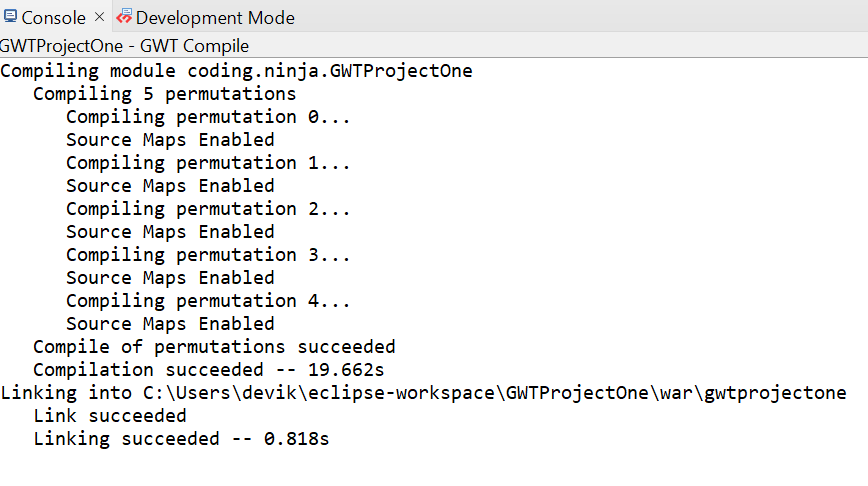
After modifying all the files, right-click the project, go to GWT, and select the compile button; then, you will see one dialog box where you have again clicked the compile button.
And after clicking it, you will see the following output in the console.
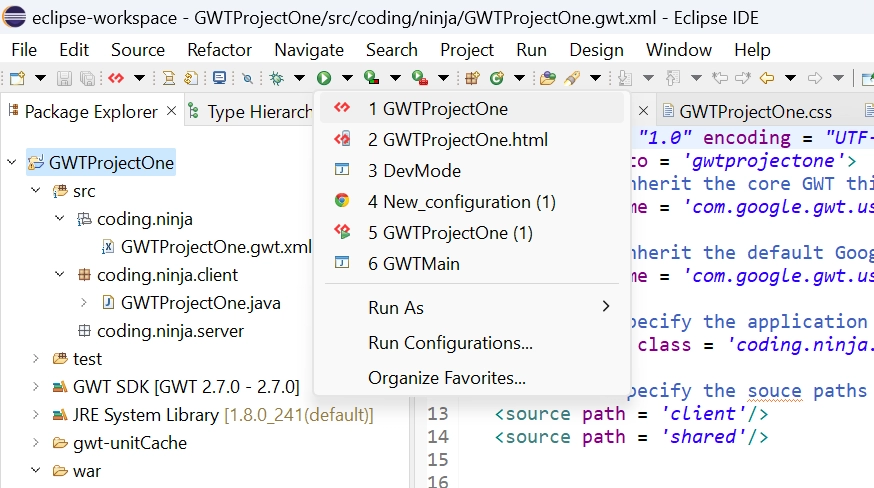
Now click on the dropdown button of the run button and select the project you want to run that is, in our case, GWTProjectOne.
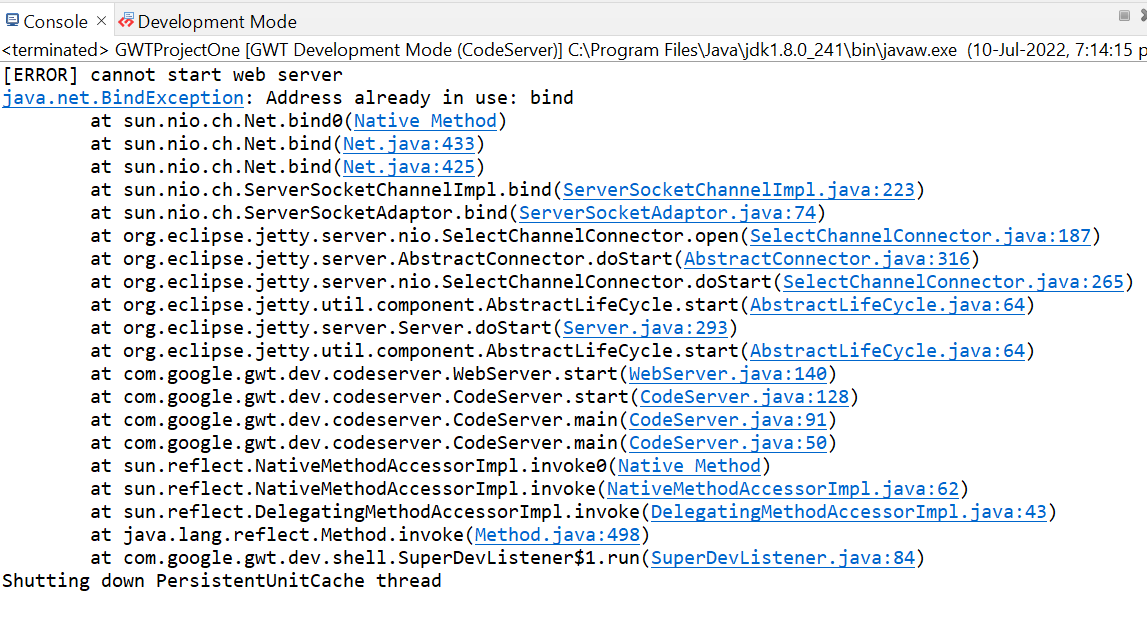
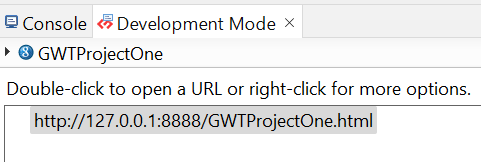
After clicking, you will see the following outputs in the console and development mode tab.
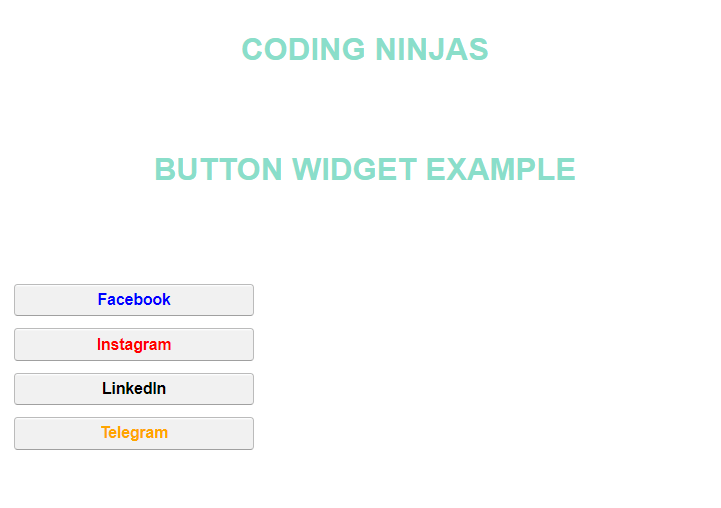
After clicking on the link in development mode, you will see the output of the code.
Output
We hope you have completely understood the GWT Button Widget. 😁
Frequently Asked Questions
What is GWT?
GWT is a development toolkit used to create and improve sophisticated browser-based apps. It is almost similar to the swing package of Java and AWT.
What are the various system requirements for running the GWT application?
JRE(Java Runtime Environment1.5) and Java 2, Operating systems: Mac OS X 10.4+ (Tiger or Leopard), Linux with GTK+ 2.2.1+, Windows Vista/XP/2000, Hardware: 512MB RAM and 100MB of free disc space.
What are the advantages of GWT?
An open-source Java software development platform, Google Web Toolkit (GWT) makes it simple to create AJAX apps. You can use the Java development tools to develop and debug AJAX apps with GWT.
What is an IDE?
IDE is an integrated development environment. It is a software application that provides comprehensive facilities to programmers for software development.
What is JDK?
JDK is a java development kit. It is the distribution of java technology by oracle corporation. It implements java virtual and Java language specifications.
Conclusion
In this blog, we went through GWT Button Widget. We saw class declaration, CSS style rules, constructors, and inherited methods. At last, we will see an example of the GWT Button Widget and if you would like to explore more, check out our articles on-


 8+ registered

