Do you think IIT Guwahati certified course can help you in your career?
Introduction 📚
GWT (Google Web Toolkit) is an open-source framework in Java for making software development easy. Web developers can create and maintain JavaScript front-end applications using this open-source toolset. The code was built in Java, and Google released it in 2006. GWT is supported by Linux, Windows, OS X, and FreeBSD operating systems. It aids in the creation of rich Internet applications. It converts Java source code into JavaScript that is equivalent.
In this blog, we will study about GWT RadioButton widget of this toolkit, its class declaration, constructors, and methods.
What is GWT RadioButton Widget❓
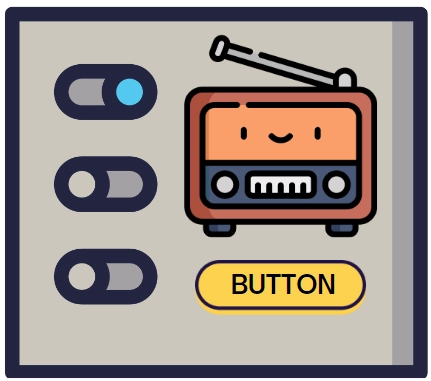
GWT RadioButton widget is a graphical control element that lets users choose only one option from the given options.
Class Declaration
public class RadioButton extends CheckBox
You can also try this code with Online Java Compiler
For creating a new radio associated with a particular group and initializing it with the given HTML label.
RadioButton ( java.lang.String a , java.lang.String b)
To create a new radio associated with a particular group and initialize it with the given HTML label.
RadioButton ( java.lang.String a , java.lang.String b, boolean asHTML)
This will create a new radio button associated with a particular group, and initialized with the given label (optionally treated as HTML).
Class Methods📝
After learning about the types of constructors used in RadioButton Widget, we will now learn about methods commonly used in GWT RadioButton Widget.
setName(java.lang.String Name): It is used to change the group name of the radio button specified.
onBrowserEvent(Event e):This method is overridden to send ValueChangeEvents only when appropriate.
sinkEvent(int event): Overridden to defer the call to super.sinkEvents until the first time this widget is attached to the dom, as a performance enhancement.
Inherited Methods📝
We have already seen many commonly used methods of the RadioButton widget. All the methods can not be implemented for every class, so a few methods of this class are inherited by some other classes.
This GWT RadioButton Widget class inherits methods from the following classes −
com.google.gwt.user.client.ui.UIObject: It is the superclass of all UI (User-Interface) objects. It simply wraps a DOM (Domain Object Model) element, and it cannot receive events.
com.google.gwt.user.client.ui.Widget: It is the base class for the majority of UI objects. The widget class supports receiving events from the browser and adding them to panels.
com.google.gwt.user.client.ui.CheckBox: The standard check box widget serves as a base class for the RadioButton widget.
com.google.gwt.user.client.ui.FocusWidget: It is the abstract base class for most widgets that can receive keyboard focus.
java.lang.Object:It is the root class of every class. All the objects implement the methods of this object class.
GWT RadioButton Example
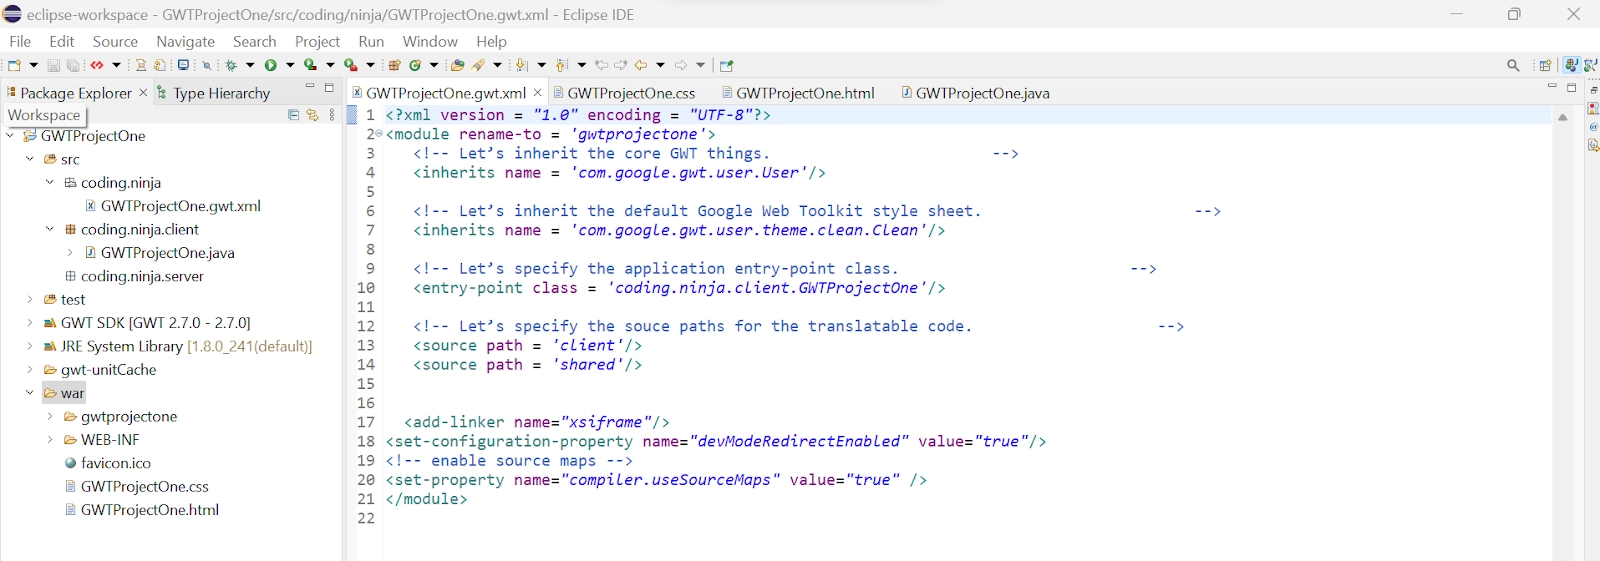
In this section, we will go through the simple steps to show the usage of the GWT checkbox widget. Here you need to modify files ‘GWTProjectOne.css’, ‘GWTProjectOne.gwt.xml’, ‘GWTProjectOne.html’, and ‘GWTProjectOne.java’ by changing the code with the below code.
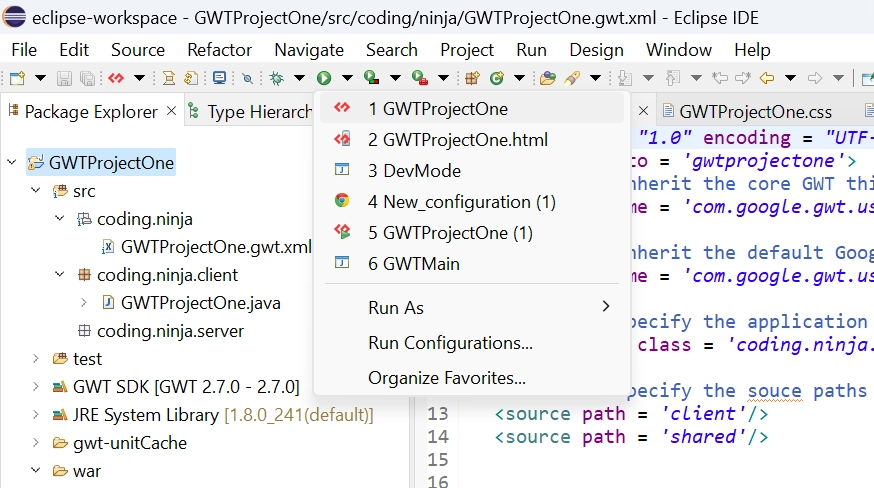
The Eclipse IDE and file structure will look something like this -
GWTProjectOne.gwt.xml
<?xml version = "1.0" encoding = "UTF-8"?>
<module rename-to = 'helloworld'>
   <!-- Inherit the core Web Toolkit stuff. -->
   <inherits name = 'com.google.gwt.user.User'/>

   <!-- Inherit the default GWT style sheet. -->
   <inherits name = 'com.google.gwt.user.theme.clean.Clean'/>

   <!-- Specify the app entry point class. -->
   <entry-point class = 'com.codingninjas.client.HelloWorld'/>

   <!-- Specify the paths for translatable code -->
   <source path = 'client'/>
   <source path = 'shared'/>

</module>
package com.codingninjas.client;
import com.google.gwt.core.client.EntryPoint;
import com.google.gwt.user.client.ui.RadioButton;
import com.google.gwt.user.client.ui.RootPanel;
import com.google.gwt.user.client.ui.VerticalPanel;

public class HelloWorld implements EntryPoint {
   public void onModuleLoad() {

       // Create some radio buttons, all in one group 'radioGroup'.
       RadioButton radioButton1 = new RadioButton("radioGroup", "Ninja1");
       RadioButton radioButton2 = new RadioButton("radioGroup", "Ninja2");
       RadioButton radioButton3 = new RadioButton("radioGroup", "Ninja3");

       // Check 'First' by default.
       radioButton1.setValue(true);

      // Disable 'Second' radio button
      radioButton2.setEnabled(false);

      // Add toggle button to the root panel.
      HorizontalPanel panel = new HorizontalPanel();
      panel.setSpacing(10);
      panel.add(radioButton1);
      panel.add(radioButton2);
      panel.add(radioButton3);

      RootPanel.get("radiobuttoncontainer").add(panel);
   }
}
You can also try this code with Online Java Compiler
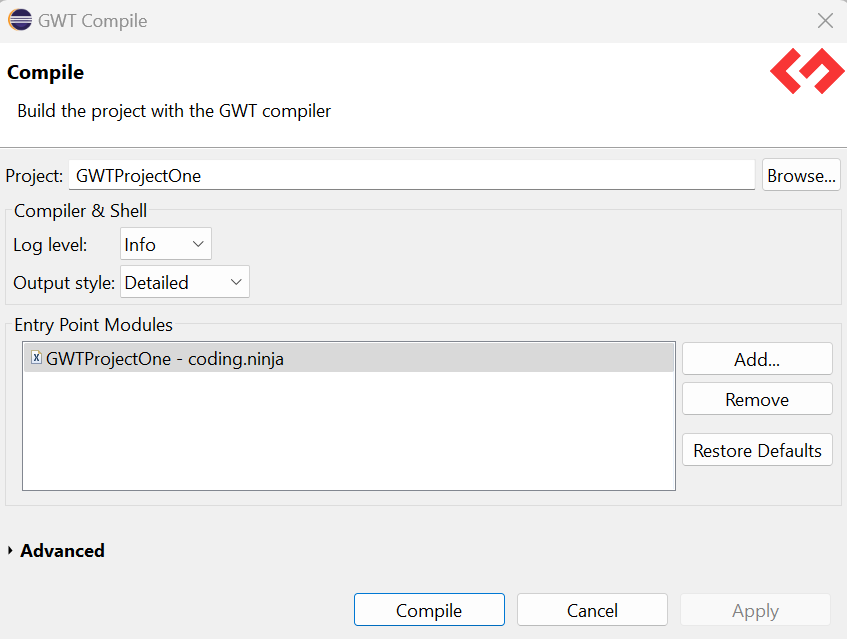
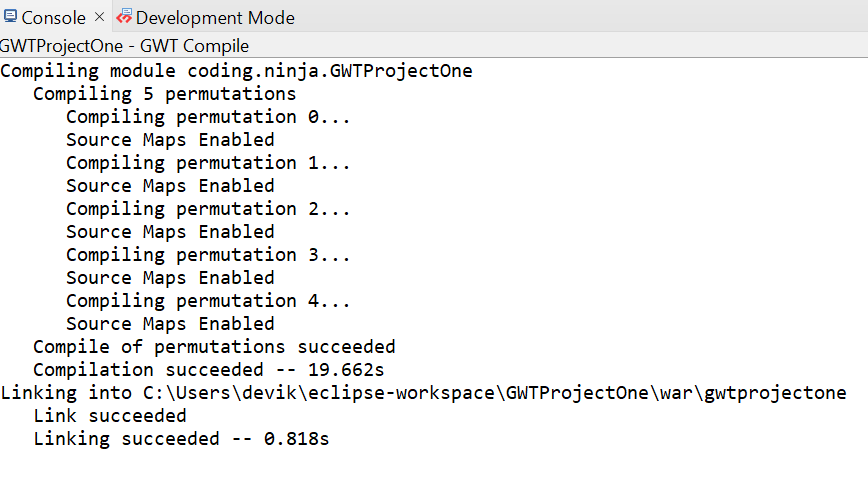
After modifying all the files, right-click the project, go to GWT and then select compile button, and then you will see one dialog box where you have again click on compile button.
And after clicking it, you will see the following output in the console.
Now click on the dropdown button of the run button and select the project you want to run that is, in our case, GWTProjectOne.
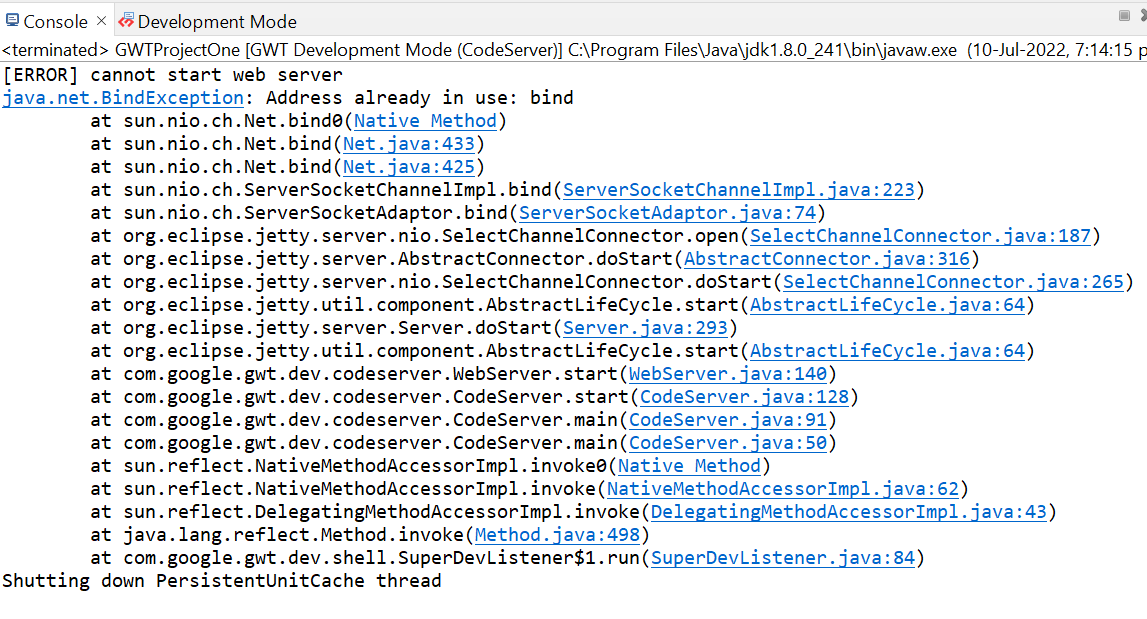
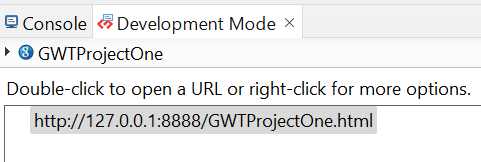
After clicking, you will see the following outputs in the console and development mode tab.
After clicking on the link in development mode, you will see the output of the code.
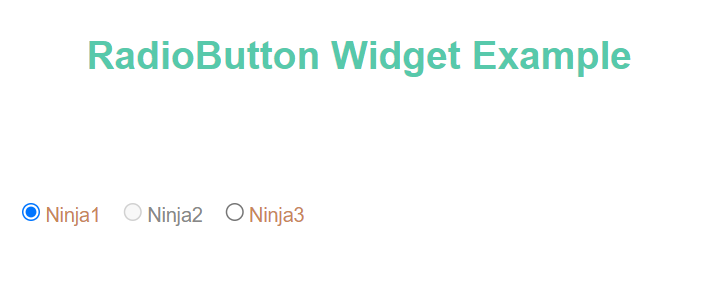
Output
Frequently Asked Questions🧠
What is GWT?
GWT is a development toolkit used to create and improve sophisticated browser-based apps.
Mention the objective of GWT?
GWT's objective is to make it possible to construct high-performance web apps productively without the developer having to be an expert in JavaScript, XMLHttpRequest, or browser quirks.
What are the benefits of GWT?
GWT provides a library of widgets for many tasks required in an application. It also generates browser-specific and optimized JavaScript code. Moreover, using GWT, one can easily integrate with Maven and Junit.
What are check buttons in GWT?
A check button is a graphical widget that enables users to make a binary selection, i.e., a choice of two options, either ‘yes’ or ‘no’.
What is the GWT RadioButton widget?
The RadioButton widget is used select one or more options from given options.
Conclusion 🙋🏻♀️
In this article, we have covered the GWT RadioButton widget. We have also discussed its class declaration, constructors, and class and inherited methods.
If you would like to learn more, check out our articles on-


 9+ registered

