Do you think IIT Guwahati certified course can help you in your career?
Introduction
Hello there!
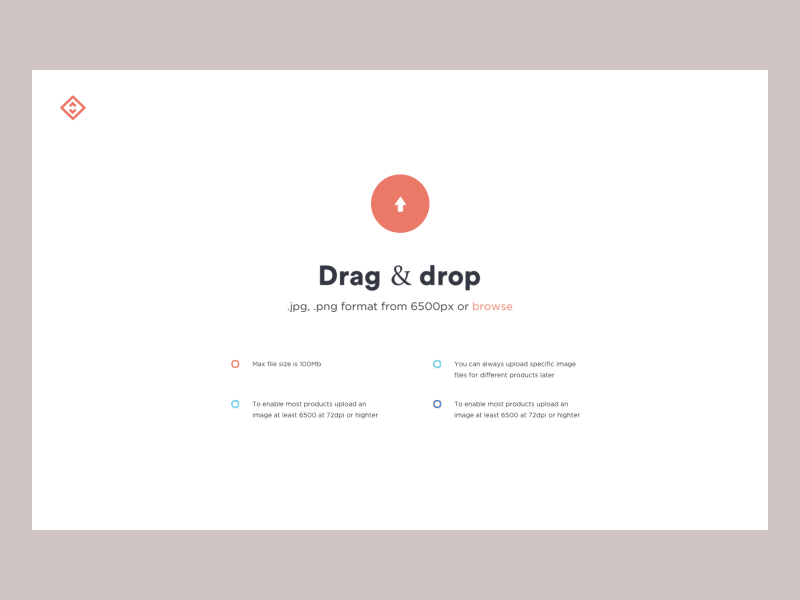
Drag and drop is a feature you would have probably used frequently. Remember when you fill a form online, you can drag and drop files from its source folder onto the area which says "Drop here"? If you do, have you ever thought about how it works on the backend of web pages and apps? If you have asked this question, you have come to the right place.
The above gif looks exciting, right? That is something you'll learn how to do when you finish this article. In this article, you will learn what drag and drop is, how to create a drag function and its classes, how to create a drop function and its classes, and how to make them into reusable components.
What is “Drag and drop”?
Drag and drop is just like the name says; you drag an element from its source and drop it to a new destination instead of searching for the file on the system through traditional methods. The drag and drop function is handy when it comes to the question of convenience.
DragSource
So to drop something, you need to create a draggable element. You will use a class called "DragSource," to make the component draggable. It contains static methods for configuring the given component representative.
Creating DragSource
This DragSource class can make any component draggable. But recall that creating the class makes the entire component draggable, not just a tiny part.
Here's the code you can use to learn and practice:
Div box1 = new Div();
Div box2 = new Div();

// to make box 1 draggable and store reference to the configuration object
DragSource<Div> box1DragSource = DragSource.create(box1);

// Access box 2 drag-related configuration object without making it draggable
DragSource<Div> box2DragSource = DragSource.configure(box2);

// Make box 2 draggable
box2DragSource.setDraggable(true);

add(box1, box2);
You can also try this code with Online Java Compiler
Note: Use the above code as syntax. Variations can be made according to the variable name given, but make sure to put the correct variable names in the class so that the code works smoothly.
You must remember when you use this class that the object of the class does not contain any data because the object's configuration is a convenience proxy that simplifies by enabling draggability for a component.
Also, remember that the initial configuration takes precedence when any changes are made to the component. On the server side, the draggable attribute is set to the topmost element in the browser.
The below CSS code gets into action when the user drags a component; the technical side of the code works in a way that the root element of the component gets the class name as v-dragged on the browser.
Note: Use the above code as syntax. Variations can be made according to the variable name given, but make sure to put the correct variable names in the class so that the code works smoothly.
Exposing DragSource API on the Component
This java code can be used to practice and used to develop.
public class CardComponent extends Div implements DragSource<CardComponent>, HasStyle {
   public CardComponent() {
       // all cards will be draggable by default
       setDraggable(true);
   }
   // all DragSource methods have default implementations
}
You can also try this code with Online Java Compiler
Note: Use the above code as the syntax. Variations can be made according to the variable name given, but make sure to put the correct variable names in the class so that the code works smoothly.
Why should you expose DragSource API on the Component?
DragSource is also called a "mix-in interface," A mix-in interface is a class that doesn't require a parent like other object-oriented programming classes.
This reusable behavioural interface provides more flexible and powerful interfaces; because of this property, it's easy to add its APIs to custom components so they can be reused everywhere else.
Like I said at the beginning of the article, you can customize the Draggable Element, so let's see how to do it.
Customizing the Draggable Element
You will have to use the method getDraggableElement() to customize the component; it overrides it by making it draggable. But, it drags a part of the fundamental component, not the entire thing.
You can use the below code:
/* NOTE: MyElement is a made-up custom component, not a core Vaadin component. */
public class DraggableMyElement extends MyElement implements DragSource<MyElement> {
    private Icon drag handle = VaadinIcon.MENU.create();

    public DraggableMyElement(String destination) {
        super(destination);
        add(dragHandle);
    }

    // Instead of allowing the whole item to be draggable, only allow dragging
    // from the icon.
    @Override
    public Element getDraggableElement() {
        return dragHandle.getElement();
    }
}
You can also try this code with Online Java Compiler
Note: Use the above code as syntax. Variations can be made according to the variable name given, but make sure to put the correct variable names in the class so that the code works smoothly.
DropTarget
Now that we learned how to make the component draggable, you need to drop it somewhere, right? You have to set a target component to drop the component or element into it. So, a class called DropTarget is used for this. The target is the destination which users can drop their dragged component into.
DropTarget is very similar to DragSource in terms of containing static methods for configuring the given component as an instance of the drop target.
Now let's move on to learn how to create the DropTarget class.
Creating DropTarget
The below code can be used to practice as well as used to develop your project.
VerticalLayout A = new VerticalLayout();
VerticalLayout B = new VerticalLayout();

// To make the first layout an active drop target
DropTarget<VerticalLayout> dropTarget = DropTarget.create(first);

// Provide access to drop target API for the second layout,
// without setting it an active drop target.
DropTarget<VerticalLayout> dropTarget2 = DropTarget.configure(second);

// Change previously set settings
dropTarget2.setDropEffect(DropEffect.NONE);
You can also try this code with Online Java Compiler
Note: The above code can be used as the syntax, and variations can be made according to the variable name given, but make sure to put the correct variable names in the class so that the code works smoothly.
As said earlier, DropTarget class is as same as DragSource:
The object of the class does not contain any data because the object's configuration is a convenience proxy that simplifies by enabling draggability for a component.
On the server side, the droppable attribute is set to the topmost component of the browser only with that data related to the operation when the drag originates from the same UI.
DropTarget is also a mix-in interface just like DragSource, and the code used to expose the DropTarget API on the component is given below:
Public class Column extends VerticalLayout implements DropTarget<VerticalLayout> {

    public Column() {
        // Allow drops by default
        setActive(true);
    }

    // All drop target methods have default implementations
}
You can also try this code with Online Java Compiler
Note: The above code can be used as the syntax, and variations can be made according to the variable name given, but make sure to put the correct variable names in the class so that the code works smoothly.
Again, remember that the component can be reused and that the initial configuration takes precedence over the modifications.
Reaction to Drops
Have you ever wondered what happens when you drop the draggable component on the DropTarget? This is where a reaction to drops comes into action. Only when the drop is valid on the browser does the server-side launch an event called "DropEvent." This DropEvent is heard through DropListener.
But it is a little different when the element or component is dragged from the same Vaadin UI; you get the dragged part or related business data by doing this.
This code can help you get through it.
Div box = new Div();
box.setWidth("500px");
box.setHeight("600px");

DropTarget<Div> dropTarget = DropTarget.create(box);

dropTarget.addDropListener(event -> {
    // move the dragged component within the drop target component
    if (event.getDropEffect() == DropEffect.MOVE) {
        // the drag source is only available if the dragged component is from
        // the same UI as the drop target
        event.getDragSourceComponent().ifPresent(box::add);

        event.getDragData().ifPresent(data -> {
            // the server-side drag data is available if it has been set
            //component, which was dragged from the same UI as the drop target
        });
    }
});
You can also try this code with Online Java Compiler
Note: The above code can be used as the syntax, and variations can be made according to the variable name given, but make sure to put the correct variable names in the class so that the code works smoothly.
Drop Target Styling
When a dragged component is being dropped on the web browser or on the drop target, you might have noticed a box appearing around the drop area, it needs some styling and made noticeable for users dropping the dragged component, so you use CSS to style this.
But there is a catch when it's run; the class name is removed when the drop occurs, when it is canceled, or when the dragged element is moved outside the drop target area.
Frequently Asked Questions
On what mobile browsers is drag and drop compatible?
The Drag and Drop function is compatible with Google Chrome on Android mobile phones and Safari on iOS mobile phones.
Do Vaadin components have built-in support for Drag and Drop?
Vaadin components do not have in-built support; instead, DragSource and DropTarget can be used for the Drag and Drop function.
What devices can perform the drag and drop function?
The most commonly used device is the mouse; on laptops, users use the trackpad to perform the same function.
What is HTML Drag and Drop API? Does it have anything to do with Drag and Drop discussed in the article?
It is similar to the “drag and drop” discussed above in the article. The only difference is that HTML drag and drop API uses DOM event model and drag events along with that it inherits the qualities or functions of the mouse events.
Conclusion
We hope you had a great time learning about Drag and Drop and want to express gratitude to you for reading this article.
In conclusion, the topics explained in this article are drag and drop function, creating DragSource component, making DropTarget component, how to manipulate them, and many more.


 8+ registered

