Do you think IIT Guwahati certified course can help you in your career?
Introduction
After the successful installation and configuration of Continuous Delivery for Puppet Enterprise the next step is to manage the access. The user access and management tools in Continuous Delivery for PE make sure that from read-only to super users, have the access and permissions appropriate to their role on the team.
👱Create a User Account
Each user that needs to use Continuous Delivery for PE must set up a unique user account after the software has been installed.
🪜Steps to Create an Account
📌Navigate to the Continuous Delivery for PE web UI endpoint in your browser.
📌Click on Create an account button on the login page.
📌Fill up the registration form. Set a username and password for your account.
📌Click on the Sign-up Button.
Results
Once you successfully create your account, you can view the credentials of your account. To view, credentials, click on the username at the bottom of the navigation bar in the web UI of Continuous Delivery for PE.
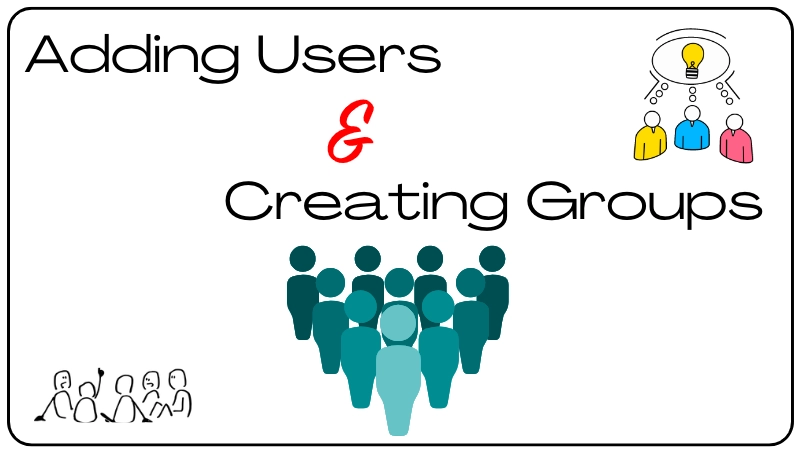
➕Adding Users and Creating Groups
The collaboration between team members is facilitated by Continuous Delivery for Puppet Enterprise (PE). By adding users to your workspace, you may share resources, and you can create groups to control the access granted to each team member.
Here, I will be teaching you the steps to add a user to the workspace, remove a user from the workspace, create a group and set group permissions.
🚨Create a Group and Set Group Permissions
Groups are created in order to organize users according to their job focus, permission level, geography, and many other criteria that you want to specify. In Continuous Delivery for Puppet Enterprise (PE), permissions specify which actions group members are permitted to carry out, such as adding control repositories, modifying jobs, and deploying code changes. Based on the purposes and requirements of each group, permissions are assigned.
Following are the steps to create a group and to set group permissions.
🪜The steps are as follows:
Click on the Settings button on the web UI of Continuous Delivery for PE.
Click on the Create new group, on the Groups tab.
Enter the details of the group (Name and Description).
Choose which permissions to give this group. See the Permissions reference for details on the range of each permission. Since group permissions are cumulative, a user who is a member of numerous groups is able to carry out all acts permitted by all of the permissions from all of the groups to which they have been allocated. To grant access to a selected group of the modules or control repos in your workspace: 📌Click on the Edit Permission button in the permissions section. 📌Click on the Save selection after selecting the modules and repos that are to be included in the subset. 📌Choose which privileges to grant the user group. All control repositories and modules in the workspace can have a list (view), delete, and edit rights enabled, or only the subset you want.
Click on Save and add users.
Select the workspace users you want to include in this group on the Add Users tab, then click Add Users to Group.
Click on the Done button. Your user group is created by Continuous Delivery for PE, which also links you to the group website.
👱Add a User to a Workspace
After creating a group, you need to add many users to work on the project. So, adding people to the workspace will allow users to work collectively. In the Settings section of the Continuous Delivery for PE web UI, you can add users.
Click on Settings, then click on Users on the web UI of Continuous Delivery for PE.
Click on the Add user button.
Search for the username or email address of the user you want to add to your workspace on the Add users to workspace page.
Select the user you wish to add to the workspace.
Assign the user to one or more permission groups for 4.4.0 and above versions.
To add additional users, repeat the above steps.
To go back to the Users screen and view a list of all the users who have access to your Continuous Delivery for PE workspace, click on the Done button.
➖Remove Users From Workspaces
In the Settings section of the Continuous Delivery for PE web UI, you can delete users from workspaces.
Make sure you are viewing the workspace you wish to remove the user from after logging in to the Continuous Delivery for PE web UI.
Click on Settings > Users.
Locate the user in the workspace, that you wish to remove.
Click on the Delete user button to remove the user from the workspace.
To remove multiple users, repeat the above steps.
🔴 Permissions Reference
The following table consists of group permissions and a short explanation of each permission’s scope in Continuous Delivery for PE.
Type
Permission
Definition
Control repos
Create
The capability to create new control repos.
Control repos
Delete
The capability to delete existing control reposexisting control repos.
Control repos
Edit
The capability to edit deploy code and existing control repos.
Control repos
List
The capability to view existing control repos.
Control repos
Promote
The capability to promote changes in the pipelines of control repo.
Modules
Create
The capability to create new module repos.
Modules
Delete
The capability to delete existing module repos.
Modules
Edit
The capability to edit existing module repos.
Modules
List
The capability to view existing module repos.
Modules
Promote
The capability to promote changes in the pipelines of the module.
Jobs
Create
The capability to create new Jobs.
Jobs
Delete
The capability to delete existing Jobs.
Jobs
Edit
The capability to edit existing Jobs.
Jobs
List
The capability to view all existing Jobs and job hardware abilities.
Jobs
Run
The capability to run all existing Jobs.
Users
Edit
The capability of adding and removing people from workspaces.
Groups
Create
The capability to create new groups
Groups
Delete
The capability to delete existing user groups.
Groups
Edit
Editing existing user groups by adding or removing members and changing user permissions.
Groups
List
The capability of viewing all the user groups and their permissions.
Integrations
Connect
The capability to configure PE integrations or new source control.
Integrations
Disconnect
The capability to remove PE integrations or existing source control.
Inventory
List
The capability to view all node inventory information.
Frequently Asked Questions
What is Puppet?
With the aid of Puppet, you can manage and automate the configuration of servers. When using Puppet, you specify the ideal state for the infrastructure systems that you want to manage.
What is DevOps?
DevOps is a collection of cultural ideas, operational procedures, and technical resources that enhance an organization's ability to deliver products and services rapidly.
What language is Puppet built on?
Puppet is built using Ruby's domain-specific language.
Is puppet an open-source tool?
A puppet is an open-source tool. Puppet is also available in the enterprise version.
Why Puppet is used in DevOps?
Puppet has the ability to manage many servers, specify infrastructure as code, and enforce system configuration. Puppet is one of the best DevOps tools for managing numerous servers.
Conclusion
In this article, we have discussed the management Concept in Puppet Enterprise.


 9+ registered

